65
E-MOOTIKA
INSTRUCTION MANUAL
ENG
3.2. Installation of front wheel
3.2.1. Installation of common front wheel and V brake
1. Take out the front wheel, and loosen the nut on the front wheel axis.
2. Remove the black plastic rack below the Front fork, and take the V
brake conduit out of the V brake, and place the front wheel axis into
the Front fork’s dropout.
3. Turn nut to the front wheel axis, and tighten the nut with 15mm ope-
ning wrench by 18N.M torque.
4 Extrude the V brake by force, and put the V brake conduit into the
V brake;
5 Pinch the Brake handle repeatedly, and check whether the two
brake blocks have the same gap as the rim, and if the gap is uneven,
re-debug the V brake (Please refer to Chapter 4.6 for the specic
debugging method).
- When fastening the front wheel nut axis, press down the Front fork
by force so that the front wheel axis can work closely with the Front
fork.
* Note: some models of front fender sticks need to be installed on the
front wheel axis.
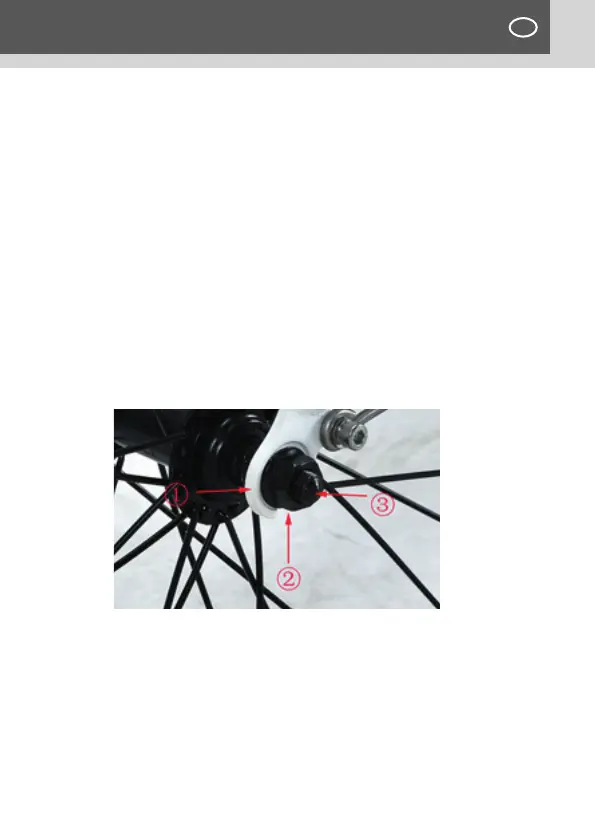
1- Front fork’s dropout
2- NUT
3- front wheel axis