18
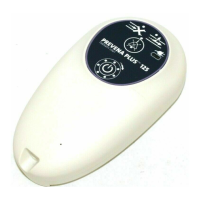
PREVENA PLUS™ CANISTER INSTALLATION
The canister used with the PREVENA PLUS™ 125 Therapy Unit is a single-use, sterile, 150 mL container
with graduated markings of approximately 50 cc/mL increments.
NOTE: If the canister is not fully engaged, the PREVENA PLUS™ 125 Therapy Unit will alert.
NOTE: Only use the recommended PREVENA PLUS™ 125 Therapy Unit Canister with this
product.
NOTE: Never reuse a canister.
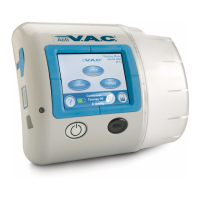
1. Remove the canister from the sterile package.
2. Hold therapy unit and canister, vertically or horizontally, one in each
hand, and slide bottom of canister into slot on bottom of therapy
unit.
3. Close canister against therapy unit. The upper locking tab will click
when canister is secured.
CONNECTING THE DRESSING TO THE PREVENA PLUS™ 125 THERAPY
UNIT
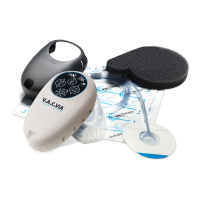
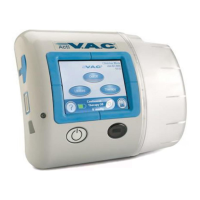
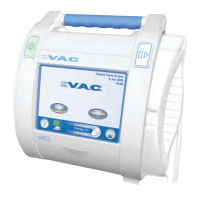
For connecting to other KCI V.A.C.® Therapy Units, see the Using the PREVENA PLUS™ Dressing with
KCI V.A.C.® Therapy Units section.
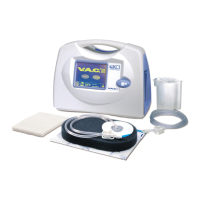
1. Connect the SENSAT.R.A.C.™ Pad tubing to the PREVENA PLUS™
Connector:
• Push the connectors together
• Twist the connectors to lock
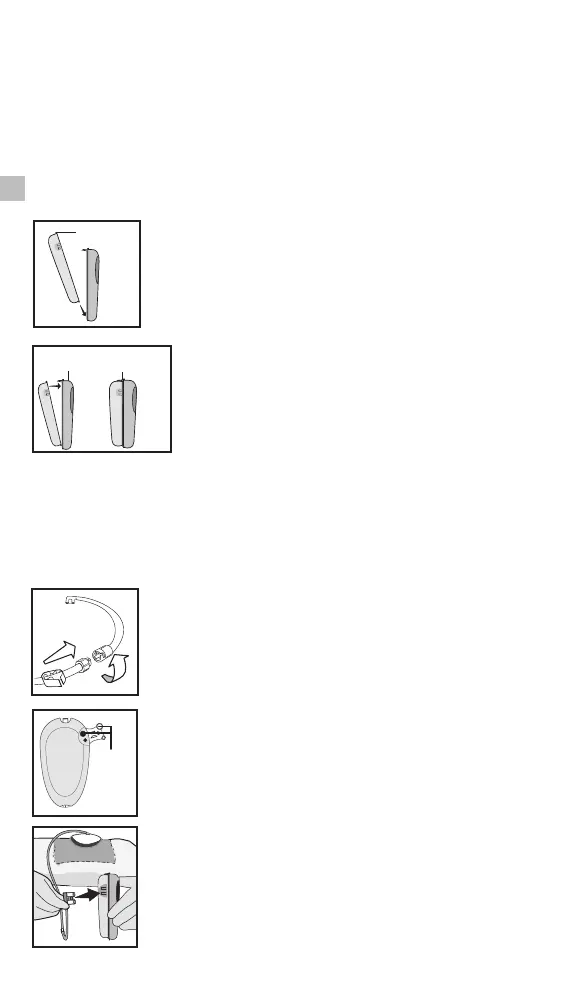
2. Connect the PREVENA PLUS™ Connector to the canister by aligning
and plugging connector at end of tubing onto tubing ports on side
of canister. Push together firmly. Ensure clamp on tube is open.
Position clamp away from patient.
3. Begin therapy.
Canister
Therapy
Unit
Locking
Tab
Tubing
Ports/
Caps
 Loading...