26
27
MMS/GPRS Sending Testing
After completing the MMS/GPRS Setting,Please test it first before
using this function.
1.Put the power switch in OFF position,then put the power switch
in SETUP position.
2.Waiting for the mobile phone signal mark displays on the screen
and ensuring the signal enough strenth.
3.Press DOWN key to shot a photo, then it will enter into the
GPRS Testing menu and begin to send this photo to your email /
mobile phone.
4.It will take 1~3 minutes to complete the testing.
If the screen displays “GPRS texting Over, Communication
Err!”,it means that GSM/GPRS sending failed. Please ensure the
right MMS/GPRS setting,then follow steps and try it again.
If the sending is successfull,its screen will display “GPRS Testing
Over, Send Success”. It means the camera MMS/GPRS function
works well and the photo have been successfully sent to your
email / mobile phone.
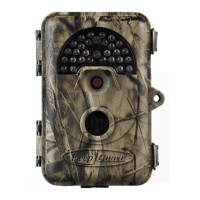
For safety purposes, enter a password each time when entering into
SETUP mode. You could choose OFF to stop this function.The following
shows how to set the Password Setting.
1. Press MENU to display the setting menu.
2. Press Left or Right until reach
the “Password Set” menu. As is
shown in the right chart;
3. Press UP or DOWN to Select
ON or OFF.OFF is the default setting.
4.Press OK to set, press MENU to exit.
As is shown in the right chart;
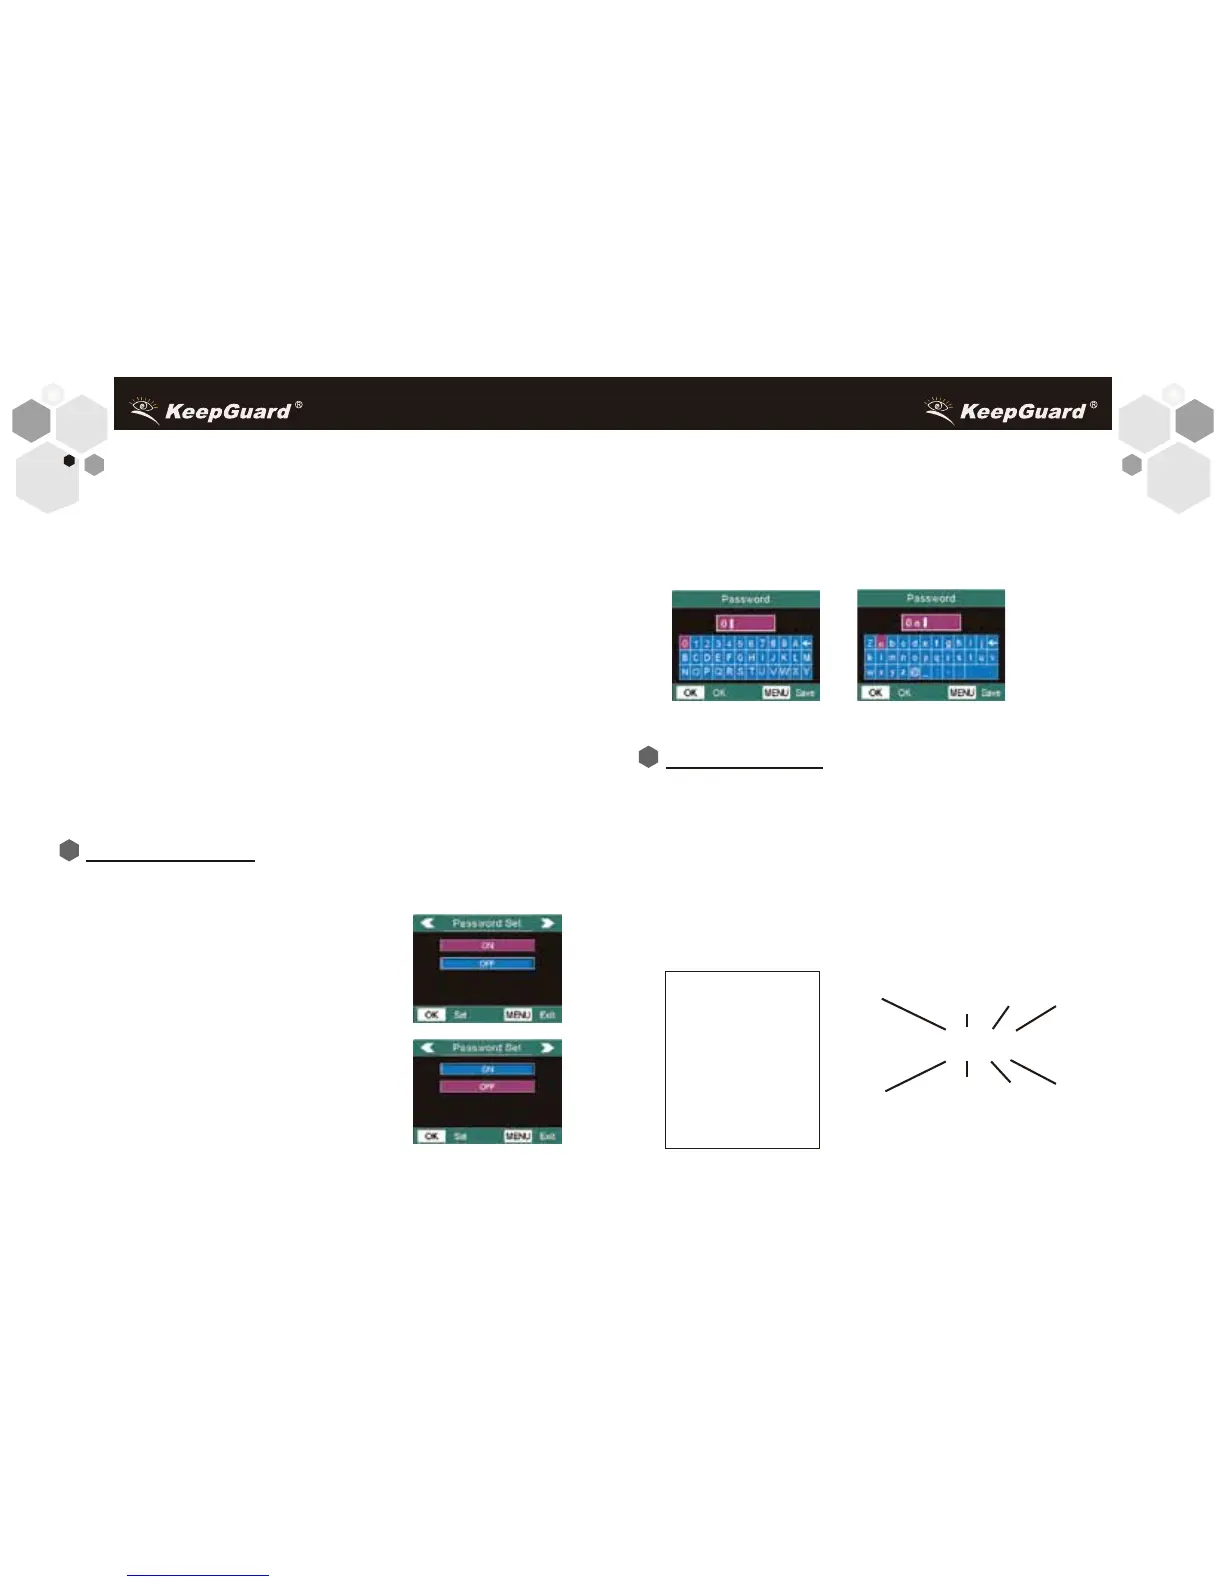
5. If you select ON, you will enter the submenu---Password. Press
the UP, DOWN, Left, or Right to switch the digits or numbers from
the virtual keyboard. Press OK to key in one digit or number. Press
“←” to delete. You can key maximum 6 digits, numbers or alphanumeric
combinations.
6.Press MENU to save yourself password and return to info display.
As is shown in the following charts:
After selecting the Coordinate Input parameter,press UP or DOWN
to select the ON setting and press OK.
The Latitude and longitude for any location where you plan to place
the camera can be obtained at many websites, for example:
http://itouchmap.com/latlong.html. You can enter a nearby street
address,just zip code,or use the various types of maps to locate the
opproximate position.
The format you will need to use to enter the coordinates in the
KG860 menu screen is shown below:
N=North
S=South
Degrees
Latitude
(3 digits)
Minutes
Seconds
W=West
E=East
Degrees
Longitude
(3 digits)
Minutes Seconds
Latitude-----(La)N000,00’00”
Longitude--(Lo)W000,00’00”
Note: You may see
“Negative” latitude or
longitude coordinates
online. These designate
South latitudes and
West longitudes.
US/Canada locations
will have North (+)
latitude coordinates and
West (-) longitude.
Coordinate Input
Password Setting