Installing gas bottle2.13.1
Always fasten the gas bottle properly in the vertical position, in a special holder against the
wall or on a cylinder carriage. Remember to close gas bottle valve after welding.
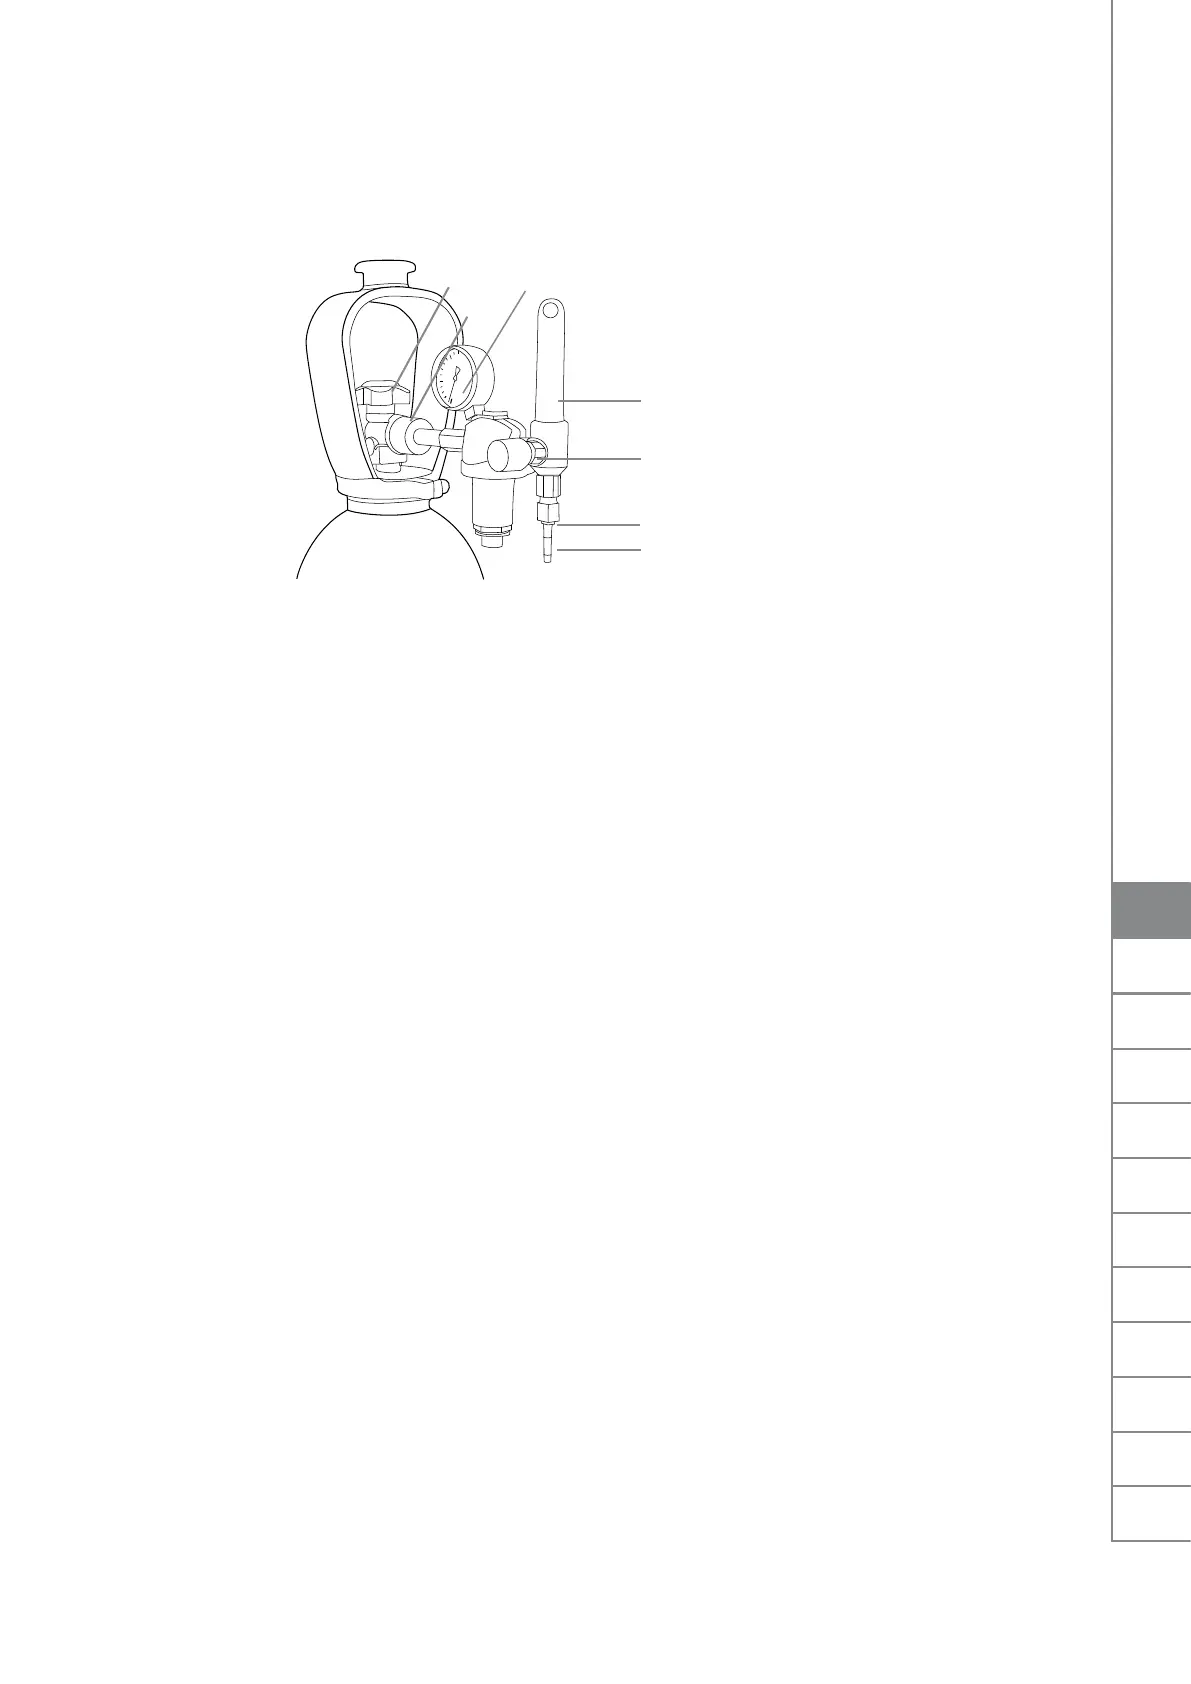
Parts of gas ow regulator
5
2
4
7
1
6
3
Gas bottle valve1.
Flow regulation screw2.
Connecting nut3.
Hose tail4.
Hose tail nut5.
Gas bottle pressure gauge6.
Shielding gas ow meter7.
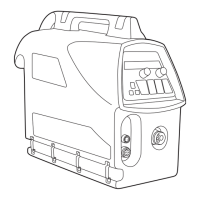
MAIN SWITCH I/O2.14
When you turn the main switch of the FastMig™ power source into I-position, the pilot lamp
closest to this switch will illuminate, indicating the power source is ready for welding. The
equipment will return to the operation state as before the main switch was turned to the zero
position.
Always start and switch o the machine with the main switch, never use the mains plug as a
switch.
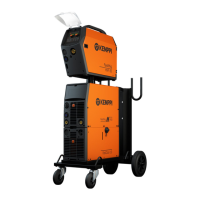
OPERATION OF COOLING UNIT, FASTCOOL 102.15
Operation of the cooling unit is automatic, starting when welding commences. When welding
stops the pump will continue operation for approx. 5 min, so reducing the gun and the
cooling liquid to ambient temperature. Read the operation instructions for the Fastcool 10
unit.
MXF HANGING KIT2.16
The MXF 65/67 wire feed units can be hanged from a special hanging kit available as an
accessory. This allows the wire feed unit to be suspended above the work area.
13
FastMig MXF65, 67 / © Kemppi Oy / 0920

 Loading...