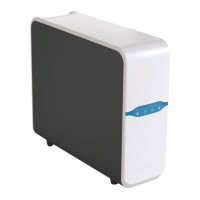
RO Compact Series Technical Manual
22
Plumbing Connections
The following connections are used throughout the
RO-Compact series.
1
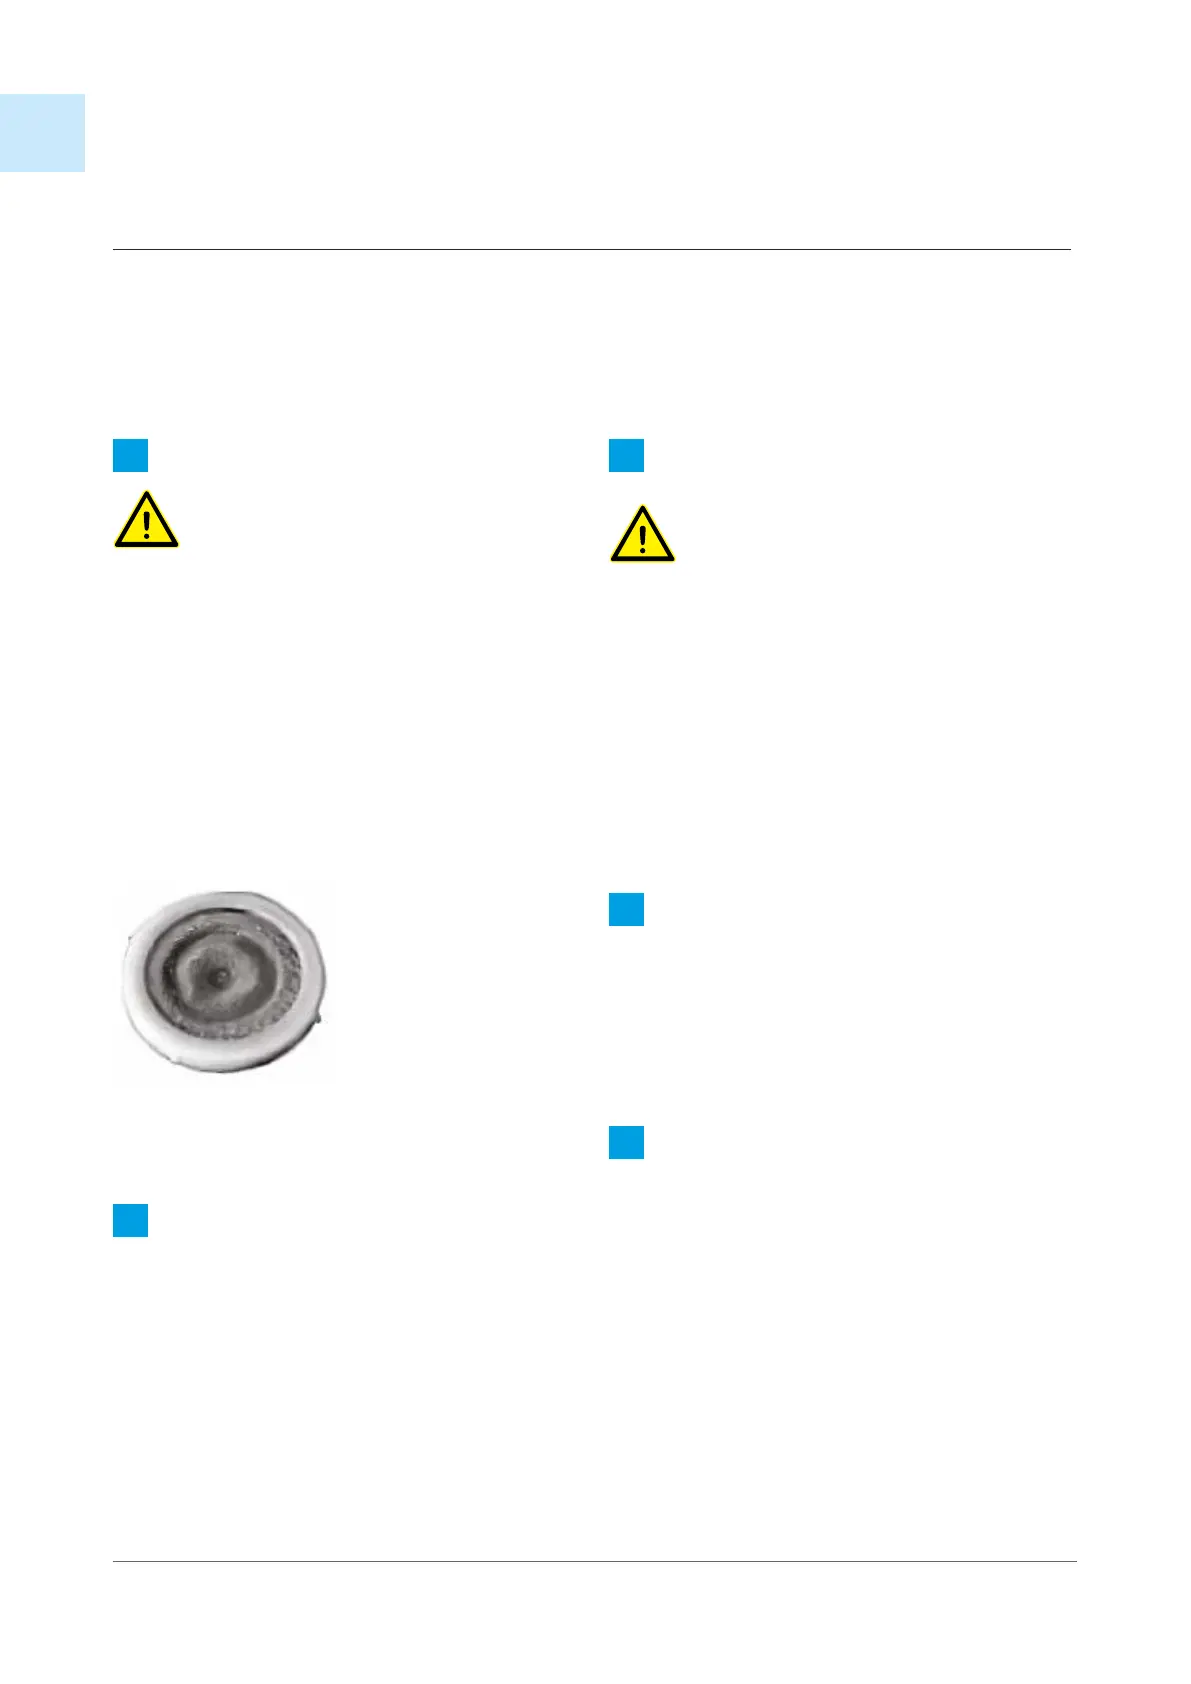
Inlet Connection:
Make sure that the inlet screen is
in place.
Connect the feed water line to the inlet of
the RO. This requires a 3/4” BSP connection.
On the inlet a ball valve with handle must be
installed. This is used to shut-o the raw water
when servicing the unit. The pipe size must be
minimum 1/2”.
This will ensure the necessary pressure and flow
to the unit at all time. The use of an additional
1.5m of flexible material is recommended to
allow for movement of the cabinet system.
2
Permeate Connection:
Remove the shipping cap from the system.
Connect the permeate water line using a 3/4”
BSP connection. The use of an additional 1.5m of
flexible material is recommended to allow for
movement of the cabinet system. The Permeate
connection must be completed in a material
suitable for the handling of reverse osmosis
water (stainless steel or plastic.)
3
Drain Connection:
Using the supplied 10mm flexible tubing,
connect to the push fitting and run to a
suitable drain. The tube must be pressed
fully into the connection. Make sure that
afterwards you cannot pull it out without
releasing the locking. The open end is connected
to an open floor drain. Do not submerge the end
of the tube into the drain water. This creates a
risk of siphoning when the unit is in standstill.
Do not apply back pressure the drain line.
Do not bend the drain tube at any time.
4
Permeate Reservoir Overflow:
Use a 1/2” tube to the Compact1, and a 1” tube to
the compact 2 and 3 connect the overflow
tubing to a suitable drain. This is a system safety
and the connection should be made as a part of
a proper installation.
5
Electrical Hook-up:
After installing the skid connections, bring
power to the RO-compact.
Inlet Screen
 Loading...