5 6
Note:
Please avoid short circuit of the battery terminals and
do not throw the battery into fire.
Do not tear down the shell of the battery by yourself.
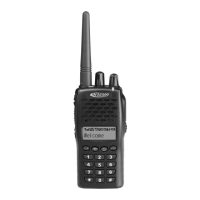
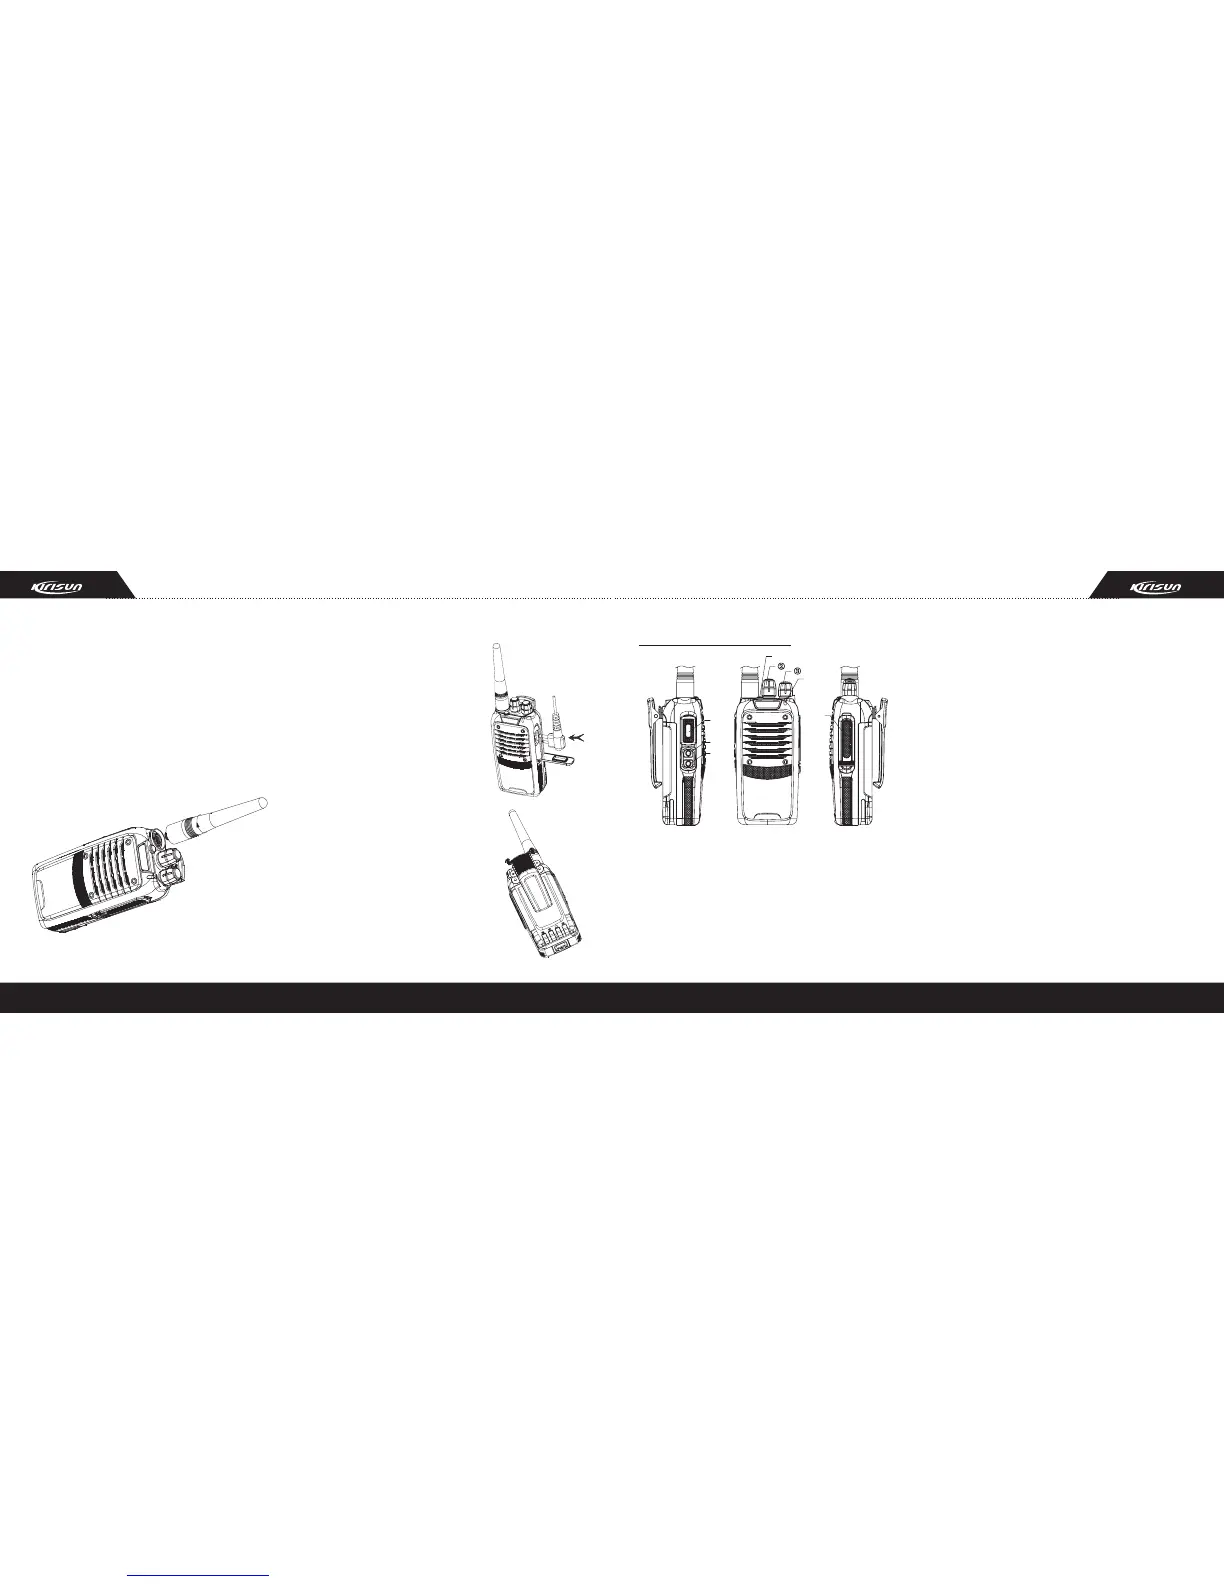
2.3 Install the antenna
Hold the base of the antenna and turn the antenna
clockwise into the connector on the top of the radio
until the antenna is fastened.
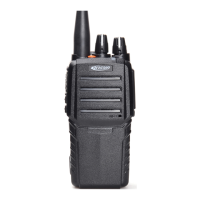
2.4 Install external speaker/MIC
Open the cover of the jack
for external speaker or microp-
hone, and then insert the plug
of the external speaker or mic-
rophone into the jack on the radio.
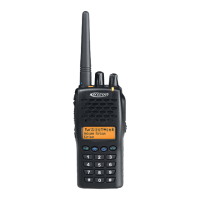
2.5 Install the belt clip
Align the two holes on the upper
part of the belt clip to the screw holes
at the back shell of the radio, and
then fix the belt clip to the radio with
two 2.5×8.0 screws.
Loose the fixing screws to remove
the belt clip.
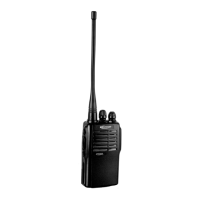
3. Radio Overview
①
⑦
④
⑤
⑥
⑧
1. LED indicator
Solid red — The radio is transmitting.
Solid green — The radio is receiving.
Blinking red — The radio is in low battery.
2. Channel selector knob
Rotate the knob to select channels 1-16.
3. Power/Volume control knob
Rotate the Power/Volume control knob clockwise
until you hear a click to turn on the radio, and counter-
clockwise until you hear a click to turn it off.
If the radio is on, turn the Power/Volume control knob
clockwise or counterclockwise to adjust the volume.
4. PTT (Push-to-talk) button
Press and hold the PTT button and talk to the micr-
ophone, your voice can be sent to the recipient. Rele-
ase the PTT button to listen.
5. Side button 1 (programmable button)
6. Side button 2 (programmable button)
7. Top button (programmable button)
Note: Only top button can be set as Emergency
Alarm button.
8. Speaker/MIC jack
External speaker and microphone can be connected
to the radio through this jack.

 Loading...