45
NOTES:
• Do not block the oven vent during the
Self-Cleaning cycle. Air must move freely
for best cleaning results.
• Do not leave plastic utensils on the
cooktop. They may melt.
• Do not leave any foil in oven during the
Self-Cleaning cycle. Foil could burn or melt
and damage the oven surface.
Before setting the controls
• Make sure clock is set to
correct time of day.
Setting the controls
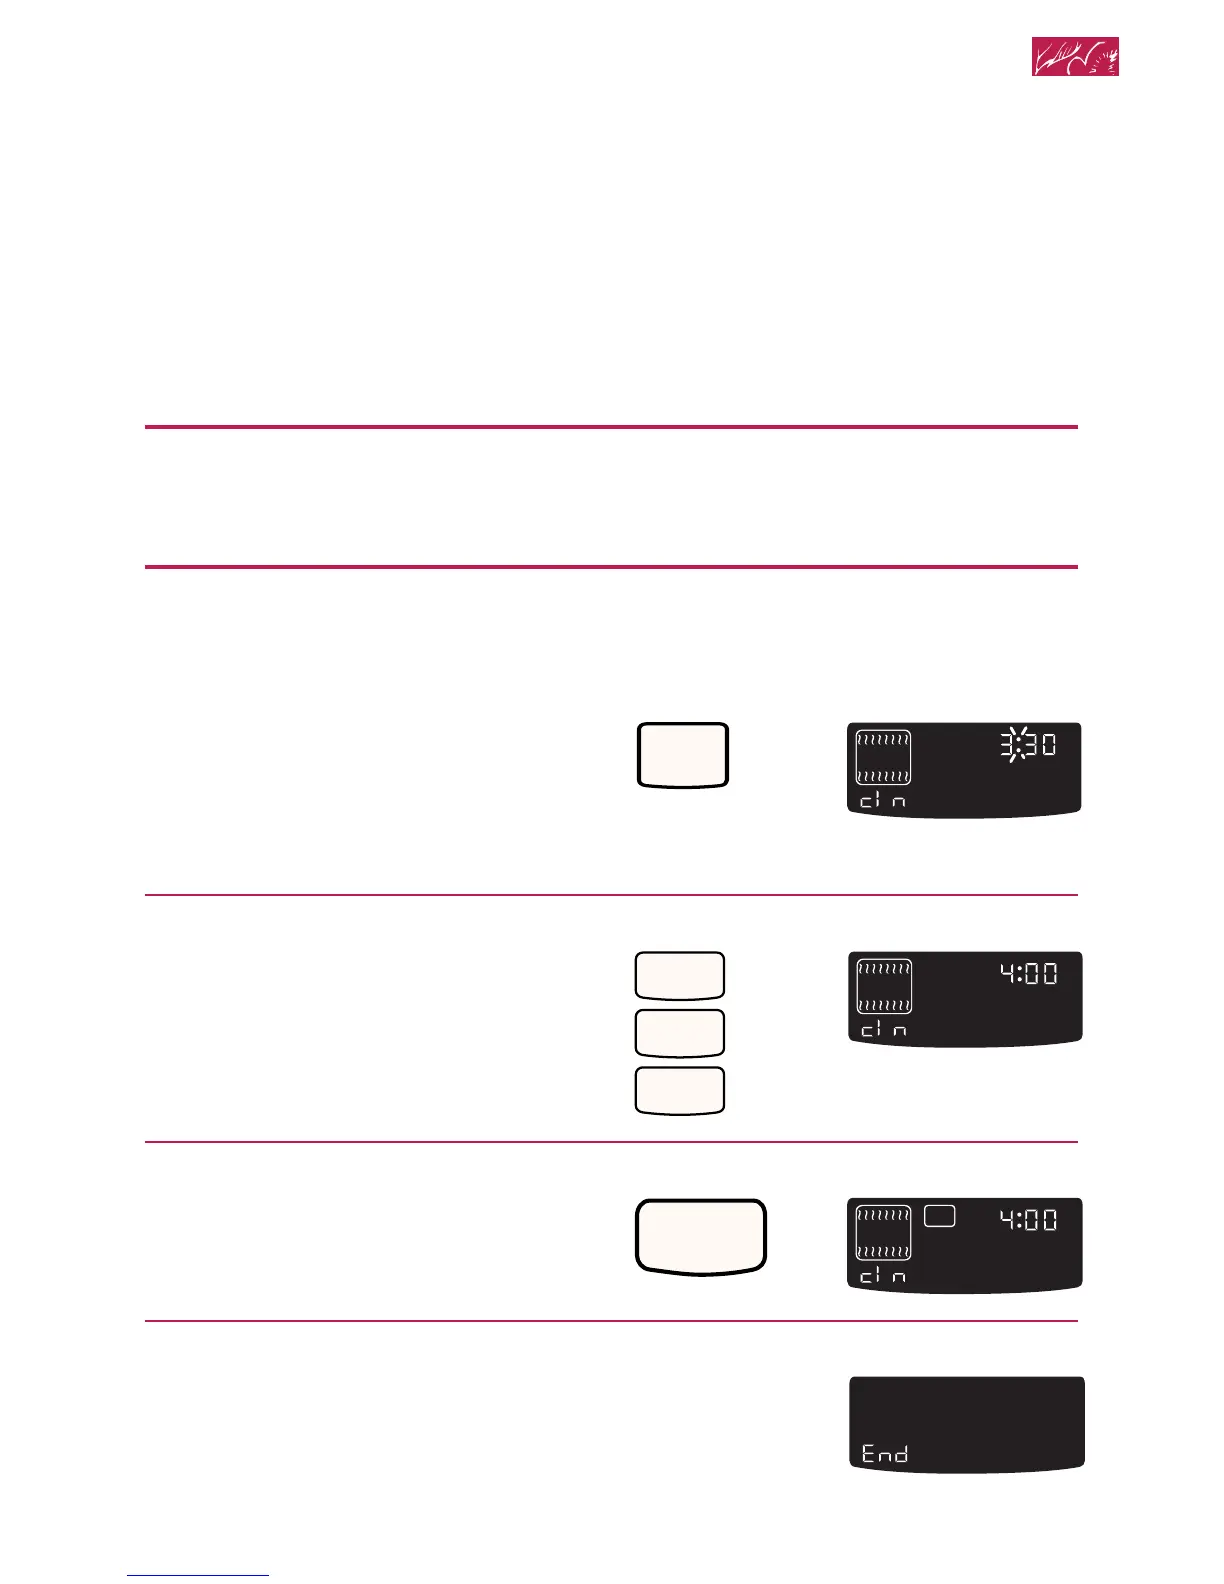
To start cleaning immediately:
1. Press CLEAN.
A 3
1
⁄2-hour Self-Cleaning cycle will be
set. (The first 3 hours are for cleaning,
the last 30 minutes are for cooling.)
2. Set cleaning time (optional).
If you want a Self-Cleaning cycle other
than 3
1
⁄2 hours, press the desired Number
pads for the new time up to 4
1
⁄2 hours.
• Use 2
1
⁄2 hours for light soil.
• Use 3
1
⁄2 to 4
1
⁄2 hours for moderate to
heavy soil.
3. Start oven.
NOTE: The door will lock right after you
press START.
4. After the Self-Cleaning
cycle ends:
• The oven light will not work during the
Self-Cleaning cycle.
• The cooktop will not work during the
Self-Cleaning cycle on Canadian
models.
• Make sure the oven door is
completely closed.
PRESS YOU SEE
CLEAN
HR MIN MIN SEC
O
F
DELAY
TIMED
CLEAN
STOP
COOK
TIME
START
?
CONTROL
PROBETEMP
O
ON
(display shows 3
1
⁄2-hour
cleaning cycle
PRESS YOU SEE
4
0
0
HR MIN MIN SEC
O
F
DELAY
TIMED
CLEAN
STOP
COOK
TIME
START
?
CONTROL
PROBETEMP
O
ON
(example shows 4-hour
cleaning cycle)
PRESS YOU SEE
START
HR MIN MIN SEC
O
F
DELAY
CLEAN
STOP
COOK
TIME
START
?
LOCKEDDOOR
CONTROL
PROBETEMP
O
ON
YOU SEE
O
F
DELAY
TIMED
CLEAN
STOP
COOK
TIMER
START
?
LOCKEDDOOR
CONTROL
PROBETEMP
O
ON
Using the Self-Cleaning Cycle