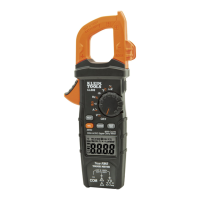
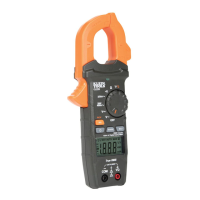
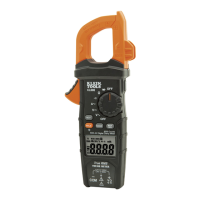
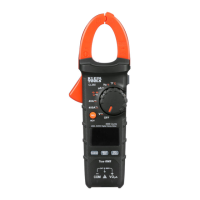
Dwg Name: CL700-1390105ART
Dwg No: 1390105
ECO No: 21122 Rev: B
Pkg Dwg Ref: 1290186
Color Reference: N/A
11
OPERATING INSTRUCTIONS
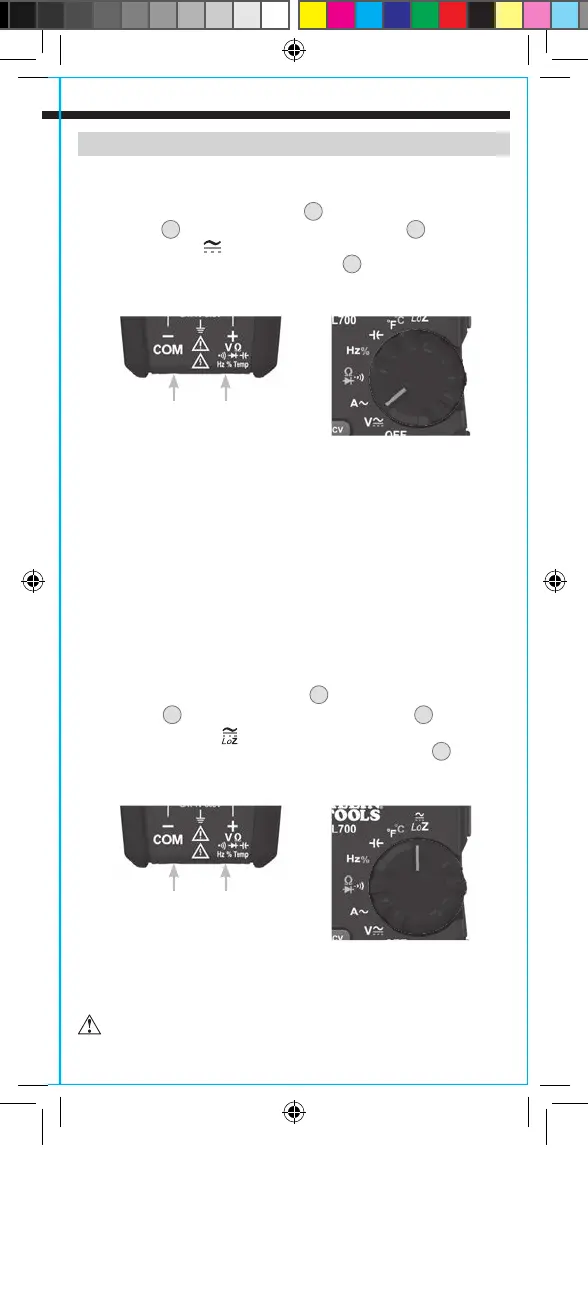
AC/DC VOLTAGE (LESS THAN 1000V)
1. Insert RED test lead into VΩ jack
5
, and BLACK test lead into
COM jack
4
, and rotate function selector switch
2
to the
AC/DC voltage V setting.
The meter defaults to AC measurement.
To measure DC, press the "SEL" button
9
to toggle between AC
and DC modes. The AC or DC icon on the LCD indicates which
mode is selected. Note "AC" or "DC" on the display.
2. Apply test leads to the circuit to be tested to measure voltage.
The meter will auto-range to display the measurement in the
most appropriate range.
NOTE: If "–" appears on the LCD, the test leads are being applied to
the circuit in reverse. Swap the position of the leads to correct this.
NOTE: When in a voltage setting and the test leads are open,
readings of order mV may appear on the display. This is noise and
is normal. By touching the test leads together to close the circuit
the meter will measure zero volts.
AC/DC LoZ VOLTAGE (LESS THAN 600V)
1. Insert RED test lead into VΩ jack
5
, and BLACK test lead into
COM jack
4
, and rotate function selector switch
2
to the
AC/DC LoZ voltage
setting.
The meter defaults to AC
measurement.
To measure DC, press the "SEL" button
9
to
toggle between AC and DC modes. The AC or DC icon on the LCD
indicates which mode is selected. Note "AC" or "DC" on the display.
2. Apply test leads to the circuit to be tested to measure voltage.
The meter will auto-range to display the measurement in the
most appropriate range.
Do not attempt to measure voltages greater than 600V
in LoZ setting.
Black lead Red lead
Black lead Red lead
OPERATING INSTRUCTIONS
AC CURRENT (LESS THAN 600A)
AC Current is measured by pressing the clamp trigger
10
to open
the clamp
3
and placing it around a current-carrying wire. When
measuring, care should be taken to ensure that the clamp
3
is
completely closed with trigger
10
fully released, and that the wire
passes perpendicularly through the center of the clamp
3
in line
with the arrow markings
11
.
To measure current:
1. Rotate the Function Selector switch
2
to the AC current A setting.
2. Place clamp
3
around wire. The current measurement will be
shown in the display.
The meter will auto-range to display the
measurement in the most appropriate range.
Disconnect test leads when measuring with the clamp.
CL700-1390105ART.indd 11 12/4/2015 2:25:02 PM