ENGLISH
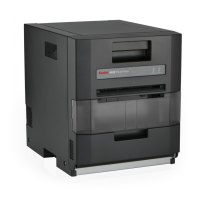
Kodak Professional large format 4000 series printers
9
2 Plug the printer cable into the connector on the back of the printer.
For connecting to a PC, use an IEEE 1284 parallel cable.
3 To turn on the printer, press the power switch on the back of the
printer. The control panel displays the status and progress of the
power on self-test.
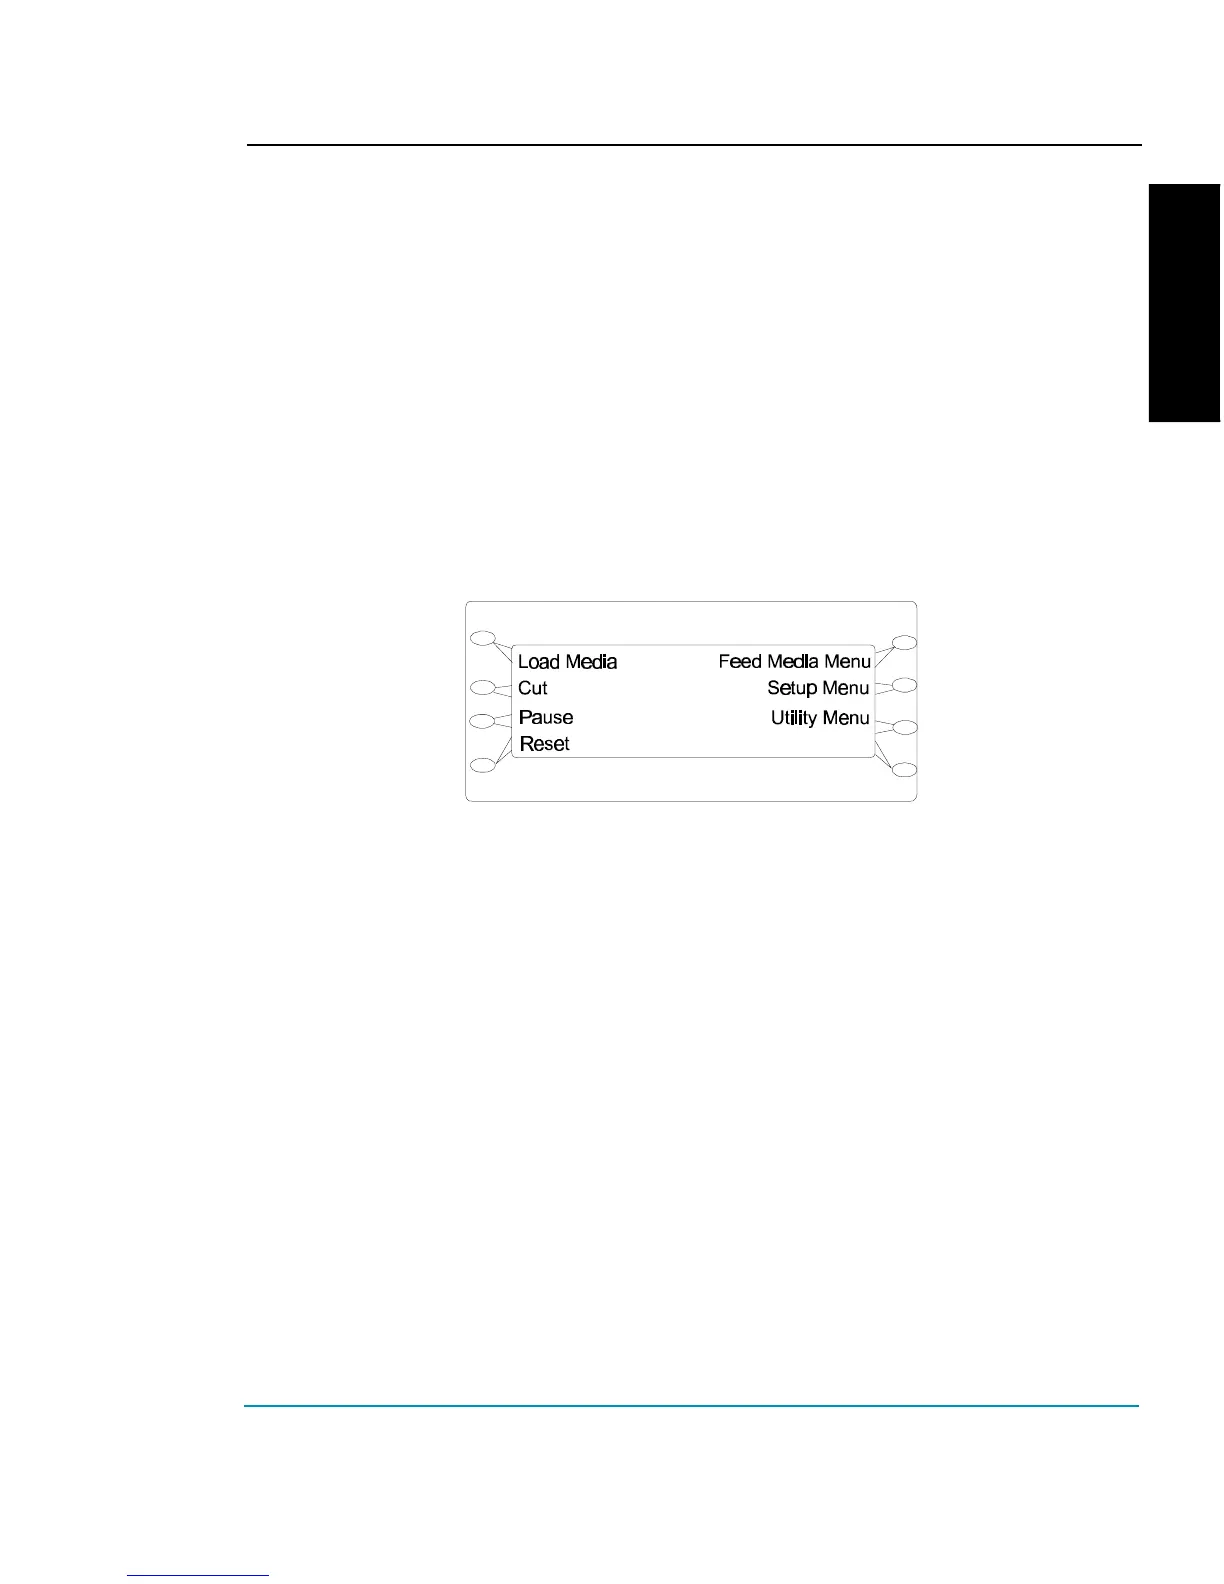
Using the control panel
The control panel at the right side of the printer includes eight buttons and a
display which indicate modes and settings. An overview is provided here so that
you can load media and ink cartridges. Details on menu options are included in
the Reference Guide on the system CD-ROM. The menu tree in Appendix C of
the Reference Guide also gives you a summary of all the printer modes and their
functions.
Two types of menus are displayed. Action menus provide a list of additional
menus or immediate tasks to perform, such as Cut, Load Media. Selection menus
let you view and modify values.
Choosing menu functions
To select a function, press the button next to the function displayed.
The display will list options available for the selected function. Press the button
for the option you want and press OK to accept the selection.
Depending on the type of menu, you can return to the previous menu level by
pressing the OK or Exit buttons.
Press the Cancel button to restore the previous setting and exit the menu.
Refer to the Reference Guide on the System CD for a description of all the menu
features.
 Loading...