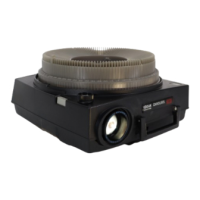
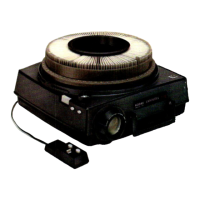
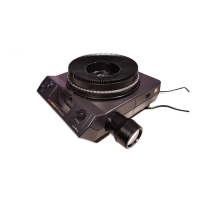
PROJ
ECTION
·L
AMP
REPLACEMENT
If
the lamp should burn out
during
projection, accelerate
cooling of the projector and lamp
by
running the projector
with the power switch set to
FAN.
When
the projector has
cooled sufficiently, remove the slide tray; then
turn
the
projector to
OFF
and remove the power cord.
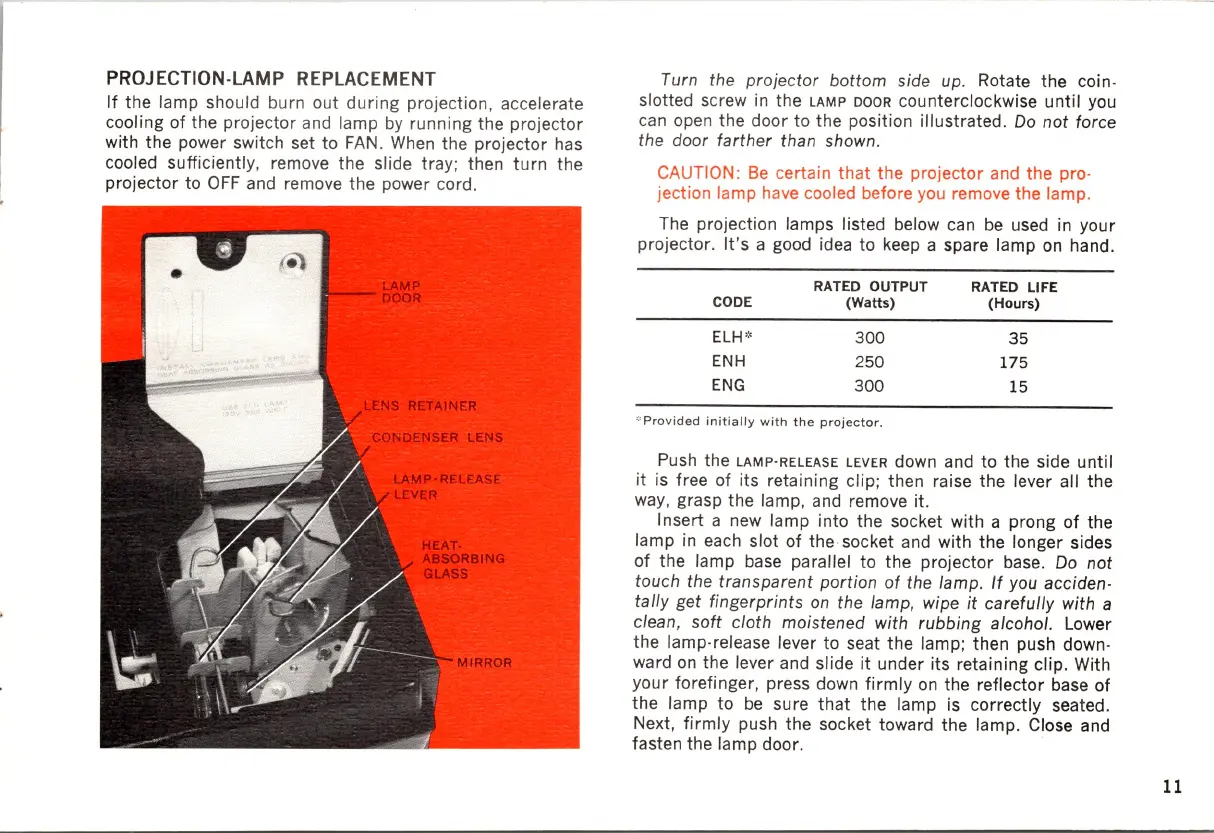
Turn the
projector
bottom
side up. Rotate the coin-
slotted screw
in
the
LAMP
DOOR counterclockwise until you
can
open the door to the position illustrated. Do
not
force
the door
farther
than shown.
CAUTION:
Be
certain
that
the projector and the pro-
jection lamp have cooled before you remove the lamp.
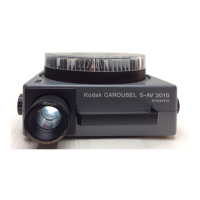
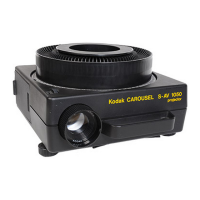
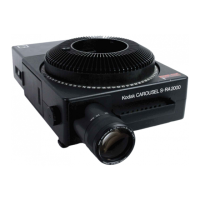
The projection lamps listed below can
be
used
in
your
projector.
It's
a good idea to
keep
a spare lamp
on
hand.
RATED OUTPUT
RATED LIFE
CODE
(Watts) (Hours)
ELH
*
300
35
ENH
250
175
ENG
300
15
"
Pro
v
ided
initially
with
the
projector.
Push the LAMP-RELEASE LEVER down and to the side until
it
is free of its retaining clip; then raise the lever all the
way, grasp the lamp, and remove it.
Insert a new lamp into the socket with a prong of the
lamp
in
each
slot of the· socket and with the longer sid
es
of
the lamp base parallel to the projector base. Do
not
touch the
transparent
portion
of
the lamp.
If
you acciden-
tally
get
fingerprints
on the lamp, wipe it
carefully
with
a
clean,
soft
cloth
moistened
with
rubbing
alcohol. Lower
the lamp-release lever to seat the lamp; then push down·
ward
on
the lever and slide
it
under its retaining clip. With
your forefinger, press down
firmly
on
the reflector base
of
the lamp to
be
sure
that
the lamp is correctly seated.
Next,
firmly
push the socket toward the lamp. Close and
fasten the lamp door.
11