siN
Projection-Lamp
Tips
•
Rough
treatment of the projector
may
dam·
age
the projection lamp.
•
All
ow for unrestricted flow of air to the
in
·
take vents
on
the bottom
and
si
de
of the
projector,
and
the exhaust vent at the rear.
• Projector operation
on
li
ne
voltages
above
the
range
specified greatly reduces the
lamp life.
• Unplug the power cord before changing the
lamp.
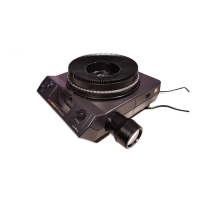
SETTING
UP
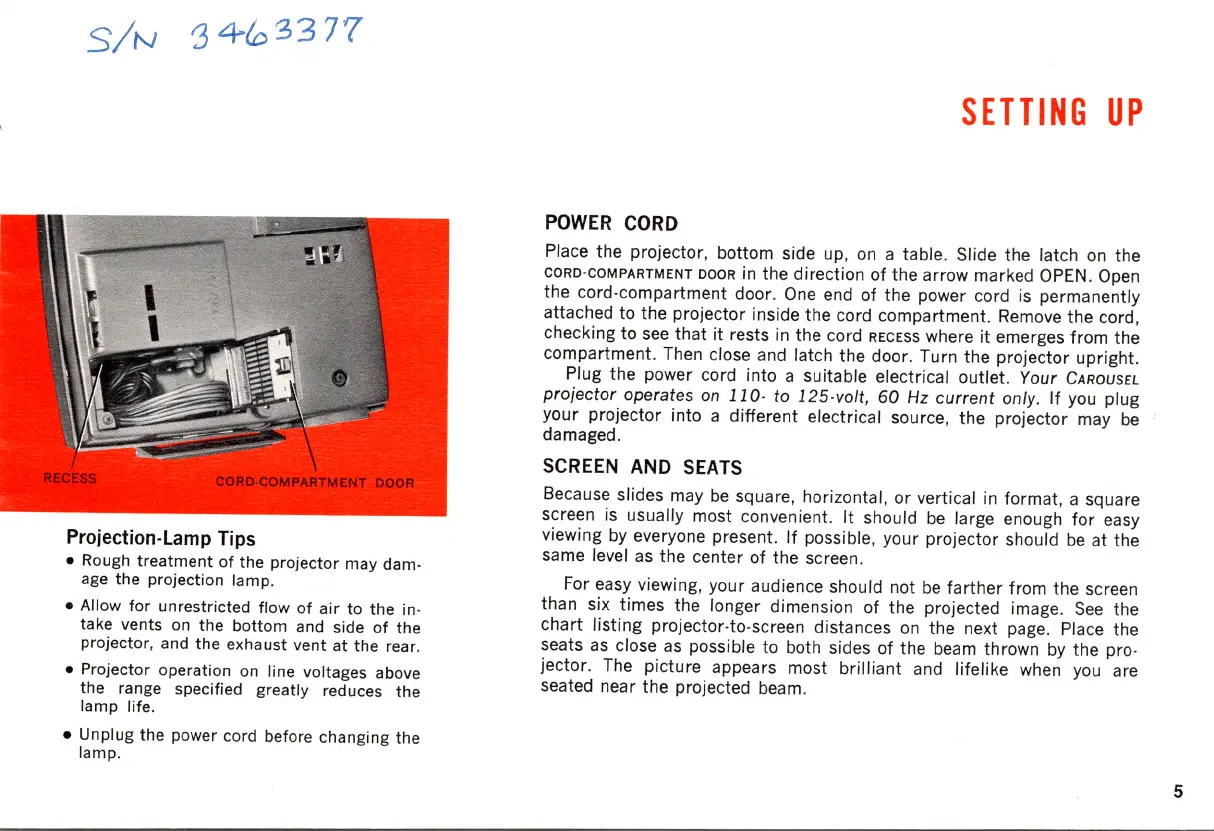
POWER
CORD
Place the projector, bottom side up,
on
a table. Slide the latch on the
CORD' COMPARTMENT DOOR
in
the direction
of
the arrow marked
OPEN
. Open
the cord·compartment door.
One
end of the power
co
rd
is
permanently
attached to the projector inside the cord compartment. Remove the cord,
checking to
see
that
it
rests
in
the cord RECESS where it emerges from the
compartment. Then close and latch the door. Turn the projector upright.
Plug the power cord into a s
ui
table electrical outlet. Your CAROUSEL
projector
operates
on
110
· to
125
·volt,
60
Hz
current
only.
If
you pl ug
your projector into a different elec
tr
ical source, the projector may
be
damaged.
SCREEN
AND
SEATS
Because slides may
be
squa
re,
horizontal, or vertical
in
format, a square
screen
is
usually most convenient. It should
be
large enough
for
easy
viewing by everyone present.
If
possible, your projector should
be
at the
same level
as
the center of the screen.
For easy viewing, your audience should not
be
farther
from the sc
ree
n
than six times the longer dimension
of
the projected image.
See
the
chart listing projector·to·screen
dist
ances
on
the
ne
xt page. Place the
seats
as
close
as
possible to both sides
of
the beam thrown
by
the pro·
jector. The picture appears most brilliant and lifelike when you are
seated near the projected beam.
5