10
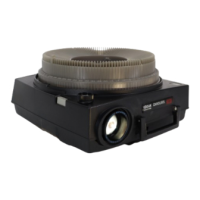
REMOVING
SLIDE
TRAY
1. With the projector turned
on
, press the select bar
firmly
and hold it down.
2. Rotate the tray until the tray index bar is opposite the
gate index.
3. Release the select bar and then
lift
off the tray.
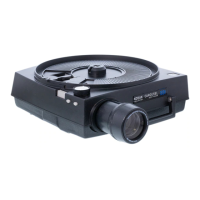
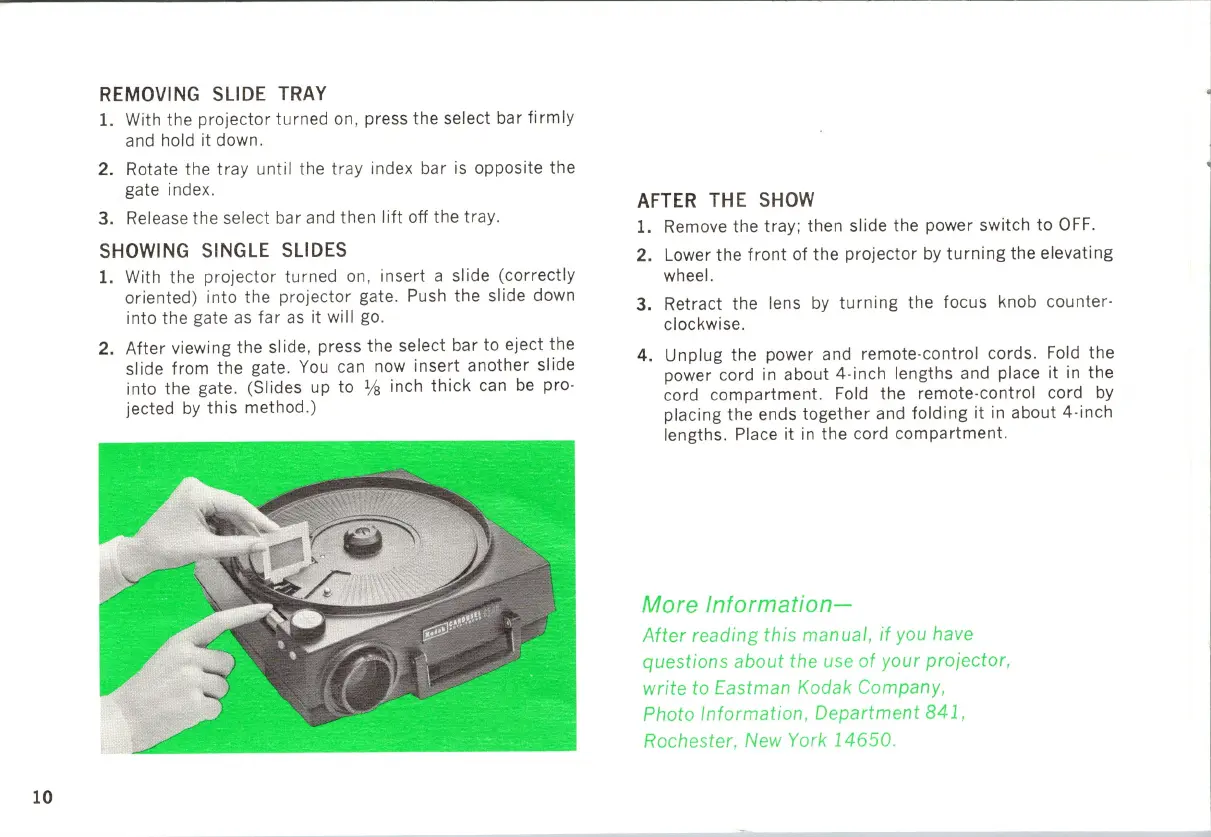
SHOWING
SINGLE
SLIDES
1. With the projector turned
on
, insert a slide (correctly
oriented) into the projector gate. Push
the
slide down
into the gate
as
far
as
it
will go.
2.
After
viewing the slide, press the select bar to eject the
slide from the gate.
You
can now insert another slide
into the gate. (Slides up to
Va
inch
thick
can
be
pro·
jected
by
this
method.)
AFTER
THE
SHOW
1. Remove the tray; then slide the power switch
to
OFF.
2. Lower the
front
of the projector by
turning
the elevating
wheel.
3.
Retract the lens
by
turning
the focus knob counter·
clockwise.
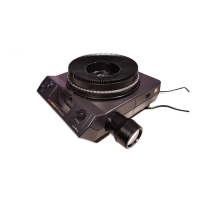
4.
Unplug the power and remote· control cords. Fold the
power cord
in
about 4·inch lengths and place It
In
the
cord compartment. Fold the remote· control cord
by
placing the ends together and
folding
it
in about
4'lnch
lengths. Place it
in
the cord compartment.
More Informati
on-
After reading this manual,
if
you
have
questions about the
use
of
your projector,
write
to Eastman Kodak Company,
Photo Information, Department 8
41
,
Rochester,
New
York
14650
.