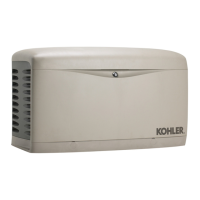
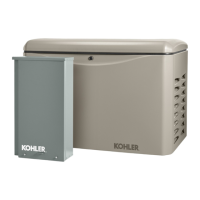
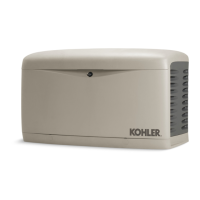
TP-6735 7/17100 Section 6 Disassembly/Reassembly
17. Reinstall the enclosure panels in reverse order of
removal. See Figure 6-29 and refer to the
disassembly instructions, if necessary.
a. Install the left side panel.
b. Install the exhaust end panel.
c. Install the front panel.
d. Install the right side panel and reconnect the
door latch rods (original latch design only). See
Figure 6-30.
e. Install the exhaust panels shown in Figure 6-31
or the thermal cover shown in Figure 6-32.
Note: On units with the thermal cover, do not
overtighten the locknuts. Verify that the
hinge bracket is allowed to pivot.
f. Install the front panel.
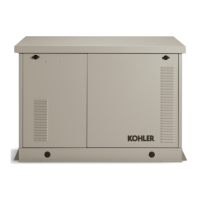
g. Install the generator set housing roof.
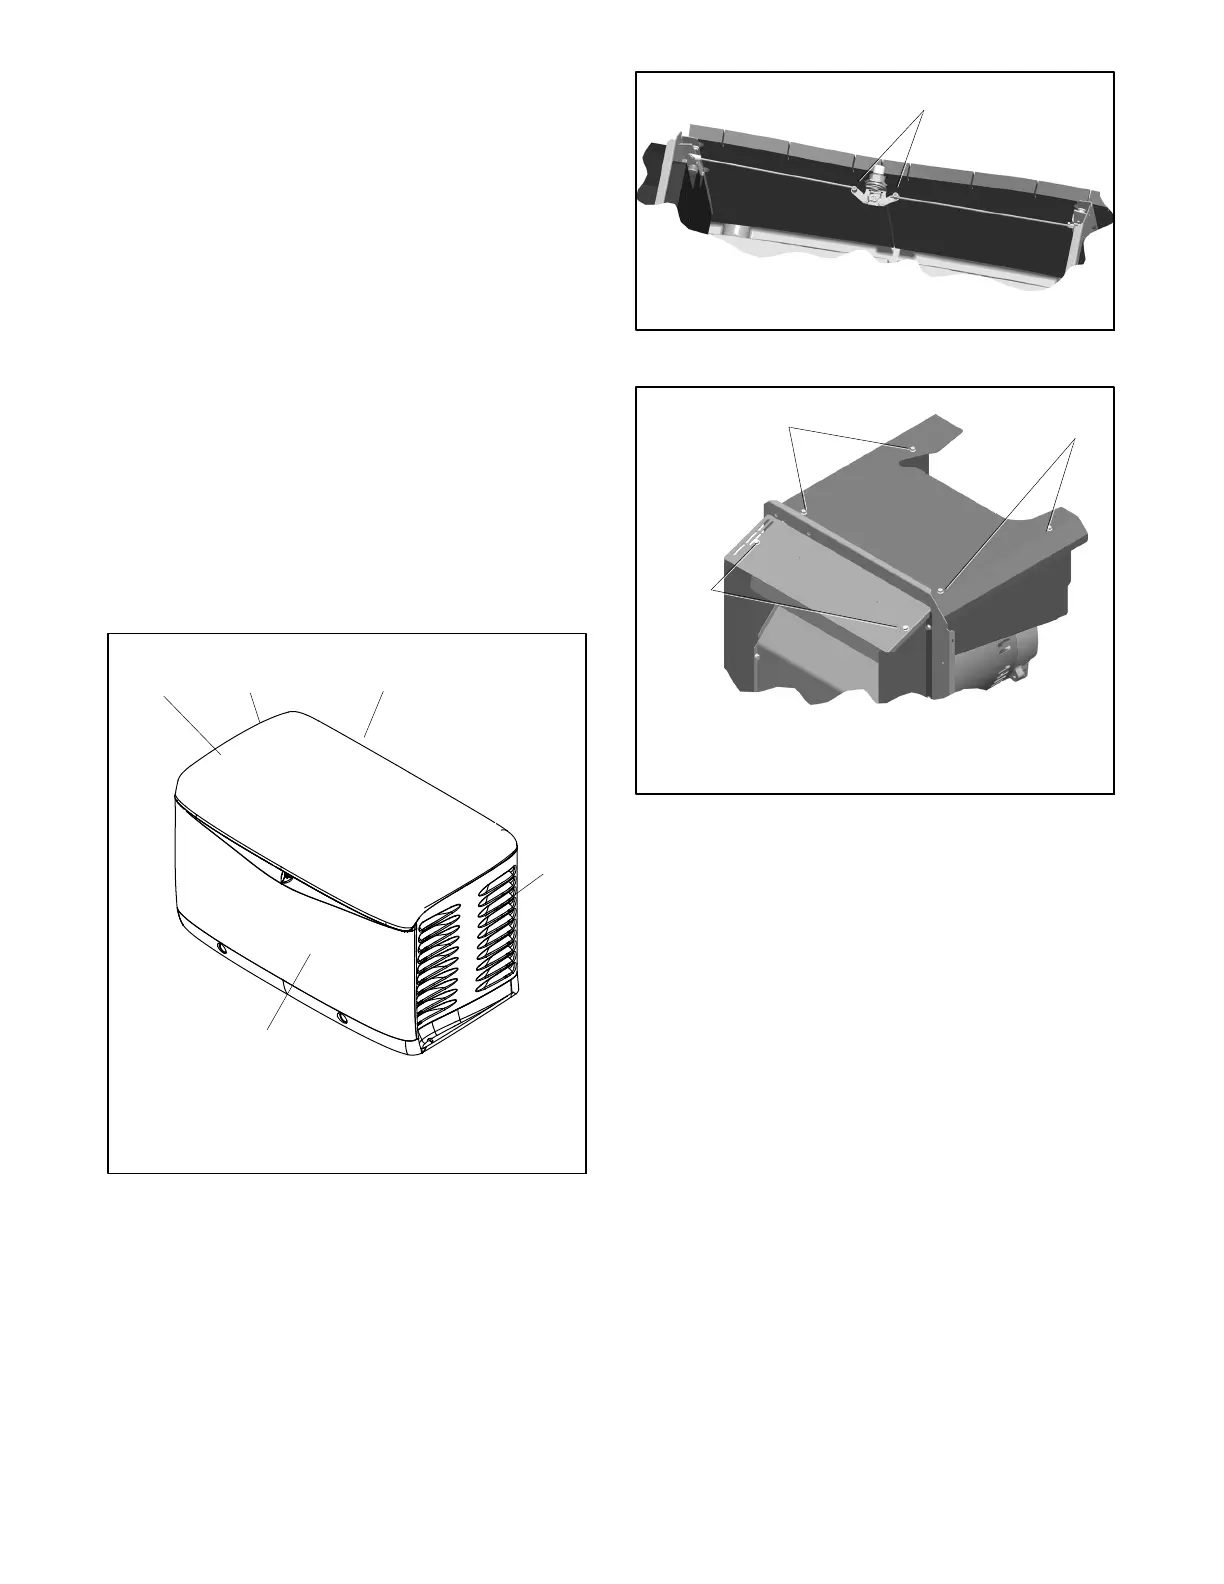
1. Roof
2. Rear panel (exhaust end)
3. Left side panel
4. Front panel (air intake end)
5. Right side panel
1
ADV7341
5
4
3
2
Right Side
Front (air
intake end)
Figure 6-29 Generator Set Enclosure
1
GM72523
1. Reconnect latch rods
Figure 6-30 Door Latch Detail
1
GM66564
1. Exhaust duct panel (4 screws)
2. Top exhaust panel (2 screws)
1
2
1
Figure 6-31 Exhaust Duct Top Panels (original)
18. Re-apply the 120VAC power supply to the
generator set by c losing the upstream circuit
breaker.
19. Turn on the fuel supply. Press RUN to start the
generator set and check for leaks with the engine
running.
20. Press OFF to turn off the generator set. Then press
AUTO if an automatic transfer switch or remote
start/stop switch is used.
21. Lower and secure the roof.
 Loading...