Vers. 220920 3
FRONT PANEL KEYBOARD
To enter the menu press the ESC key for 2 seconds.
Select the line by pressing or then press OK (the symbol
will turn into ). Press the or to select the required
value and then confirm through OK (or ESC if you don’t want
to save the value).
The selected values will be immediately operational, even if you
are still in the menu screen. Repeat the sequence for all the
parameters you wish to change and then push ESC to return to
the main screen.
Press RESET for 3 sec should you need to reset the screw, the
program or the sequence. If you want to see all the set
parameters press for 2 seconds, however you cannot modify
the displayed parameters on this screen.
LEDS ON FRON PANEL
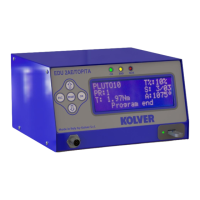
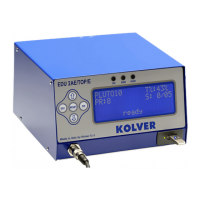
GREEN LED VERDE: indication of Screw OK.
YELLOW LED: indication of Programm End or Sequence End.
RED LED: any indication of error.
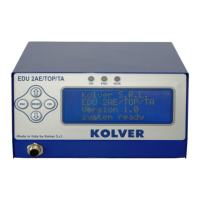
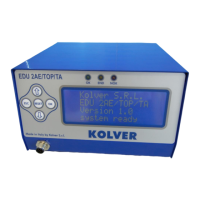
MAIN MENU:
Program setting: It indicates the menu section where you can set or modify the fastening parameters.
IMPORTANT: To work with switch box, socket tray and remote it is mandatory to go to Sequence
Menu (Ext Box: ON).
Sequence: It indicates the menu section where you can activate the sequence, the switchbox/socket tray
and the bar code.