Unit Options: It indicates the menu section where you can set date and time, the password and the
language.
USB Options: It indicates the menu section where you can view, upload and create programs setting
of the control unit.
PROGRAM MENU:
1) Program number: you can select/ modify the desired program from 1 to 8.
2) Screws number: The EDU2AE/TOP/NT/TA can act as screw counter. You can set the number of
screws from 1 to 99. To disable the function press until you get to OFF.
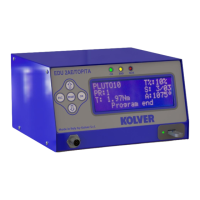
If the number of correct screws matches to the number of set screws, “PROGRAM END” will appear on the
status bar and the yellow led will light up. If the “Press OK” is ON (see point 18), “PROGRAM END” will
automatically disappear at next screwing or any time you enter the menu. Otherwise, press OK at the end of
each program.
ATTENTION: Every time you enter the menu, the number of screws will reset.
3) Model: you can select the screwdriver to be used. Your choice will automatically change the default
settings. It’s important to select the correct model you’re going to use since most parameters regarding the
motor software are specific to every single model.
IMPORTANT: For NATO..CA drivers, switch box, socket tray and remote it is mandatory to select
ON on Ext. Box in Sequence Menu.
4) Ramp: You can select the slow start time (acceleration) from 0.2 to 3.0 sec. This option is only available
for the screwing phase, while during the unscrewing phase the ramp time is always 0.2 sec. We suggest
using this option with self tapping screws.