36 Basic image processing
Basic image processing
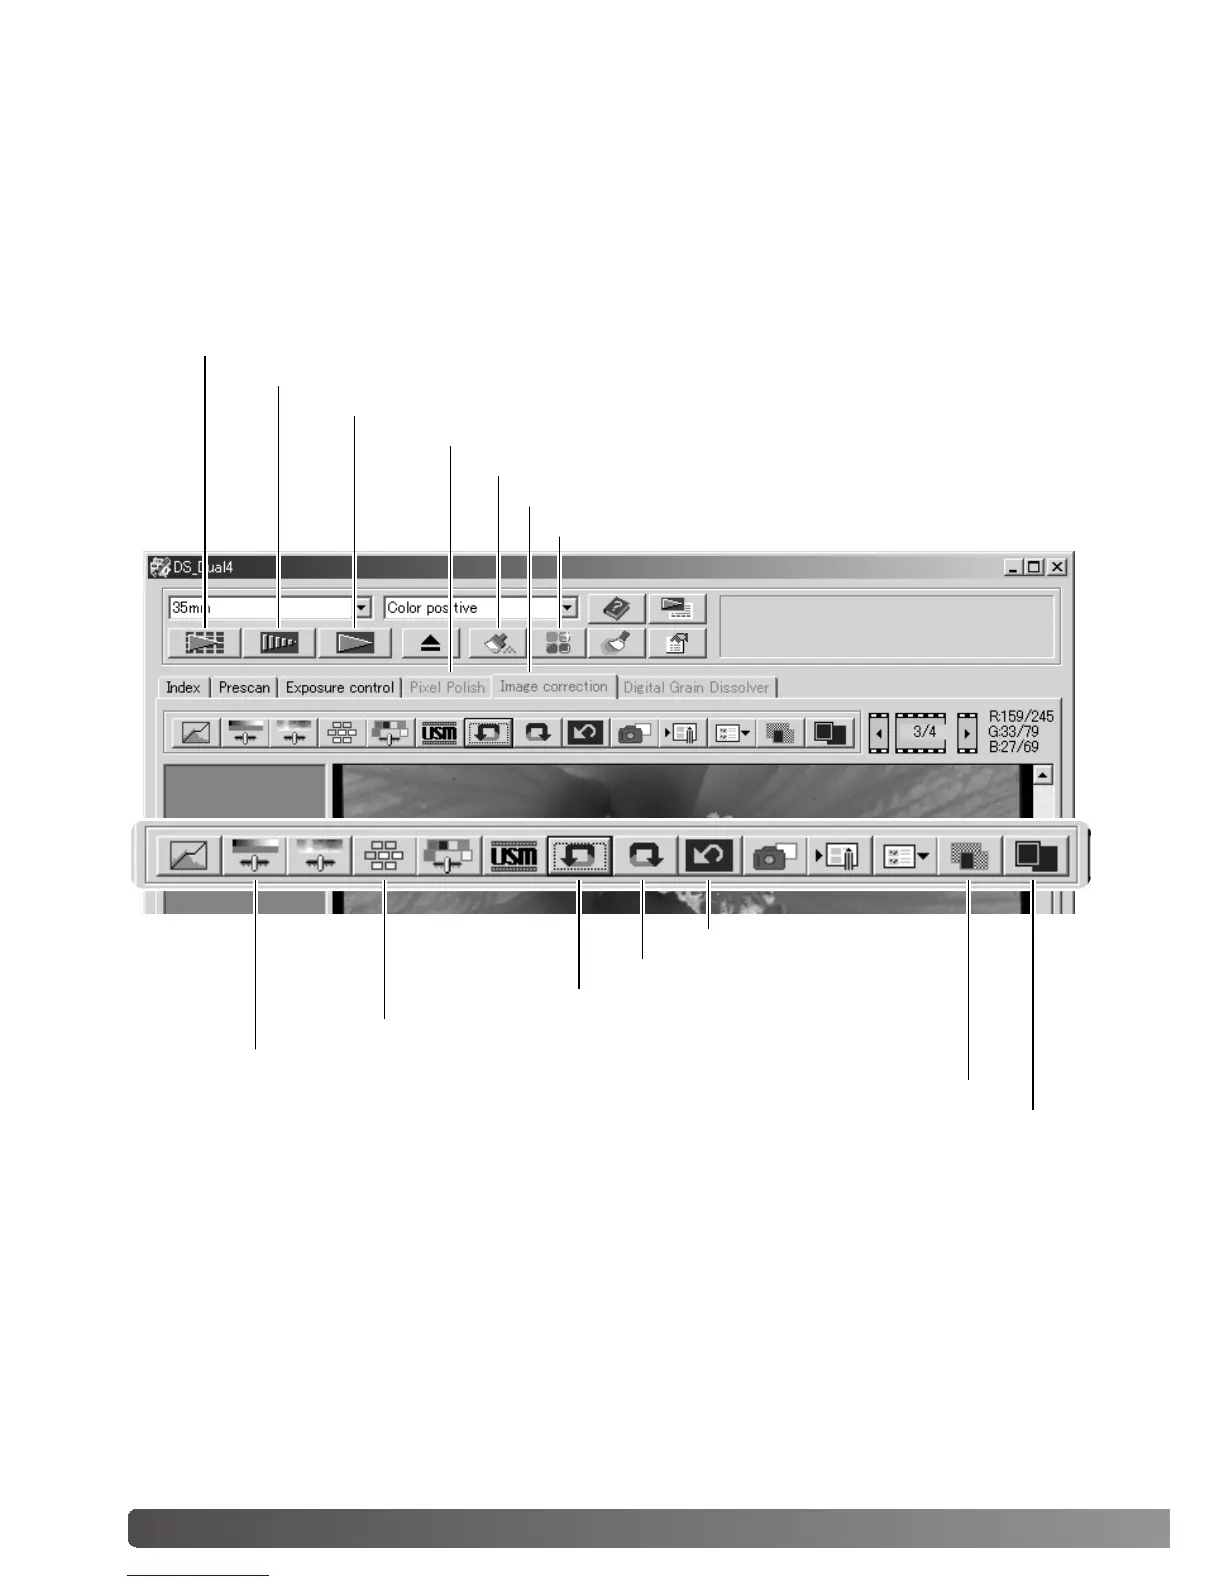
Main window and image-correction tab
Prescan button (p. 32)
Index Scan button (p. 30)
Scan button (p. 34)
Image-correction tab
Fit-to-window button (p. 31)
Display area
Comparison display button (p. 42)
Reset-all button (p. 42)
Redo button (p. 42)
Undo button (p. 42)
Variation button (p. 39)
Brightness, contrast, and color-balance button (p. 40)
This section contains details on the basic image-processing tools. For descriptions of the
advanced tools, see pages 58 though 73. The prescan image or a selected index image can be
displayed in the image correction window by simple clicking the tab. If the image has not been
prescanned, a prescan will be made automatically.
The utility window can be resized by clicking and dragging the bottom right corner. If the fit-to-
window function is active, the displayed image will automatically adjust to fit the display area. If
any changes are made to the image using Pixel Polish or the image-correction tab, the tab will
turn red (Windows) or an asterisk will be displayed (Macintosh).
Pixel Polish tab
Auto Dust Brush button (p. 38)
Pixel Polish button (p. 37)
 Loading...