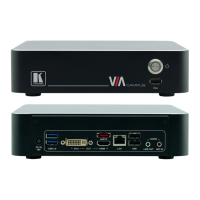
8 VIA Campus Upgrade Procedure
This section describes the procedure for upgrading the VIA Campus firmware.
8.1 Downloading the Upgrade File
1. Go to http://www.kramerelectronics.com/support/product_downloads.asp to
check for the latest available firmware upgrades.
2. Select the type of unit to upgrade.
3. On the same Web page, enter the serial number of your unit. Once the serial
number is approved you can download the upgrade file.
If there was an error in the serial number that was typed, you are
forwarded to the contact page for further support.
4. Save the downloaded file to your computer and extract all files.
8.2 Upgrading your VIA Campus
1. Save the Campus-1.8.1215.644.exe file to a USB drive that is connected to
your PC.
2. Make sure that your unit is connected to a display, powered and booted up
in the Campus mode.
3. Connect the USB drive to a USB port on the VIA Campus unit.The Cloud
window opens automatically and the Campus-1.8.1215.644.exe file appears.
4. Double-click Campus-1.8.1215.644.exe.
5. Follow the instructions on the screen.
The unit reboots upon completion of the process.
8.3 Verifying a Correct Installation
From your VIA Campus unit, click the Participants icon and check that the correct
software version appears on the right side of the screen.

 Loading...