800-447-8638
Settings
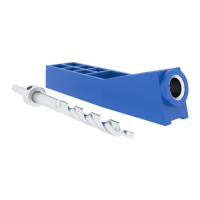
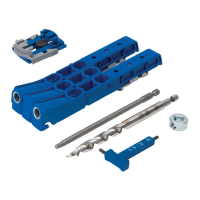
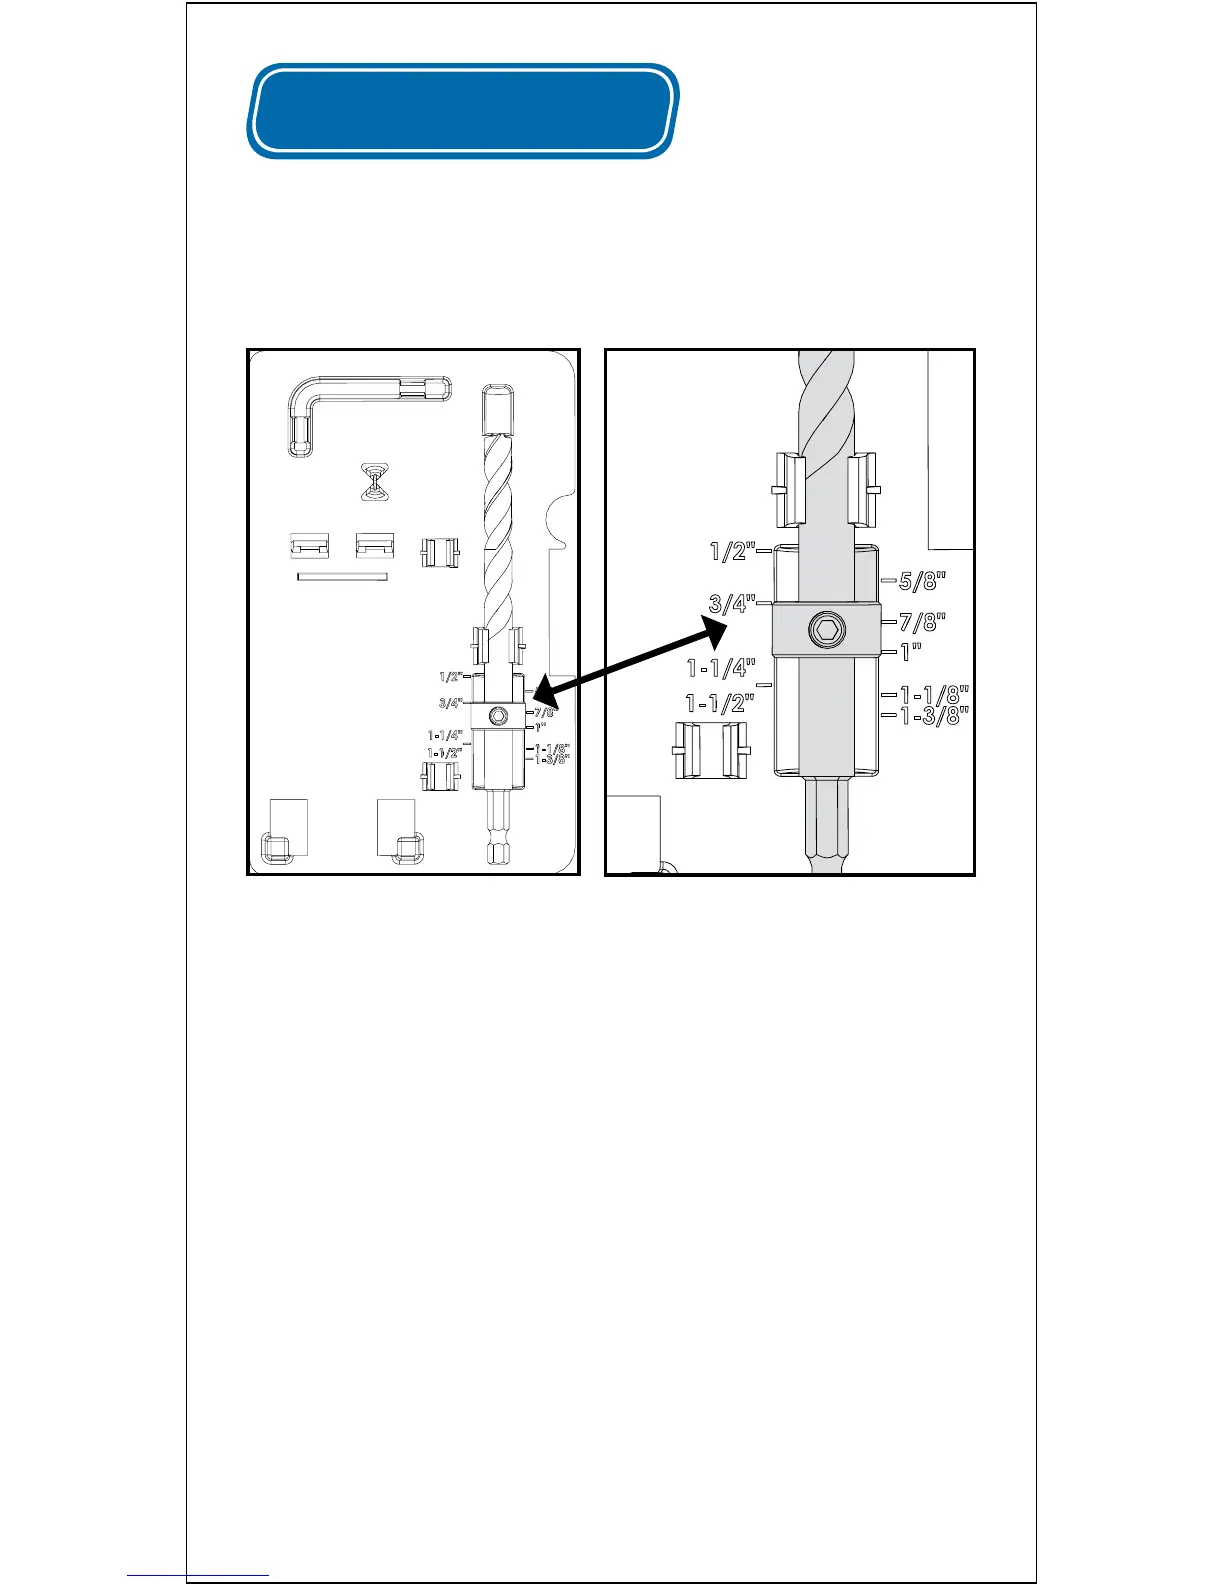
Step 1: Set the Drilling Depth
Slide the stop collar onto the drill bit. Insert the pilot tip of the
bit into the tip protector in the case tray, and snap the bit into
the depth-setting gauge so the stop collar rests in the recess
that has workpiece thickness marks along the edges. Push
the bit step tight against the tip protector and align the stop
collar with the mark that matches your workpiece thickness.
Tighten the stop collar set screw with the hex wrench included
with the jig.
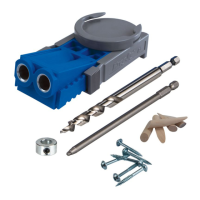
To create strong joints, you’ll set the drilling depth, adjust the
jig position sliders, and select a screw length to match the
thickness of the workpiece. The Kreg Jig
®
R3 makes this easy,
in just three simple steps:
The example shows the stop collar positioned for a ¾" (19mm)-
thick workpiece.
 Loading...