▪ When sliding the rotating assembly onto the shaft protecting sleeve, take
appropriate precautions to protect the shaft protecting sleeve's surface from
damage.
▪ On pumps with double-acting mechanical seal, properly vent the mechanical seal
chamber and apply the required pressure specified in the general arrangement
drawing (also during standstill).
▪ Also ensure quench liquid supply during pump standstill.
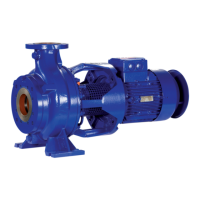
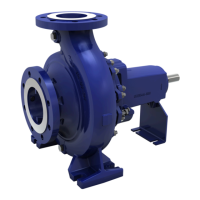
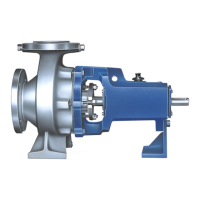
Installin g t h e mechanical s e a l - KWP 4K
✓ The assembled bearing and the individual parts of mechanical seal 433 are kept
in a clean and level assembly area.
✓ All disassembled parts have been cleaned and checked for wear.
✓ Any damaged or worn parts have been replaced by original spare parts.
✓ The sealing surfaces have been cleaned.
✓ The notes and steps stated in (⇨ Section 7.5.1 Page 54) to (⇨ Section 7.5.3 Page
55) have been observed/carried out.
1.
Insert thrust ring 474 into the turned recess on the rear side of the casing cover.
2. Push springs 477 onto socket head cap screws 914.
3. Apply a thread-locking compound to screws 914 (recommendation).
4. Thread socket head cap screws 914 with fitted springs 477 through the holes in
thrust ring 474 and fasten them inside the pump cover.
Important: Make sure that thrust ring 474 can move freely. Do not screw on the
thrust ring.
Tightening torque (⇨ Section 7.6.1 Page 64)
CAUTION
Contact of O-ring with lubricant made of mineral grease or oil
Damage to the O-ring!
▷ Make sure that O-rings made of ethylene propylene rubber cannot come into
contact with mineral oil or mineral grease.
▷ Make sure that O-rings made of silicone rubber cannot come into contact with
silicone oil or silicone grease.
5. Coat O-ring 412.02 and the groove in the casing cover with a suitable lubricant.
6.
Insert O-ring 412.02 into the groove of the casing cover.
7. Carefully install spring-loaded ring 472.
Important: Make sure that thrust ring 474 can move freely.
8. Mount the complete discharge cover with joint ring 411.10 on bearing bracket
lantern 344.
9. Tighten hexagon head bolts 901.22.
Tightening torque (⇨ Section 7.6.1 Page 64)
10. Insert O-ring 412.01 for seat ring 475 into shaft sleeve 523.
CAUTION
Use of grease or other permanent lubricants
Hinders torque transmission! Overheating of and damage to the pump!
▷ If required, use soft soap to reduce friction.
Never use grease or other permanent lubricants.
▷ Do not coat seal faces with grease or oil.
11. Carefully push in seat ring 475.
12.
For bearing brackets P08sx/P10ax/P12sx (sizes 80, 100, 120):
fit two torque-transmitting pins into the seat location of shaft sleeve 523.
Make sure the two pins engage in the recesses provided in the seat ring.
13. Dry and clean the seal faces.
7 Servicing/Maintenance
KWP
57 of 78