4. Undo socket head cap screws 914.02 or (for bearing brackets P10ax, P12sx)
hexagon head bolts 901.95.
5.
Use grub screws 904.01 or (for bearing brackets P10ax, P12sx) hexagon head bolts
901.91 to pull the rotor back out towards the drive.
6. Re-adjust the gap between impeller and wear plate as per the corresponding
table and Fig. 22 "KWP clearance gaps".
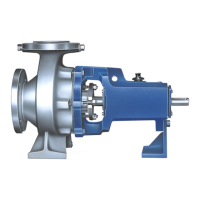
7. Bearing brackets P03ax, P04ax, P05ax, P06x
Fasten the rotor by tightening socket head cap screws 914.02. The grub screws
ensure the clearance.
Bearing bracket P08sx
Fasten the rotor by tightening hexagon head bolts 901.95. Grub screws 904.01
ensure the clearance.
Make sure the remaining gap between the bearing bracket and the bearing
carrier is from from grease. Then close it with acrylate sealant.
Bearing brackets P10ax, P12sx
Fasten the rotor by placing shims 89-4.12 on hexagon bolts 901.95.
Tighten hexagon head bolts 901.95.
Hexagon head bolts 901.91 ensure the clearance.
Make sure the remaining gap between the bearing bracket and the bearing
carrier is from from grease. Then close it with acrylate sealant.
Tightening torque (⇨ Section 7.6.1 Page 64)
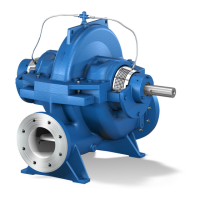
Free flow i m p eller (KWP F)
✓ The notes and steps stated in (⇨ Section 7.5.1 Page 54) to (⇨ Section 7.5.6 Page
61) have been observed/carried out.
1.
Undo socket head cap screws 914.02.
2. Screw in grub screws 904.01 to pull back the rotor until it will not go any further
(impeller back vanes at discharge cover 163).
3. Measure the axial clearance between bearing bracket 330 and bearing carrier
382.
4. Undo grub screws 904.01 and use socket head cap screws 914.02 to push the
rotor 1.5 mm towards the pump end.
5. Fasten the rotor by tightening grub screws 904.01.
Tightening torque (⇨ Section 7.6.1 Page 64)
Remaining i n s tallation ins t r u c tions (for al l i m peller types)
1. Fit forcing screws 901.30 on bearing bracket lantern 344 and forcing screws
901.31 on discharge cover 330.
2. For components which are not rotation-symmetrical, fit guard 680.11 (perforated
plate) to bearing bracket lantern 344.
Threaded holes 12 x M6 x 10 are provided.
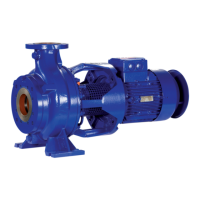
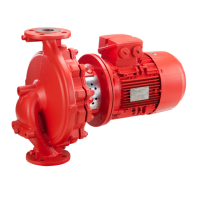
7.5.8 Mounting the motor
Model wit h c o upling
NOTE
Steps 1 and 2 do not apply to versions with spacer-type coupling.
✓ The notes and steps stated in (⇨ Section 7.5.1 Page 54) to (⇨ Section 7.5.6 Page
61) have been observed/carried out.
1.
Shift the motor to align it (⇨ Section 5.7 Page 32) and couple it to the pump.
2. Fasten the motor to the baseplate.
3. Connect the motor to the power supply (see documentation by the
manufacturer).
7 Servicing/Maintenance
62 of 78
KWP