7 Maintenance/Conservation
7.1 General instructions
Before dismounting, ensure that:
The motor must not be started up involuntarily, and
so must be disconnected from the grid (e.g.
removing cut-outs, unplugging, disconnecting the
automatic circuit breaker, etc.) or the start-up batteries
(disconnect operating energy).
The pump is free of pumped fluid, cleaning it
internally with appropriate liquid whenever it is a
hazardous fluid (hot, contaminant, inflammable…).
7.2 Maintenance/inspection
7.2.1 Checking instructions
During the first minutes of operation:
In cases of gasket seal:
- There is no leak; immediately loosen the gland to obtain
small dripping.
- Excessive fluid leak; leave to settle for 10 minutes; tighten
the gland by turning 1/6th and leave for 5 minutes.
Repeat the process until between 20 and 60 drops per
minute are achieved.
After a few hours operation:
Check the bearing temperature at the point in
the bearing location area. Normal
temperature can reach up to 40°C above environmental
temperature, but must never exceed 90°C.
Observe the anomalies indicated in point 8 of this manual
The reserve pumps should be started up and shutdown once
a week, in order to ensure they are always in service
conditions.
7.2.2 Lubrication
The attached chart shows which models have friction bearing
bushes and which have bearings.
BEARINGS:
Lubricated with pumping fluid:
The pump bearings are lubricated with the pumped fluid.
Lubricant is not required.
FRICTION BEARING BUSHES:
Lubricated with pumping fluid: The pump friction bearing
bushes are lubricated with the pumped fluid. Lubricant is not
required.
7.3 Emptying/Drainage
The emptying and drainage of pumps used to expel
liquids which are a health hazard must be carried out
in such a way as there is no risk to people or to the
environment, in line with legislation. If necessary, use
protective clothing and mask.
7.4 Dismounting
7.4.1 Fundamental instructions/observations
Before dismounting, ensure the pump cannot
be started up.
The suction and impulsion valves must be closed.
The pump frame must have returned to environmental
temperature.
The pump frame must be depressurised and emptied.
Comply with all safety measures in accordance with 7.1.
When working on the motor, also take into account the rules
and instructions of the manufacturer.
7.4.2 Tubular coupling guards
When dismounting, follow the steps indicated in the chapter
on assembly but in reverse order.
7.4.3 Coupling
Flexible coupling
1. Remove the protection or coupling guard.
2. Uncouple the pump from the motor. Release the
motor attachment bolts and remove the motor along
with the male coupling.
3. If the pump needs repairing, release the base frame
attachment nuts (support).
4. If you need to release the coupling, use an extractor.
Never bang in order to extract, as this may cause
serious damage to the bearings or friction bearing
bushes.
Rigid coupling
1. Release the complete pump (see section 7.4.6),
leaving the pump only with the pump shaft.
2. Release the screw from the fastener.
3. Remove the motor.
7.4.4 Mechanical seal
- Dismount in reverse order to assembly.
7.4.5 Lip seals
1. Dismount the pump completely in other to extract
them. Remove the circlip which secures the lip seals in
the casing.
2. Do not use any sharp tools to remove them, as this
may cause damage.
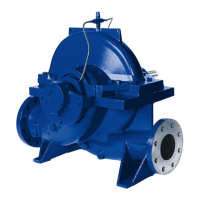
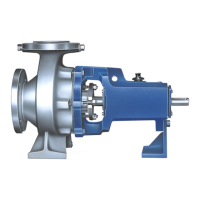
7.4.6 Pump
It is necessary to dismount practically the entire pump in order
to extract the bearings, shaft, etc.
To do this, observe the attached sectional plan.
As a general guide to dismount the equipment, follow these
steps:
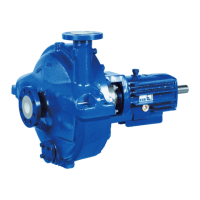
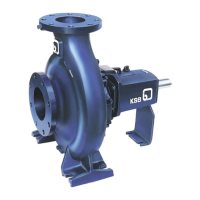
Close coupled pumps (RC-00 and RC-01)
- Release and remove the pump cover, along with the
bypass or relief valve.
- Remove the gears.
- Release and extract the pump casing along with the lip
seals. (To extract the lip seals, see point 7.4.5).
- Release the rigid coupling. (see point 7.4.3).
 Loading...