RC and RCV pumps (except Close coupled)
- In the RCVs, release the motor and move it along with its
coupling part. Release and remove the pump from the
pedestal. Remove the coupling and the auxiliary pipes.
- Remove the coupling guard in the RCs and then the
coupling as described in point 7.4.3, along with the
auxiliary pipes.
- Release the cover from the motor side, where the
mechanical seal is contained. To dismount the seal, see
point 7.4.4.
- Remove the cover from the side opposite the shaft. The
friction bearing bushes will now be visible (in models RC-
1, RC-1 ½ and RC-2), or the bearings in the other
models. Then:
- Remove the fiction bearing bushes in the small
models.
- In order to extract the bearings, first release and
remove the intermediate supports which contain
them.
- Remove the gears.
- Release the pump casing.
Failure of the bearings may cause ignition through increased
heat on the surface of the bearings. This can be avoided by
using officially approved quality bearings, which are supplied
as original spare parts.
7.5 Assembly
7.5.1 Tubular coupling guards
1. Install the distancer cylinder and seal using the
fasteners.
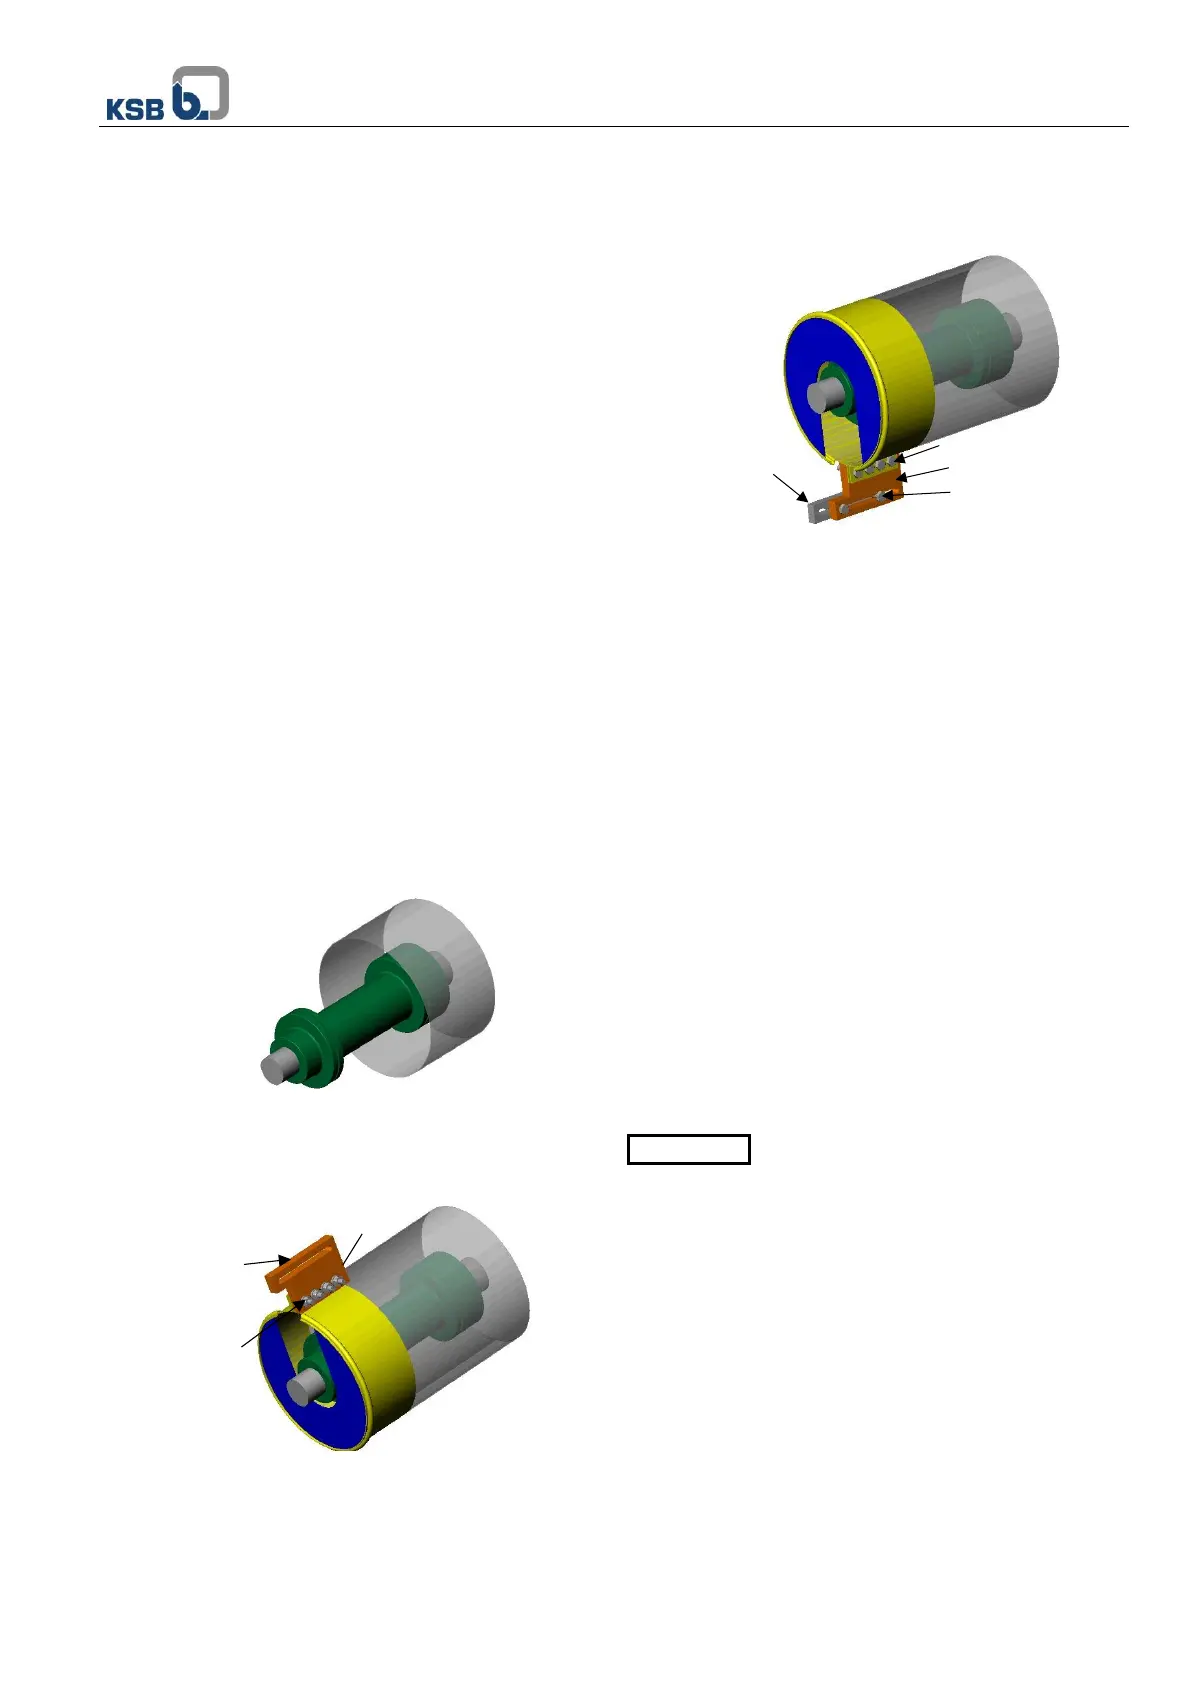
2. Position the side cover (2) leaving the rims (3) in the
upper section.
3. Position the side cover (2) leaving the rims (3) in the
upper section.
4. Without tightening the screws (4) completely, turn the
equipment around the shaft.
5. Adjust the length of the covers so the shaft and
coupling are fully covered.
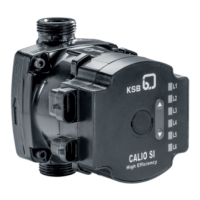
6. Secure the lifting plate (5) to its support (6) using the
corresponding screws (7). If there is no lifting plate,
the locking screws (4) are longer and also fulfil this
function.
7. Finish tightening the locking screws (4).
7.5.2 Coupling
Flexible coupling
1. Mount the pump (when it has been dismounted) and
tighten the attachment nuts with the support bench.
2. Couple the pump to the motor. Position the motor in
place, introducing the male coupling. Position the
pins, but DO NOT tighten them until alignment is
complete.
3. Align the coupling (see point 5.2 of this manual).
4. Mount the protection or coupling guard.
Rigid coupling
Proceed in reverse order to dismounting, and then align in
accordance with point 5.2.
7.5.3 Mechanical seal
- Mount the fixed part of the mechanical seal in the cover.
- Mount the rotating part of the seal on the shaft, taking
care not to damage the O-ring.
- Mount the cover until it makes contact.
- Firmly tighten the cover attachment nuts.
- Finish mounting the pump.
For the correct operation of the seal it is
necessary to at least:
- Take great care when cleaning the different parts of the
mechanical seal, especially the contact faces. Do not use
lubricant; use only clean water with a cloth for cleaning
optical devices.
- Not damage the O-rings during assembly.
- Not turn the mechanical seal while dry.
7.5.4 Lip seals
- Always mount the lip seals with the lip facing towards the
inside of the pump.
7.5.5 Pump
Pump
Mount the pump in reverse order to when dismounting (see
point 7.4.6)
 Loading...