10 PDX3000 Quick Start Guide 11
1. Introduction
1.1 Welcome
Thank you for choosing a Lab.gruppen PDX Series product. This manual provides a comprehensive guide to the features and functionality of PDX Series model
PDX3000 and PDX2000 ampli ers. We highly recommend you read through this manual in its entirety to become fully acquainted
with con guration options and
protection circuitry. As you become thoroughly familiar with all aspects of operation, you may learn of features or options that will a ect your choices on ampli er
modes or loudspeaker system con guration.
Lab.gruppen PDX Series power ampli ers are designed and built with competitive price and good performance and protection features in mind. Although the PDX
Series features a competitive price, each ampli er draws on the engineering that has made Lab.gruppen the benchmark of quality for touring concert systems:
exceptional sonic performance, rugged construction, proven reliability, and protection features that anticipate every unwelcome possibility – that is the core of the
“Show must go on” design philosophy that every Lab.gruppen product is created with, with a well matched feature set per product range depending on the expected
application. This manual was created for the PDX Series 3000 and 2000 ampli er models. Any references to “PDX Series” in this manual refer to all models in the range.
1.2 Features
Your new PDX Series ampli er incorporates a number of sophisticated technologies – many of them proprietary to Lab.gruppen – that ensure the best
possible performance and years of reliable operation. Familiarizing yourself with these technologies will prove invaluable in setting up and optimizing your
loudspeaker system.
1.3 Class D output stage
All PDX Series ampli ers employ our unique IDEEA Class D output stage that is ideally matched to the rated power output. To provide exibility, each channel o ers
su cient voltage swing and current capacity to drive loads in any impedance without any additional con guration. In order to have low thermal losses as well as a
high voltage swing, the design is based on a permanently bridged output.
1.4 Protection and performance optimization
Appropriate and reliable power ampli cation is vital to any audio system. Inadequate or faulty power ampli ers could cause damage to loudspeakers, or in some cases
to the power ampli ers themselves. To prevent damage or service interruptions, PDX Series ampli ers o er advanced features to protect both internal circuits and
connected loads. These features are part of the Lab.gruppen philosophy “Show must go on”.
Standard on the PDX Series protection features include:
• CPL (Current Peak Limiter) ensures that the ampli er’s output does not exceed the safe current handling parameters of the ampli er components.
• Temperature protection ensures that the ampli er will not be damaged by exceeding thermal limits. The RDY LED ashes orange when the ampli er approaches
thermal limits to allow user action before protective muting engages.
• DC protection ensures destructive DC signals will not appear at the ampli er outputs. If such conditions occur an internal fuse opens.
• RSL (Rail Sensing Limiter) is applied to avoid distortion at the selected voltage limit threshold and to avoid hitting the rail if it has sagged below the con gured
threshold. Limiting also may be applied when maximum output current has been reached or when the mains voltage is too low to maintain required rail voltage.
Limiting activity is shown by the front panel Limiter LED
1.5 DSP features and PDX controller software
PDX series feature a comprehensive DSP functions such as crossover, parametric EQ, delay, limiter, dynamic EQ and input mixing, making the PDX series suitable for
a broad range of installed and touring applications. The PDX series can be controlled through the usage of front panel or PDX Controller software by connecting to a
PC with USB.
1.6 Unpacking and visual checks
Every Lab.gruppen ampli er is carefully tested and inspected before leaving the factory and should arrive in perfect condition. If any damage is discovered,
please notify the shipping carrier immediately.
Save the packing materials for the carrier’s inspection and for any future shipping.
1.7 Cooling
The PDX Series devices use a forced-air cooling system with front to rear air ow, allowing high continuous power levels without thermal problems.
Please ensure that there is su cient space in the front and rear of each ampli er to allow free
ow of air, no doors or covers should be mounted either in the front or
rear of the ampli ers.
Ampli ers may be stacked directly on top of each other with no spacing, though some spacing may enable more convenient installation of rear cab
ling.
Fit solid blanks (not ventilation blanks) to unused rack spaces to ensure e ective air circulation. Leaving gaps in between items of equipment degrades the
e ectiveness of forced-air cooling.
1.8 Operating voltage
Always connect your PDX ampli er to the voltage speci ed on the rear of the device. Connecting the amp to an incorrect voltage can permanently damage your amp.
• USA / Canada / Japan = 100-120 V~, 50/60 Hz
• UK / Australia / Europe / Korea / China 220-240 V~, 50/60 Hz
The locking IEC receptacle on the rear panel accepts the supplied IEC cord which terminates in a connector appropriate for the country of sale.
2. Control
2.1 Front Panel
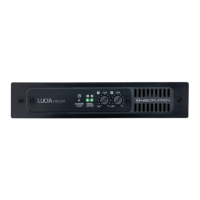
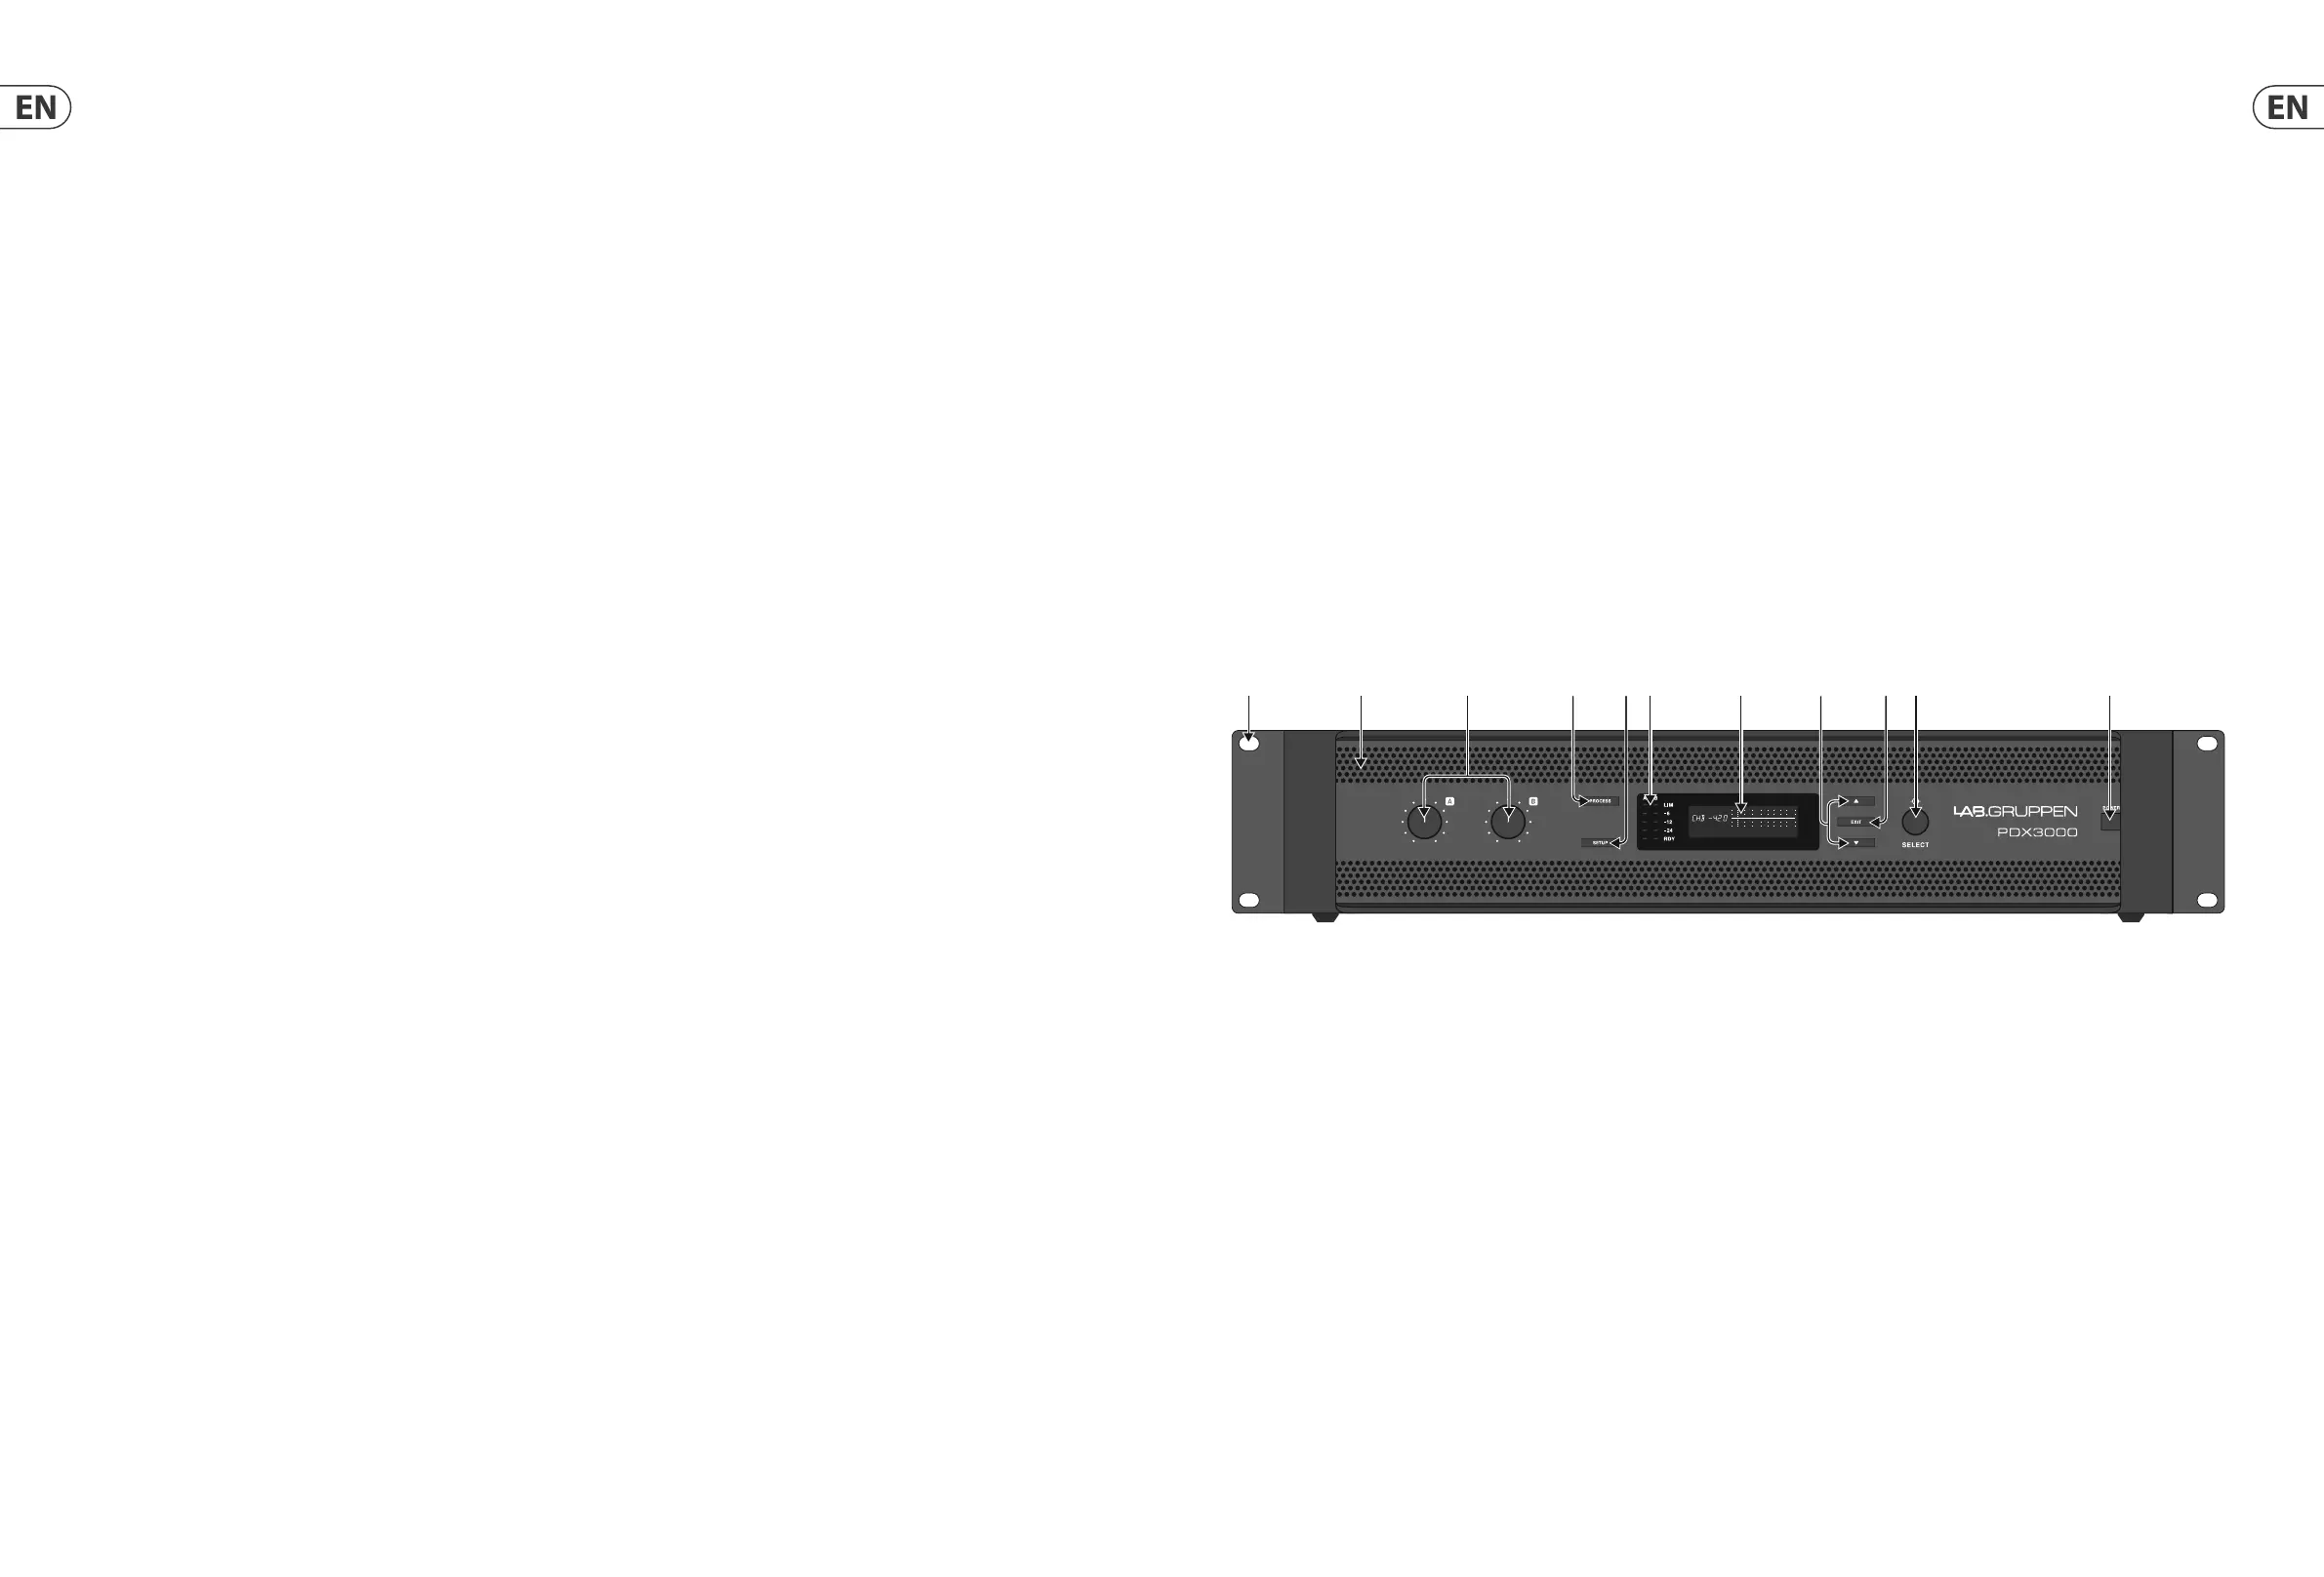
The following indicators and controls are available on the front panel (Fig. 1):
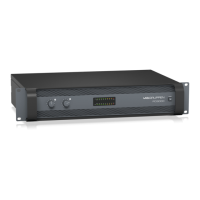
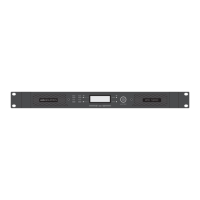
Fig. 1: PDX3000 Front Panel
(1) RACK EARS secure the unit into a rack using four attaching screws and washers (fasteners not included). The height requires two rack units.
(2) VENTILATION openings allow front-to-rear air circulation to prevent overheating.
(3) INPUT CONTROLS adjust the input level for each channel. To attenuate the input signal, rotate the knobs counter-clockwise.
(4) PROCESS button steps through the DSP processing modules.
(5) SETUP button accesses basic device con guration functions such as presets, panel lock, device name and screen contrast.
(6) LEVEL LEDs display the signal level for each channel. Reduce the input gain if a channel’s red LIM LED lights up continuously.
(7) LCD SCREEN displays the current DSP module and parameter settings.
(8) UP/DOWN buttons navigates through menus by stepping up/down through parameters.
(9) EXIT button acts as a “back” button
and takes you back one step in the menu hierarchy per press.
(10) SELECT encoder knob toggles between Graphic and Edit modes (when pressed) and changes parameter values (when rotated).
(11) POWER button turns the amplifier on and off.
 Loading...