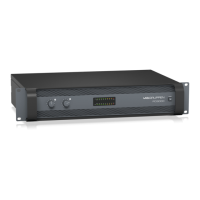
14 PDX3000 Quick Start Guide 15
4. DSP Processor
4.1 Processor Functionality
The PDX DSP processor manipulates your signal in the digital domain, o ering tremendous exibility and control. You may control and program the DSP processor via
either the PDX ampli er’s front panel or remotely by computer using the PDX Controller software (available for download from labgruppen.com).
By using the DSP processor, you can program all ampli er functions and parameters—except for the CH A and CH B input attenuation settings, which can only be
controlled using the CH A / CH B knobs on the ampli er’s front panel.
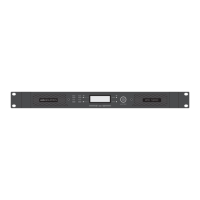
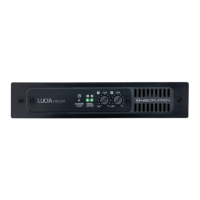
4.2 Front Panel control
The following material describes the DSP’s screen organization and how to program the processor’s various functions by manipulating your PDX ampli er’s
front panel controls.
Main top-level screen
The top-level screen displays the model name for your speci c unit..
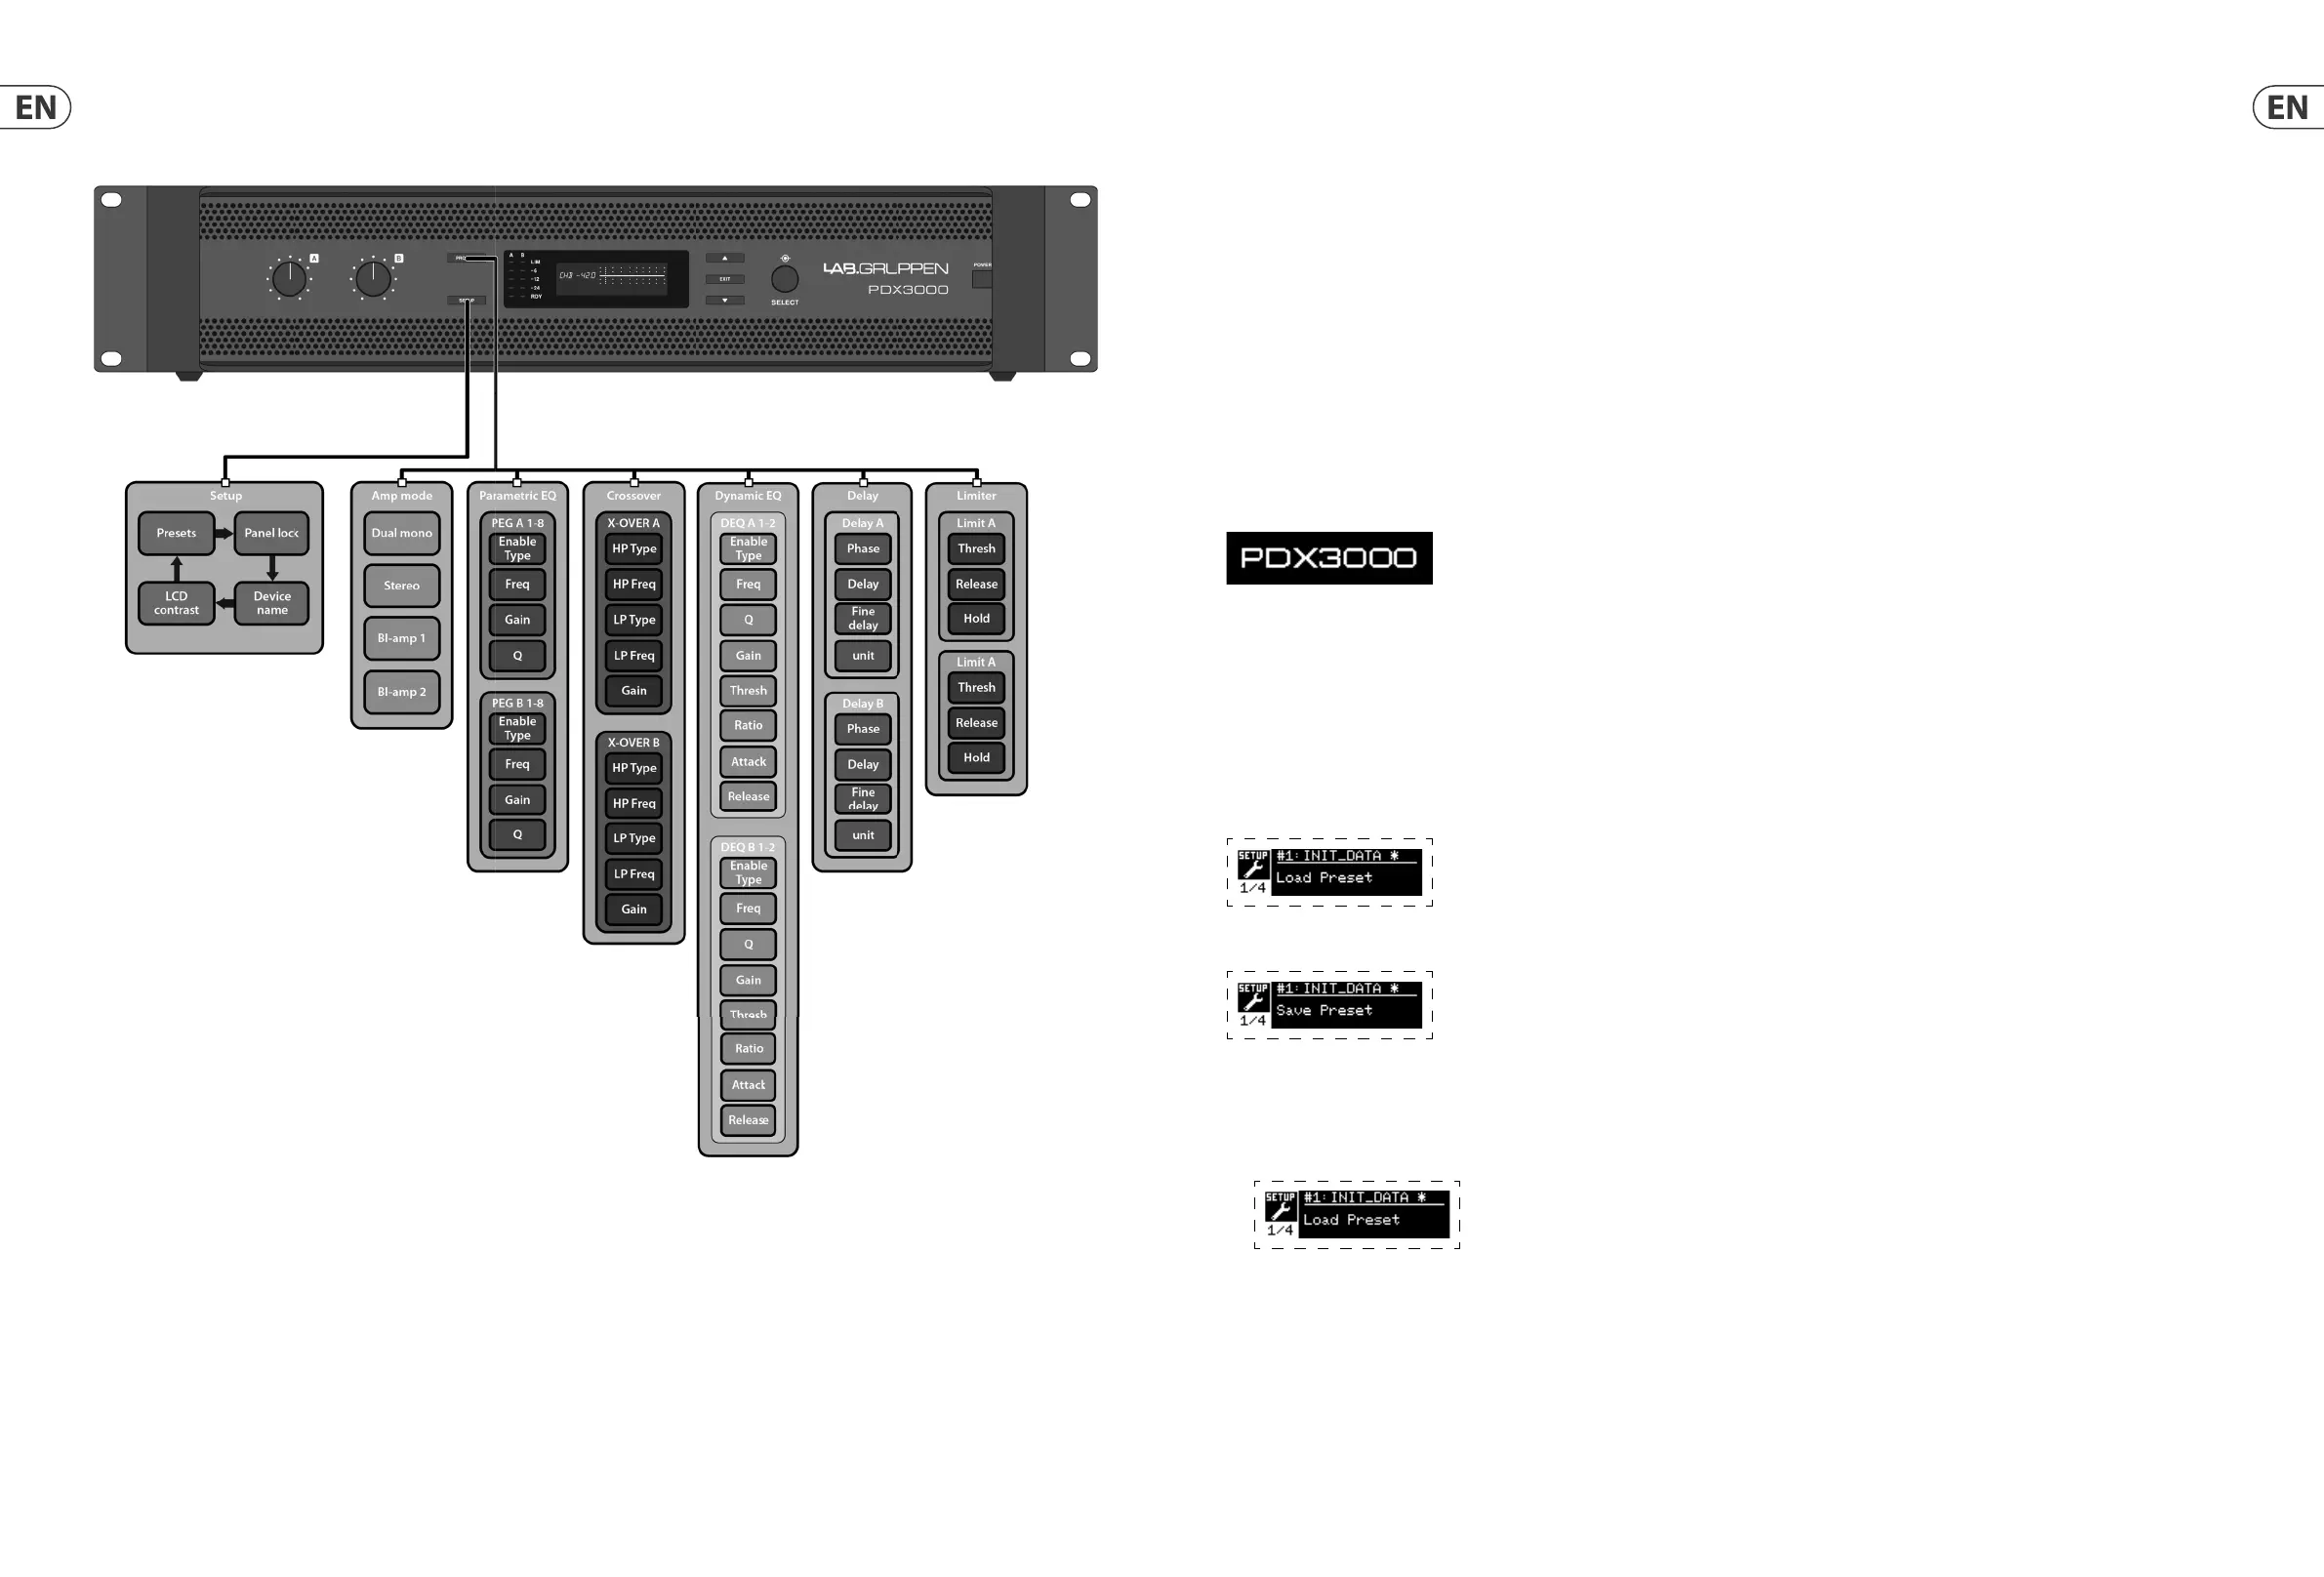
4.3 SETUP screens
The SETUP screens access the preset, panel lock, device naming, and LCD screen contrast functions. To access these functions, press the SETUP button, and then move
up and down through the top-level screens by pressing either the SETUP button or the UP / DOWN arrow buttons.
4.3.1 SETUP 1/4: Load Preset
The top-level Load Preset screen displays the current Preset name (up to 10 characters) and Preset number (1–20). Subsidiary screens o er options for loading, saving,
and naming Presets.
Below the Preset name, this screen displays the “Load Preset” option by default. Rotate the SELECT encoder clockwise to access the “Save Preset” option.
Note: Preset #1:INIT_DATA cannot be overwritten. Select this preset any time you want to restore the amp’s default settings.
Loading a Preset
1. Make sure the “Load Preset” option appears on the screen. (Rotate the SELECT encoder to toggle between “Load Preset” and “Save Preset.”)
2. Press the SELECT encoder knob to access the DSP’s internal Preset list on the next sub-screen. The correct sub-screen will display the LOAD PRESET option in the
upper right-hand corner of the screen.
3. Scroll up and down through the Preset list by rotating the SELECT encoder knob. As you scroll, the Preset number will appear to the left below the disk icon.
4. To load the selected Preset, you may either press the SELECT encoder or press the UP arrow button.
3.3 Front panel configuration
Input mixing and routing, as well as all DSP parameters, may be con gured using the PROCESS button, SETUP button, UP/DOWN buttons, EXIT button and the SELECT
rotary encoder. The following menu tree (Fig. 4) is keyed to points in the signal ow.
Fig.
4: Front Panel Menu Tree
 Loading...