Spartan 821/721 Manual Display Overview 13
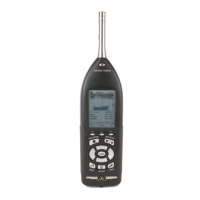
2.3.2 Calibrating Your Instrument
The meter has an automatic calibration feature that allows you to calibrate from any view
as long as the meter is stopped and reset. You may turn off the auto-calibration feature in
the Calibration settings. You may also begin a calibration from the Tools Calibrate.
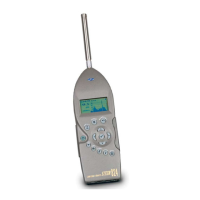
Step 1. Insert the microphone into the opening at the bottom of the calibrator.
Step 2. Turn on the calibrator.
TAKE NOTE The calibrator turns off after one minute. Press the power button
again to reset this time.
Step 3. The meter displays the “Calibrating” dialog, which shows the Measurement
level (dB), the Calibrator level setting (dB), and the detected change (Delta dB).
Step 4. Select Accept when complete.
TAKE NOTE If you receive an error message (such as Calibration Out of Range),
select Cancel. Verify that the calibrator level and your meter’s calibrator setting
are the same. Ensure the calibrator is seated correctly on the microphone. Then
perform the calibration again. If the problem persists, contact support.
2.3.3 About Scheduling Factory Calibration
Service and certified internal calibration for your meter at the factory may be scheduled at
your convenience. We recommend either annual or biennial factory calibration.
The data from the factory calibration is stored in the meter and stated in the
documentation that returns with your meter.
2.4 Display Overview
In this section:
• 2.4.1 Understanding Status Bar and Indicators
• 2.4.2 Navigating the Meter’s Display
• 2.4.3 Tools Menu Overview
• 2.4.4 Display Settings