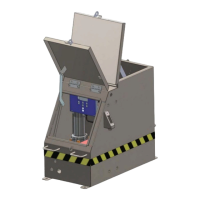
Page 9PROTECTOR® IV Top of Rail Installation, Operation & Maintenance Manual
Solar Panel Wiring
The 35 ft. (10.7 meter) long power cable is factory installed to the solar panel at the junction box with spade
terminals. The wall connector nut of the junction box is tightened securely, causing the bushing to grip the
%">6*&03+6(@&#.&"&6$H2$;&)$14)&#*"6&$#&8.3+*;9&'*%23*&)4*&%">6*&).&)4*&<"/*6G+.2/)$/1&<.6*&"#&3*H2$3*;9
Electrical Connections
Connect the solar panel to the PROTECTOR IV battery as follows:
1. Remove any cover you have placed over the panel and peel away the protective panel guard protection.
2. Perform the following tests before beginning installation:
a) Using a voltmeter capable of reading 25v DC, check the panel output between the battery (+) and (-) in
the junction box or at the end of the cable. If the panel output exceeds 15v DC, check regulator wiring
for proper connections, as shown in troubleshooting. Replace the regulator if defective.
b) Check the battery’s voltage. If the voltage is below 11.5v DC, the PROTECTOR IV will not function
properly and the battery will need to be charged.
Note: Charge battery through solar panel output until battery voltage exceeds 12v DC.
BEFORE PROCEEDING, MAKE SURE THE SOLAR PANEL IS COVERED TO ELIMINATE ELECTRICAL
POTENTIAL AND TO AVOID SHOCK HAZARD DURING THE NEXT PHASE OF ASSEMBLY.
3. Attach ring terminals to the solar panel cable wires, connecting the red wire to the positive battery terminal
and the black wire to the negative battery terminal.
ENSURE RED WIRE IS CONNECTED TO THE POSITIVE (+) AND BLACK WIRE IS CONNECTED TO THE
NEGATIVE (-) TERMINAL OF THE BATTERY. CROSSED WIRES WILL CAUSE EQUIPMENT DAMAGE.
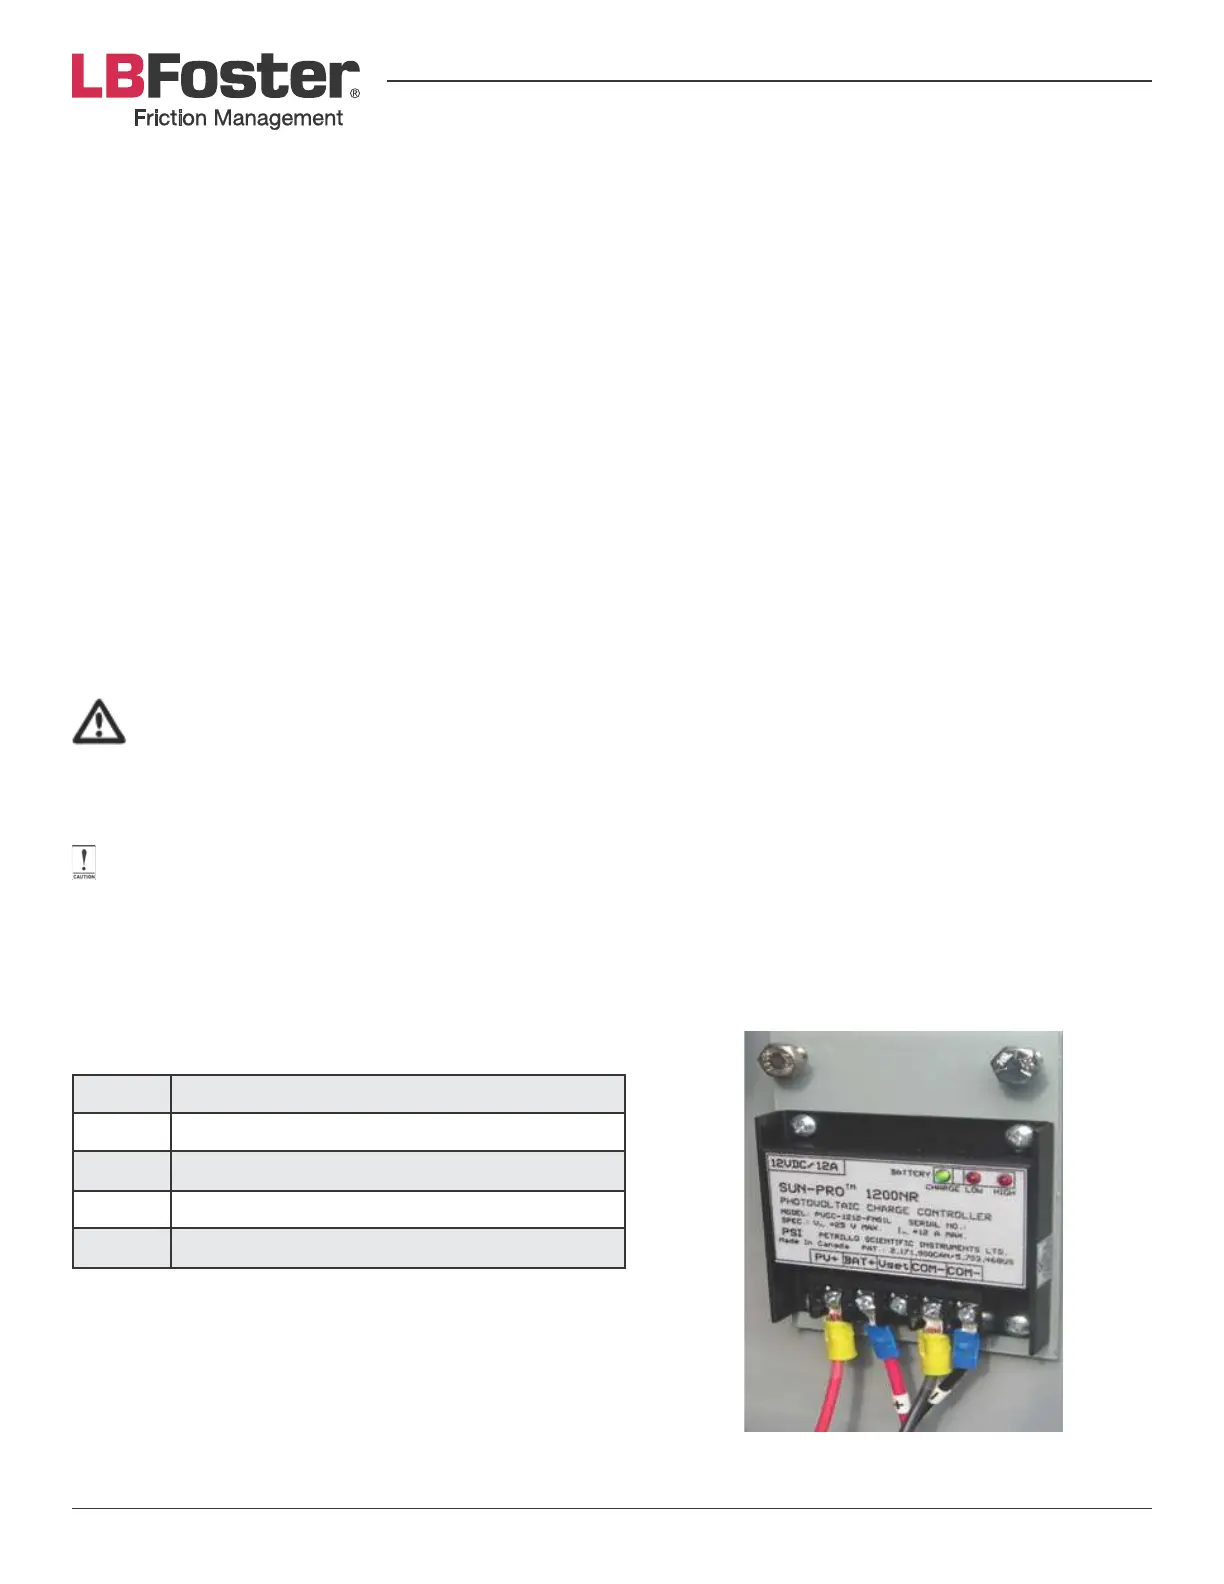
Solar Charge Controller
Solar panel charge controller in use on the PROTECTOR IV, which is located inside the clean hands section of
the tank.
The wires should be attached as follows:
PV+ Positive lead from solar panel
BAT+ Positive lead from battery
Vset Not used
COM- Negative lead from battery or solar panel
COM- Negative lead from battery or solar panel
Photovoltaic Charge Controller