Jumpstart, or “Real hams don’t read manuals!”
Ok, but at least read this one section before you transmit:
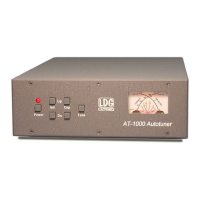
Safety Warning: Never operate your AT-1000 with the cover removed; lethal RF voltages may be present
during operation. Never exceed specifications.
1. Connect your AT-1000 to a source of 11 – 15-volt DC power capable of supplying at least 1 Amp, red
lead positive; the pilot will flash once. Press the Power button to turn on the tuner.
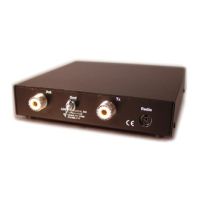
2. Connect your amplifier output to the AT-1000 input socket labeled “Transmitter” using 50-ohm
coaxial cables. Connect the coax lead to your antenna to the AT-1000 output socket labeled
“Antenna”.
3. Set your amplifier to “Standby” mode so it will NOT operate when you transmit.
4. Transmit a carrier from your exciter
of 20 watts CW, FM or AM.
5. Momentarily press the “Tune” button on your AT-1000. An automatic tuning cycle will begin, then
stop. Check the meter to ensure an SWR of 2 or less before using your amplifier.
6. Tune your amplifier if needed; you’re ready to transmit.
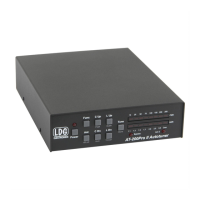
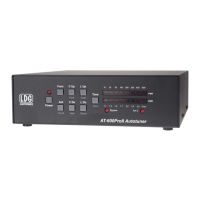
Specifications
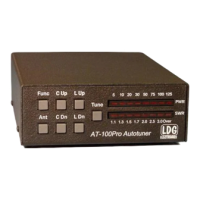
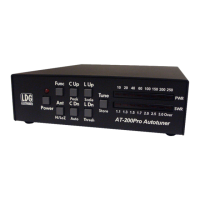
• Microprocessor controlled
• 200 non-volatile memories
• Switched L tuning network
• Back-lit cross needle meters
• Continuous coverage 1.8 to 54 MHz
• Power rating HF (1.8 to 30 MHz):
• 1000 Watts Single Side Band
• 750 Watts CW
• 500 Watts Digital (RTTY, Packet, etc.)
• Power rating 6 meters:
• 100 Watts
• Capacitor / Inductor fine tune controls
• Tuning time: 1 to 8 seconds, 4 average. Memory tune time: less than 0.5 seconds.
• Antenna impedance: 6 to 800 Ohms (approximately up to 10:1 SWR)
• Tuning power: 20 to 125 watts maximum, constant carrier
• Relay protection software prevents tuning:
• Greater than 125 watts into a 1:1 SWR load
• Greater than 75 watts into a 3:1 SWR load
• Soft touch buttons
• Includes 6 foot power cable
• Power requirements: 11 to 15 volts DC @ 1 Amp (user supplies power source)
• Enclosure sizes: 9 x 13 x 3 (measured in inches)
• Weight: 6 pounds
3
 Loading...