PAGE 7
INSTALLATION
The RT-100 tuner is designed for outdoor operation; however, it is not waterproof. LDG
recommends using silicone coax sealing tape on the coax connections after installation, to ensure
water stays out of the connections. See the section on Tips for Outdoor Installation for more on
how to ensure your LDG RT-100 will give years of service outdoors.
The RT-100 is designed for use with coax-fed antennas. If use with longwires or ladder-line-
fed antennas is desired, an external balun is required.
Always turn your radio off before plugging or unplugging anything. The radio may be
damaged if cables are connected or disconnected while the power is on.
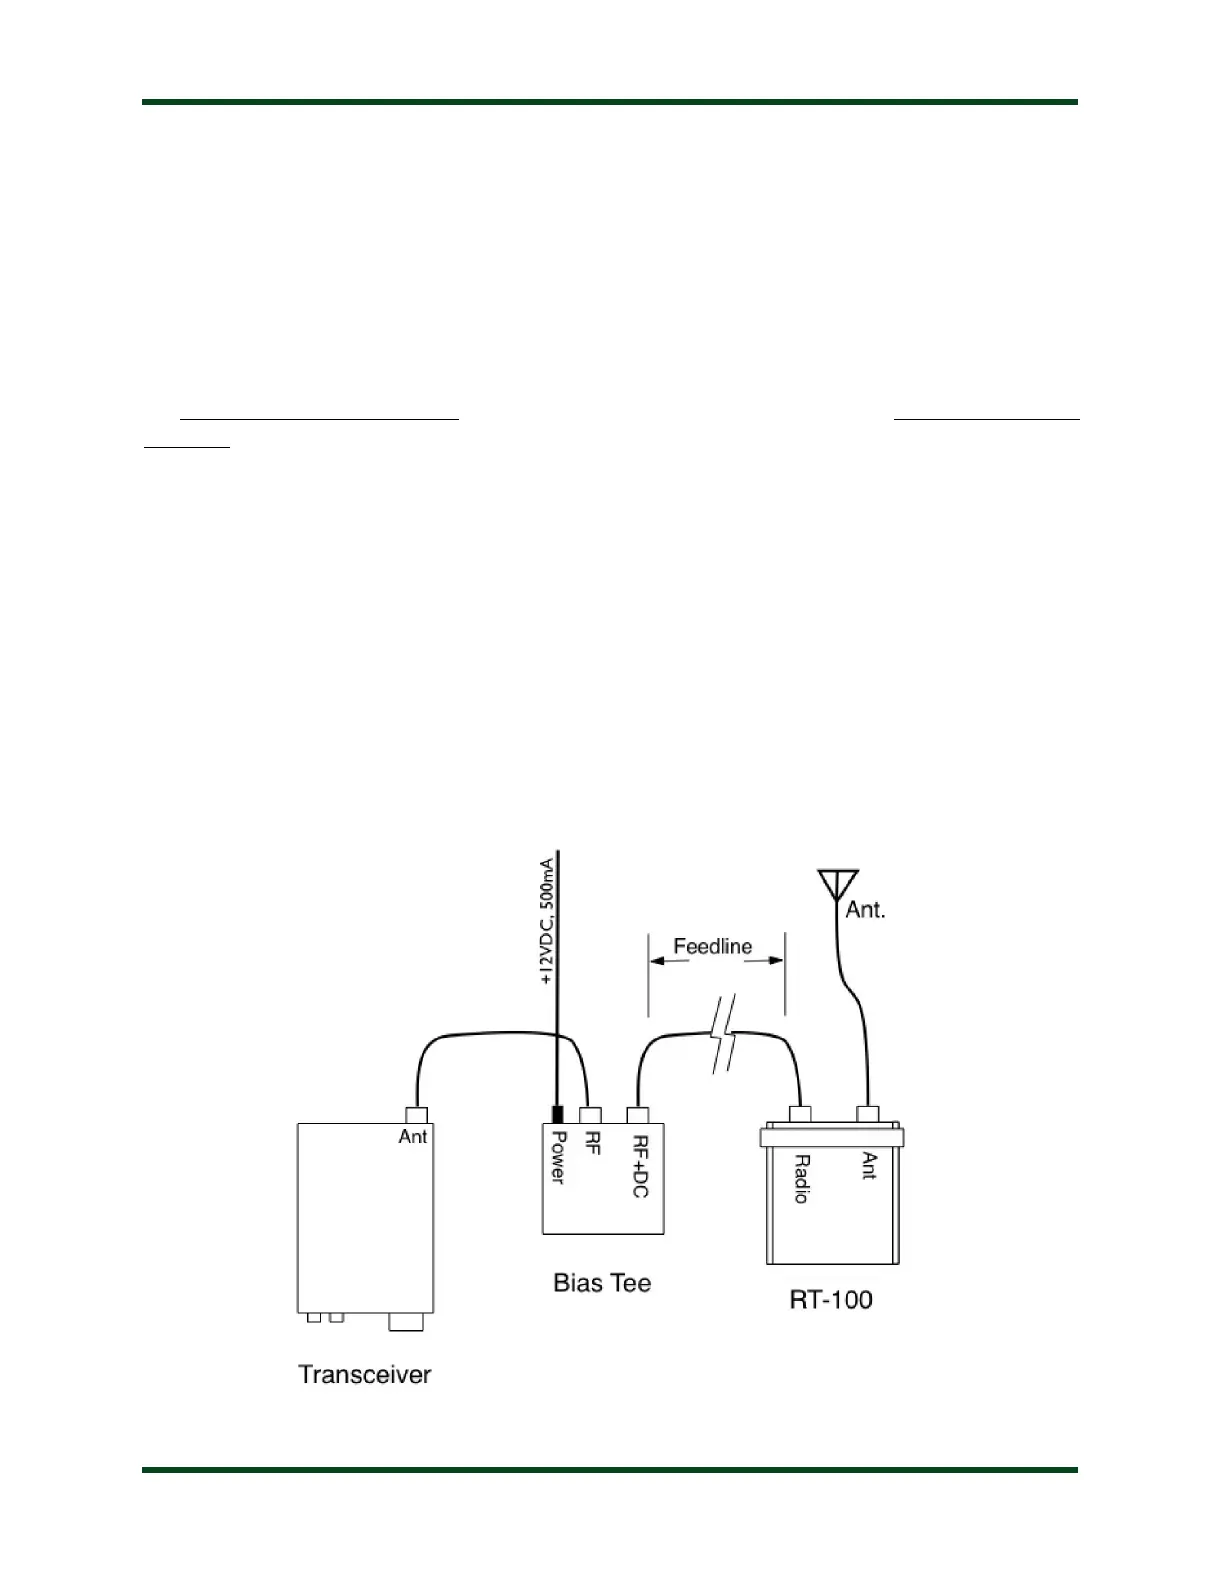
Connections
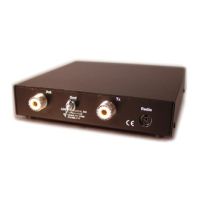
To install the RT-100 system, place the a bias tee in a convenient position near the
transceiver’s operating position. Connect a 50-ohm coax jumper from the transceiver’s Antenna
jack to the bias tee’s RF jack. For installation using the optional RC-100 controller, see the RC-
100’s user manual.
Place the RT-100 Tuner near to the antenna. Connect a short 50-ohm coax jumper from the
RT-100 Tuner’s ANT jack to the antenna. Connect the RT-100 Tuner’s RADIO jack to the bias
tee’s RF+DC jack via a length of coaxial cable feedline. LDG recommends grounding the RT-
100 Tuner via the wingnut marked GND.
Connect the bias tee to a source of 12VDC power, 500 mA.
NOTE: The RT-100 has no SWR display. If your transceiver does not have a built-in SWR