PAGE 8
display, you will need to put an external SWR meter in between the output of the transceiver and
the input of the bias tee:
Installing Into An Existing Outdoor Antenna Installation
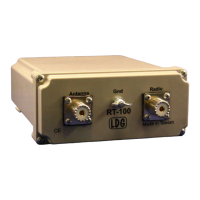
The RT-100 is designed to allow you to easily upgrade your existing outdoor antenna
installation to one with a remote tuner at the antenna end of the feedline. Because the RT-100
receives its power and control signals over the coax, it is not necessary to run any additional
cables. Simply unhook the existing antenna from the antenna end of the feedline, and connect
that end of the feedline to the RT-100’s RADIO jack. Now connect a short coax jumper from the
RT-100’s ANT jack to the antenna.
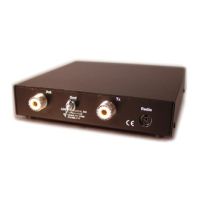
At the radio end of the feedline, disconnect the feedline from the radio, and connect it to the
RF+DC jack on a bias tee. Now connect a short coax jumper from the transceiver’s TX jack to
the RF jack on the bias tee, and connect DC power.
Tips for Outdoor Installation
Although the RT-100 is water-resistant, it is not 100% waterproof. Additionally, the RT-100
should be mounted to a mast, and it should be mounted with the mounting bracket facing
upward, and the SO-239 jacks facing downward. Even if you are using the RT-100 at the base of
a vertical antenna, do not simply lay it on the ground; pound a short mast into the ground beside