Noce Ebulliometer - Version 2012 - Réf. 160350T/160350D - Page 13
2 - Seng up of the instrument
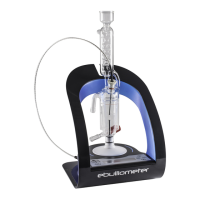
Instrument :
1. Introducon of samples
2. Condenser upper outlet
3. Condenser Réf. 160350/1
4. Cold water inlet
5. According to the model:
Mercury thermometer Réf. 690117E
Temperature probe Réf. 160350/2
6. Thermometer stopper Réf. 160350/3
7. Boiler Réf. 160350/1
8. Heang cartridge Réf. 160350/4
9. Drain valve
10. LCD screen for temperature
(Model Ref.160350D)
11. Heang switch
12. 6-plug DIN connector – connecon of the
temperature probe (Model Ref.160350D)
13. Adapter connector - Power supply 24V DCa
14. ON/OFF switch
Accessories:
15. Disc for electric ebulliometer Réf. 160350/5
16. Standard wine for calibraon Réf. 100550
17. Defoamer for ebulliometer Réf. 990001
18. Chromosulfuric acid Réf. 972500
(Supplied condionally)
19. Power cable
20. Cooling system and drain hoses
21. Dropping-pipee with bulb Réf. 630011
• Installaon of the instrument
- Put the instrument on a at surface
- Tightly and carefully push in the boiler on the cartridge holder. You may add
some water on the washers to make this operaon easier.
- Connect the instrument on the power supply.
- Brancher l’appareil sur secteur.
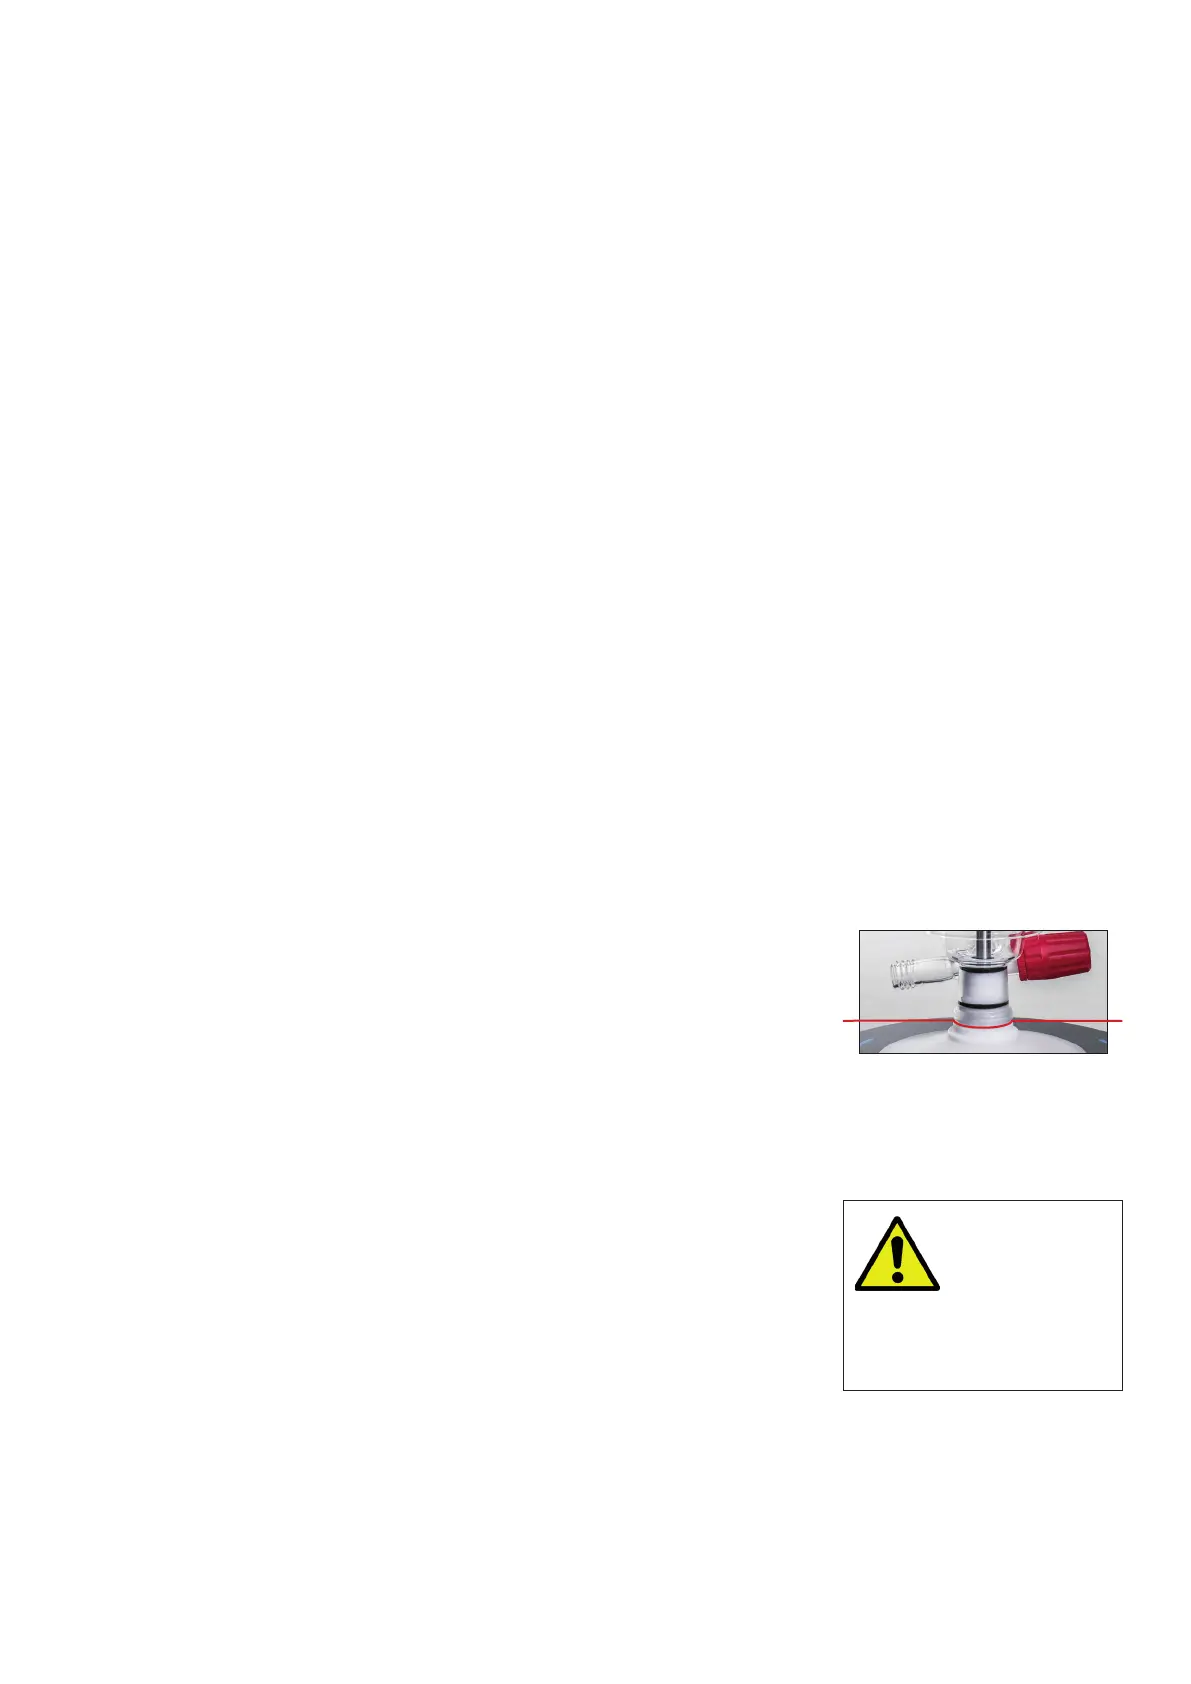
• Installaon of the probe
Place the probe on the boiler without modifying the posion of the silicon
gasket on the probe, adding some water on the silicon gasket if necessary in
order to push it in at the maximum. The end of the probe must be situated
between 0,5 and 1 cm above the end of the heang element.
In case of the model with mercury thermometer, place it the same way,
making sure that the mercury bulb or the probe is 1 cm above the heang
cartridge.
In both case, the measuring stem must be on the same axis than the heang
cartridge.
• Installaon of the cooling system and tubing
Aach the water connecons to the condenser.
Cold water inlet to the boom;
Water outlet to the top.
Aach addional tubing to the boiler drain and place the tubing into a sink to
drain easier.
Do not remove
the probe or the
thermometer
between a calibraon
and a measurement.
Installaon of boiler on
stand