EasyManua.ls Logo

Leica CM3050S - User Manual

Leica CM3050S
86 pages
Print Icon
To Next Page IconTo Next Page
Loading...
Leica CM3050S
Cryostat
Instructions for Use
English
Order No.: 14044380101 - Revision G
Always keep this manual with the instrument.
Read carefully before working with the instrument.
Version 2.0, Revision G - 11/2017

Table of Contents

Questions and Answers

  • S
    Sherri McmahonSep 12, 2025
    What to do if Leica Laboratory Equipment is inoperational?
    • K
      katiemooreSep 12, 2025
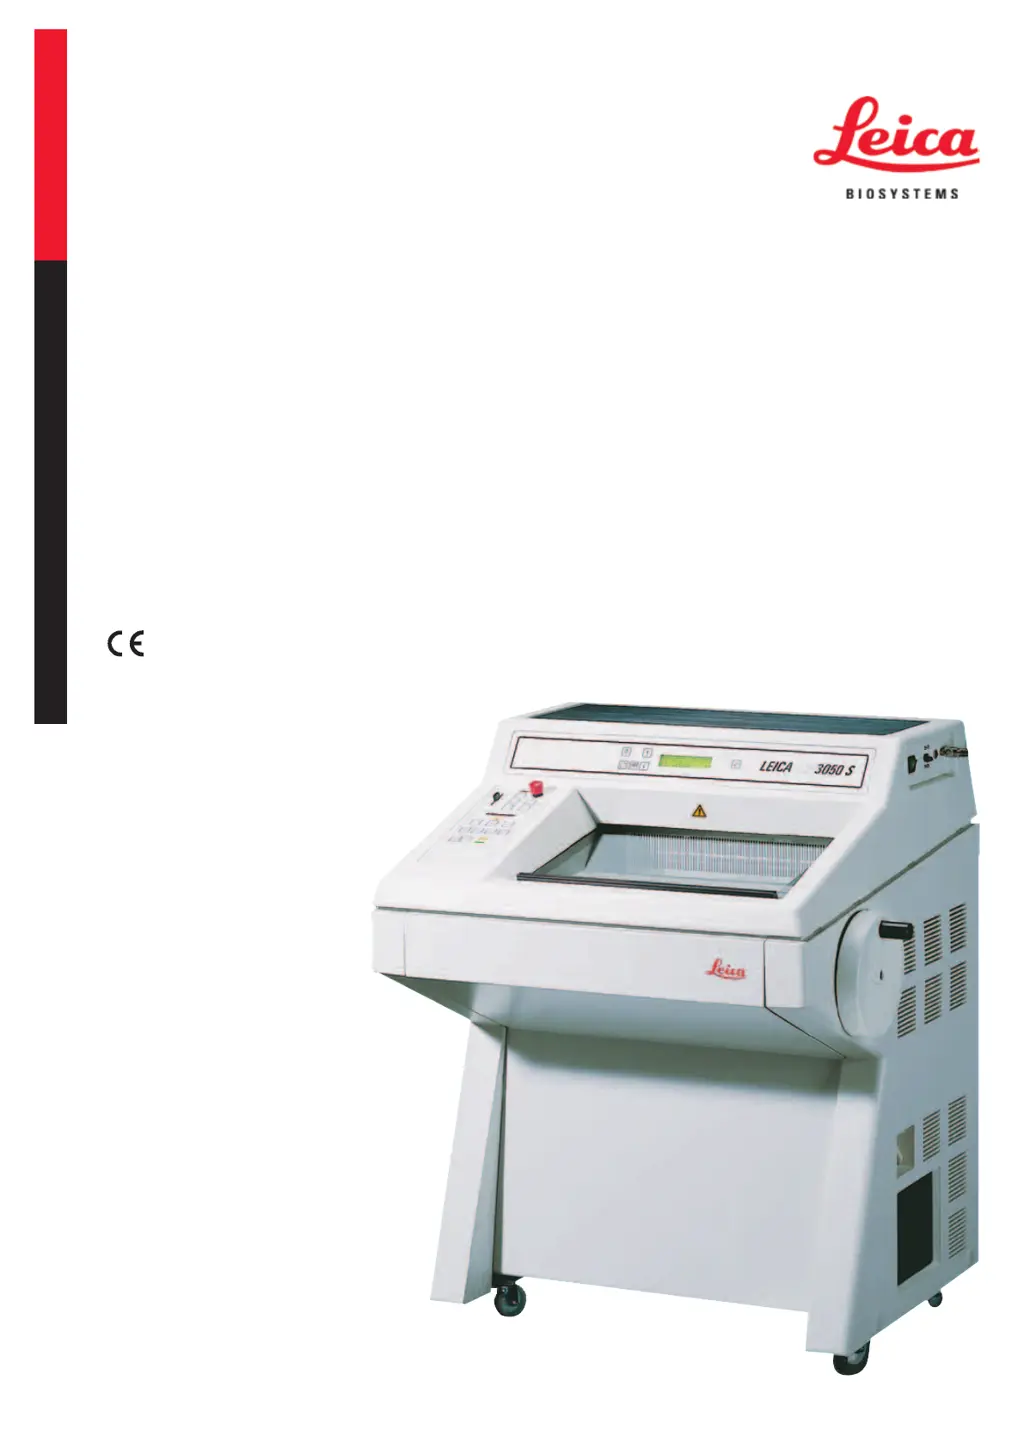
      If the cryostat is inoperational, check the mains plug connection and reconnect the automatic cut-out (switch the instrument back on). The causes may be: mains plug not properly connected or automatic cut-out has been triggered.
  • S
    Sarah KramerAug 22, 2025
    What to do if sections smear when using Leica CM3050S Laboratory Equipment?
    • G
      gcastilloAug 22, 2025
      If sections smear, it may be because the specimen isn't cold enough or the knife and/or anti-roll plate haven't reached a low enough temperature, causing the sections to melt. To fix this, select a lower temperature and ensure the knife and anti-roll plate reach the chamber temperature.
  • D
    Daniel GillespieAug 26, 2025
    What to do if sections tear when using Leica CM3050S Laboratory Equipment?
    • R
      Renee PowellAug 26, 2025
      If sections tear, it could be due to: * The temperature being too low for the tissue. * A blunt, dirty, dusty, frosted, or rusty knife. * A damaged upper edge of the anti-roll plate. * Hard particles in the tissue. * A dirty rear face of the knife. To resolve this: 1. Select a higher temperature and wait for it to be reached. 2. Address the knife issues by cleaning, rotating, or exchanging it. 3. Rotate or exchange the anti-roll plate if its upper edge is damaged. 4. If possible, section at a lower plane if hard particles are present. 5. Clean the rear face of the knife.
  • D
    Darrell PatrickAug 27, 2025
    What causes sections to splinter in Leica CM3050S?
    • J
      joshua32Aug 28, 2025
      Sections may splinter or not flatten properly due to: * The specimen being too cold. * Static electricity or draft. * The specimen not being cold enough. * A large surface specimen. * A poorly adjusted anti-roll plate. * A poorly aligned anti-roll plate relative to the knife edge. * An incorrect clearance angle. * A blunt or damaged knife. To solve this: 1. Select a higher temperature if the specimen is too cold. 2. Eliminate static electricity or draft. 3. Select a lower temperature if the specimen isn't cold enough. 4. Trim the specimen parallel and increase section thickness for large surface specimens. 5. Readjust the anti-roll plate and align it correctly. 6. Set the correct clearance angle. 7. Use a different part of the knife or replace it.
  • A
    angelmartinezAug 29, 2025
    What to do if sections are not flattened despite correct temperature and anti-roll plate alignment in Leica CM3050S Laboratory Equipment?
    • C
      Cheryl PrattAug 29, 2025
      If sections still aren't flattening correctly, even with the right temperature and anti-roll plate alignment, the issue might be: * A dirty knife or anti-roll plate. * A damaged edge of the anti-roll plate. * A blunt knife. To fix this: 1. Clean the knife and anti-roll plate with a dry cloth or brush. 2. Replace the anti-roll plate if its edge is damaged. 3. Use a different part of the knife or replace it.
  • S
    Samantha RodriguezAug 31, 2025
    Why do sections curl on the anti-roll plate of Leica CM3050S Laboratory Equipment?
    • C
      Cindy MillerAug 31, 2025
      If sections curl on the anti-roll plate, it's likely because the anti-roll plate doesn't protrude far enough beyond the knife edge. To fix this, readjust the anti-roll plate correctly.
  • A
    Amanda FitzgeraldNov 23, 2025
    What causes chatter marks during sectioning with Leica Laboratory Equipment?
    • J
      Jordan SinghNov 23, 2025
      Chatter marks during sectioning can be caused by several factors: * The specimen is insufficiently frozen onto the specimen disc. * The specimen disc isn't clamped tightly enough. * The specimen holder ball joint isn't clamped. * The knife isn't clamped tightly enough. * The selected section thickness is too thick, causing the specimen to detach. * The specimen is very hard and inhomogeneous. * The knife is blunt. * The knife profile is inappropriate for the specimen type. * The clearance angle is incorrect. To address this: 1. Refreeze the specimen onto the disc. 2. Check the disc clamping and ball joint clamping. 3. Check the knife clamping. 4. Increase section thickness or reduce specimen surface area. 5. Use a different part of the knife or replace it. 6. Use...
  • H
    Hannah RowlandSep 13, 2025
    What to do if the sectioning motor is inoperational in Leica CM3050S?
    • A
      Anna WilliamsSep 13, 2025
      If the sectioning motor is inoperational, connect the footswitch and reconnect the automatic cut-out by pushing it inwards until it locks in place. The causes may be: footswitch not connected or automatic cut-out of sectioning motor has been triggered.
  • G
    Gabriela KirkSep 10, 2025
    What to do if the coarse feed plug is not reconnected properly in Leica CM3050S?
    • R
      Roy ThomasSep 12, 2025
      If the coarse feed plug has not been reconnected properly after reinstallation of the microtome, reconnect the coarse feed plug properly.
  • J
    Jared Rios Jr.Sep 7, 2025
    How to fix inconsistent specimen feed in Leica CM3050S?
    • A
      Alan RiosSep 7, 2025
      Inconsistent or insufficient specimen feed may occur if the microtome wasn't completely dry when refrigeration was switched on, leading to ice build-up inside the micrometer mechanism, or if the microtome is defective. To resolve this, remove the microtome from the chamber and dry it, possibly with a hairdryer (used only outside the cryochamber!) or at ambient temperature. If the problem persists, contact Technical Service.

Summary

Safety Precautions

Safety Notes

Emphasizes observing all safety and caution notes throughout the chapter.

Integrated Safety Devices

Locking the Handwheel

Provides instructions on how to lock the handwheel for safe operation.

Centering the Handwheel Grip

Emergency Stop Function

Safety Instructions: Handling, Operation, and Installation

Transport and Installation Safety

Safety precautions for transporting and installing the cryostat.

Site Requirements

Electrical Connections Safety

Handling Microtome Knives;Blades

Knife Guard;Handwheel Lock Safety

Motorized Sectioning Safety

Infectious;Radioactive Material Safety

Disinfection and Cleaning Safety

Dry Microtome Display Message

Installation Procedures

Unpacking and Installation

Installing;Inserting Accessories

The Footswitch Connection

Prior to Switching On

Operation

Switching On and Fuses

Control Panel 1 Functions

Key Functions in Control Panel 1

Explains the purpose of each button on Control Panel 1.

Display Functions in Control Panel 1

Describes the information displayed on Control Panel 1.

DRY MICROTOME Display Message

Menu Functions: Parameter Settings

Status Display Interpretation

Refrigeration State, Section Thickness & Counters

Control Panel 2 Layout

Sectioning Mode Selection

Setting the Sectioning Window

Selecting Sectioning Speed

Emergency Stop Activation

Coarse Feed Key Functions

Trimming and Sectioning Modes

Setting Section Thickness

Daily Operation

Freezing Specimens (90° Prism)

Inserting Specimen Discs

Specimen Orientation

Knife Insertion for Trimming;Sectioning

Manual and Motorized Trimming;Sectioning

Finishing Work

Defrosting Options

Manual Chamber Defrost Cycle

Specimen Head Defrosting

Troubleshooting and Application Tips

Displayed Error Messages

Lists and explains error messages indicating instrument malfunctions.

Other Error Indications

Potential Problems, Causes, and Remedies

Disinfection, Cleaning, and Maintenance

Disinfection at Room Temperature

Removing;Reinstalling the Microtome

Reinstalling the Microtome

Installation (Height Adjustment)

Control Keys (Height Adjustment)

Troubleshooting (Height Adjustment)

Leica CM3050S Specifications

General IconGeneral
Specimen CoolingYes
Motorized SectioningYes
Vertical Specimen Stroke60 mm
Microtome TypeRotary microtome
Power Supply100-240 V, 50/60 Hz
Specimen RetractionAutomatic
Specimen HolderUniversal specimen holder
Section Thickness Range0.5 µm to 100 µm

Related product manuals