Leica ComGate10, Operation
23
Configuration with
the stand-alone
version of the Leica
ComBox Manager
Step Description
1. Connect the LAN at the ComGate10 with a Ethernet cable to the PC/laptop.
2. Install the stand-alone version of the Leica ComBox Manager on the
computer:
a) Insert the Leica M-Com ComBox USB card into the notebook or desktop PC
OR
download the Leica ComBox Manager from myWorld.
b) Select the Leica ComBox Manager.
The InstallShield Wizard opens up and guides through the installation.
3. Check if the PC/laptop can obtain an IP address automatically:
a) Click Windows -> Start/Run.
b) Type in ncpa.cpl and press Enter.
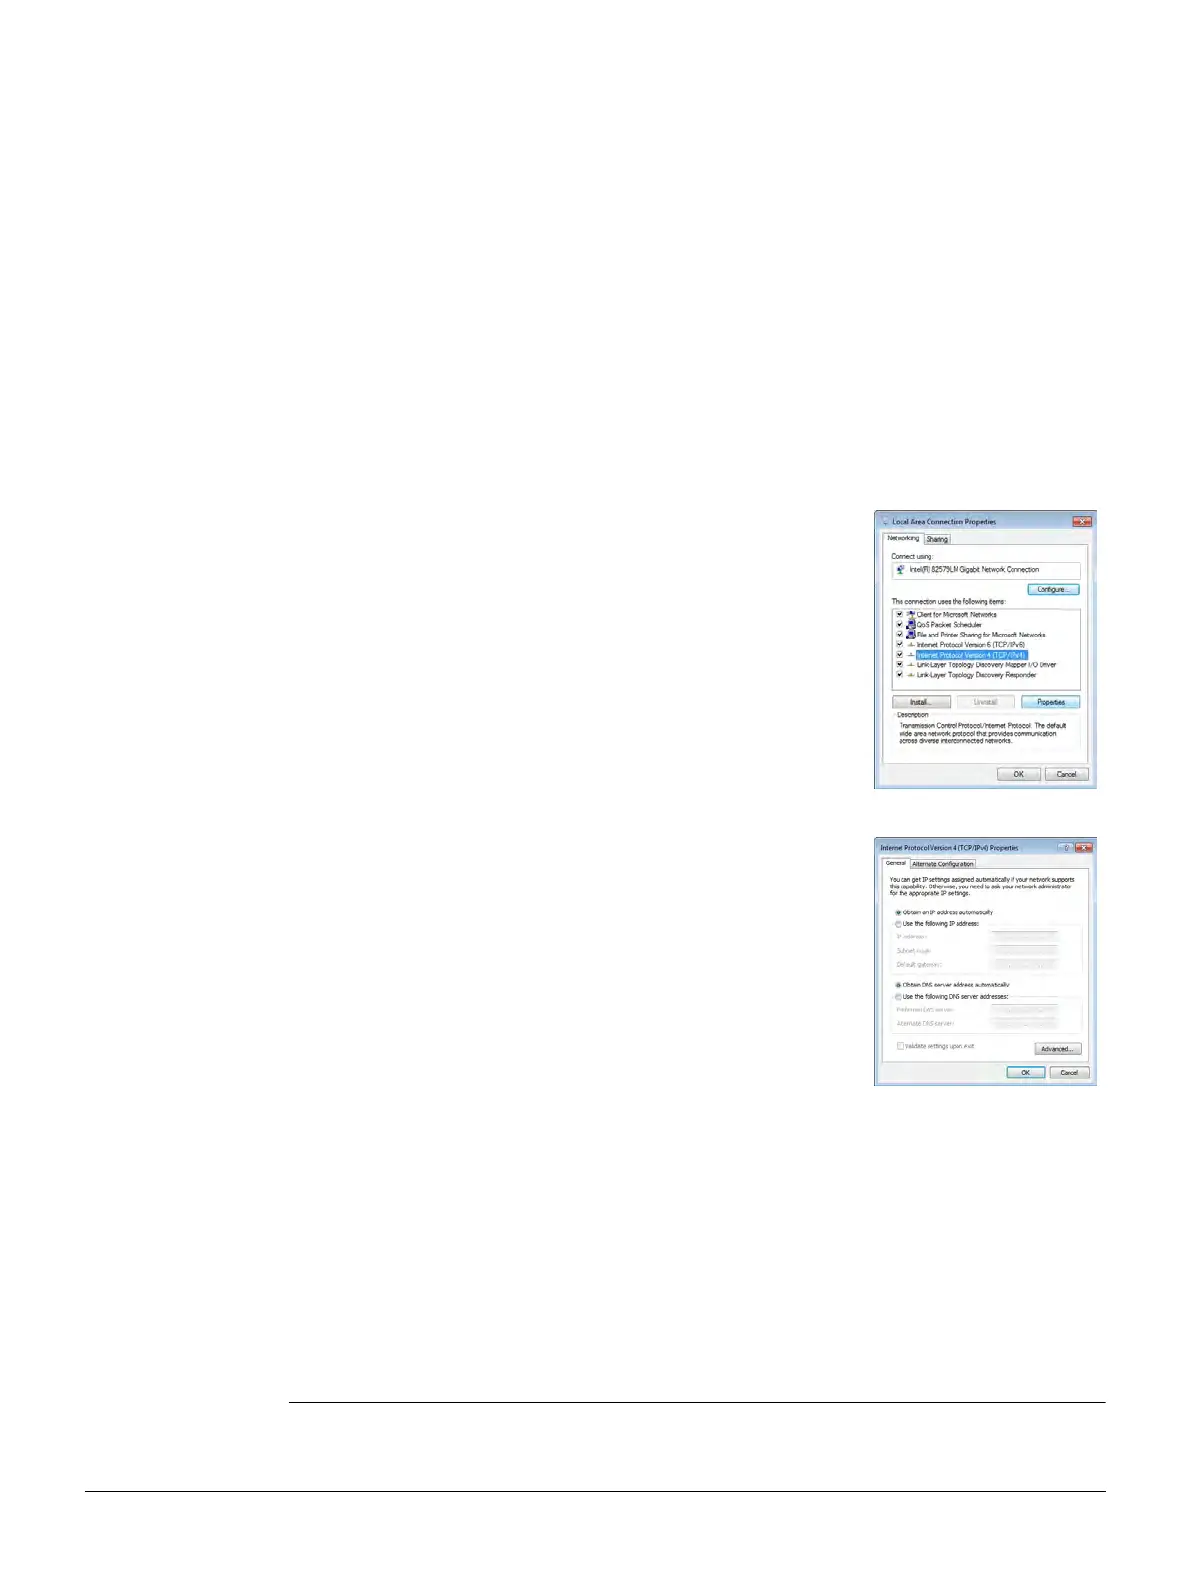
c) Click left mouse button on Local Area Connection.
d) Select Properties.
e) Select Internet Protocol Version 4 (TCP/IPv4).
f) Click Properties.
g) Select Obtain an IP address automatically.
4. Select the Leica ComBox Manager.
Click Windows -> Start/All Programs/Leica Geosys-
tems/GeoMoS/Leica ComBox Manager
5. Click Configure ComBox.
6. Choose the connection type LAN.
7. Follow the configuration wizard and apply at the end all settings to the
ComBox.
The ComGate10 is configured.
8. Reset the IP addresses on the notebook or desktop PC after the configura-
tion. Refer to step 3.