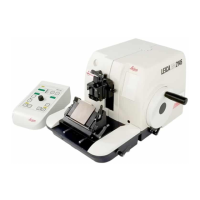
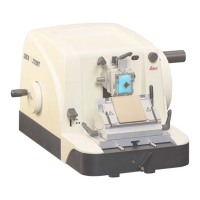
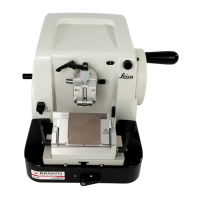
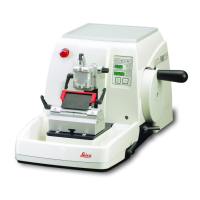
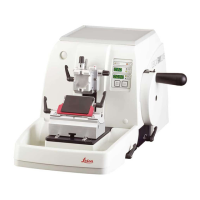
Do you have a question about the Leica RM2145 and is the answer not in the manual?
Safety devices on the instrument must not be removed or modified.
Instructions on how to lock and unlock the handwheel using a lever.
Details on the knife guard for knife holders N and E.
Instructions for unpacking the instrument from its packaging.
Instructions on how to assemble the handwheel onto the instrument.
Specifies the environmental and space requirements for instrument installation.
Instructions for connecting the instrument to the main power supply.
How to verify the voltage selector is correctly set for local power.
Procedure for changing the voltage selector on the instrument.
Steps to connect the control panel to the microtome.
Guide on connecting the mains power cable to the instrument.
Steps for powering on the microtome and initialisation.
Explains the various buttons, LEDs, and displays on the control panel.
Steps for inserting and securing specimen clamps into the fixture.
Procedure for securely clamping the specimen in the clamp.
Instructions for mounting the knife holder base onto the microtome.
Steps for installing the knife holder onto the knife holder base.
Guidance on safely inserting knives or disposable blades into the holder.
How to adjust the clearance angle for optimal sectioning.
How to orient the specimen using the orienting fixture.
Steps for trimming the specimen to the desired sectioning level.
| Type | Rotary Microtome |
|---|---|
| Vertical Stroke | 60 mm |
| Specimen Feed | Manual |
| Specimen Retraction | Automatic |
| Knife Holder | Standard knife holder |
| Section Thickness Range | 0.5 - 60 μm |
| Section Thickness Setting Range | 0.5 - 60 μm |
| Trimming Thickness Setting | Adjustable |