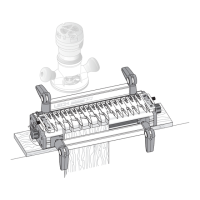
JIG ASSEMBLY, MOUNTING, AND USING THE CLAMPS
4
Chapter 1 Super Jig-12-18-24 User Guide
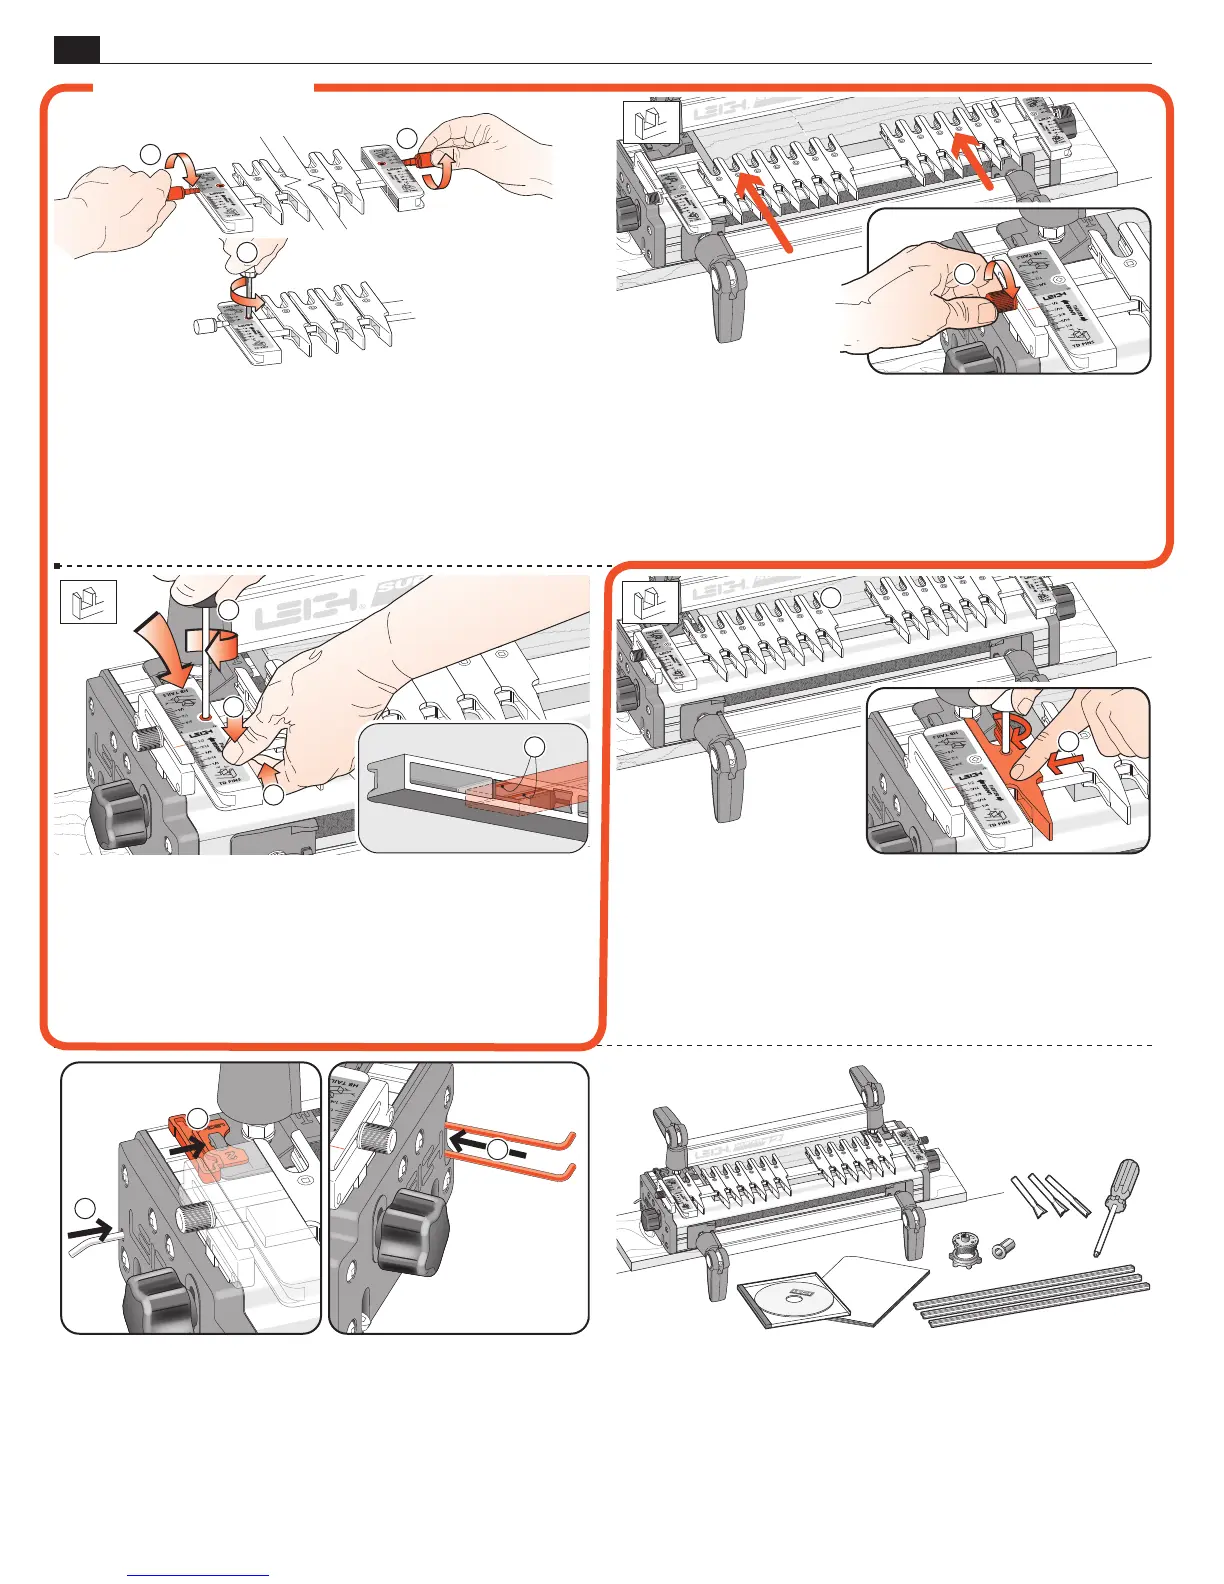
1-13 Before using the jig, the scales must be set into position on
the finger assembly. Install the two thumbscrews a few turns into
the scales
. Loosen the scale lock screw
at each end by one
turn only.
1
2
1
1
1-15 Pull up on the finger bar
while pushing down on the
scale
to ensure the bar is touching the two registration pads
inside the scale. Maintain pressure and tighten the scale lock-
screw
➃
. Repeat at the other end. To maintain correct finger
assembly alignment, follow this procedure whenever you remove
the scales from the finger assembly.
3
4
2
1
1-16 With the finger assembly in
d
TD Pins mode
, move the
outer end guidefingers to touch the scale block and lock in posi-
tion
. Note: the outer end guidefingers are used for router support
only. When guidefingers are loosened, the finger assembly should
easily slide on the support brackets. If not, apply a little candle
wax to the mating surfaces.
1
2
1-17 Finally, slip the Spacer on the outside of the left rear side
stop
, the nylon stop rod through its storage hole in the left end
and the pin wrench in its slot in the right hand end housing
.
1
2
3
1-18 With Superjig assembled and mounted, you have some
items left over:
1-14 Slide the finger assembly onto the support brackets, in
the
d
TD Pin mode and set on the
1
⁄2"[12,7mm] setting. First,
tighten both thumbscrews
.
Do not lower the assembly onto the finger support board.
1 Leigh jig user guide
1 DVD instruction video (English only)
1 Leigh e7-Bush and nut
2 Dovetail bits
1 Straight bit
1 Collet Reducer
1 square-head screwdriver
3 bridge-piece/crosscut extrusions
IMPORTANT
 Loading...