Adjusting the
Finger Assembly
SUPERJIG - CHAPTER 2
7
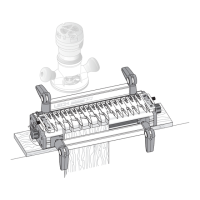
2-1 Practice with the finger assembly height adjustment. Loosen
the support bracket knobs and hold them firmly. Raise and lower
the assembly evenly, keeping it level
, and tighten the knobs to
lock it at various heights. Do not raise or lower only one end of
the finger assembly.
1
1
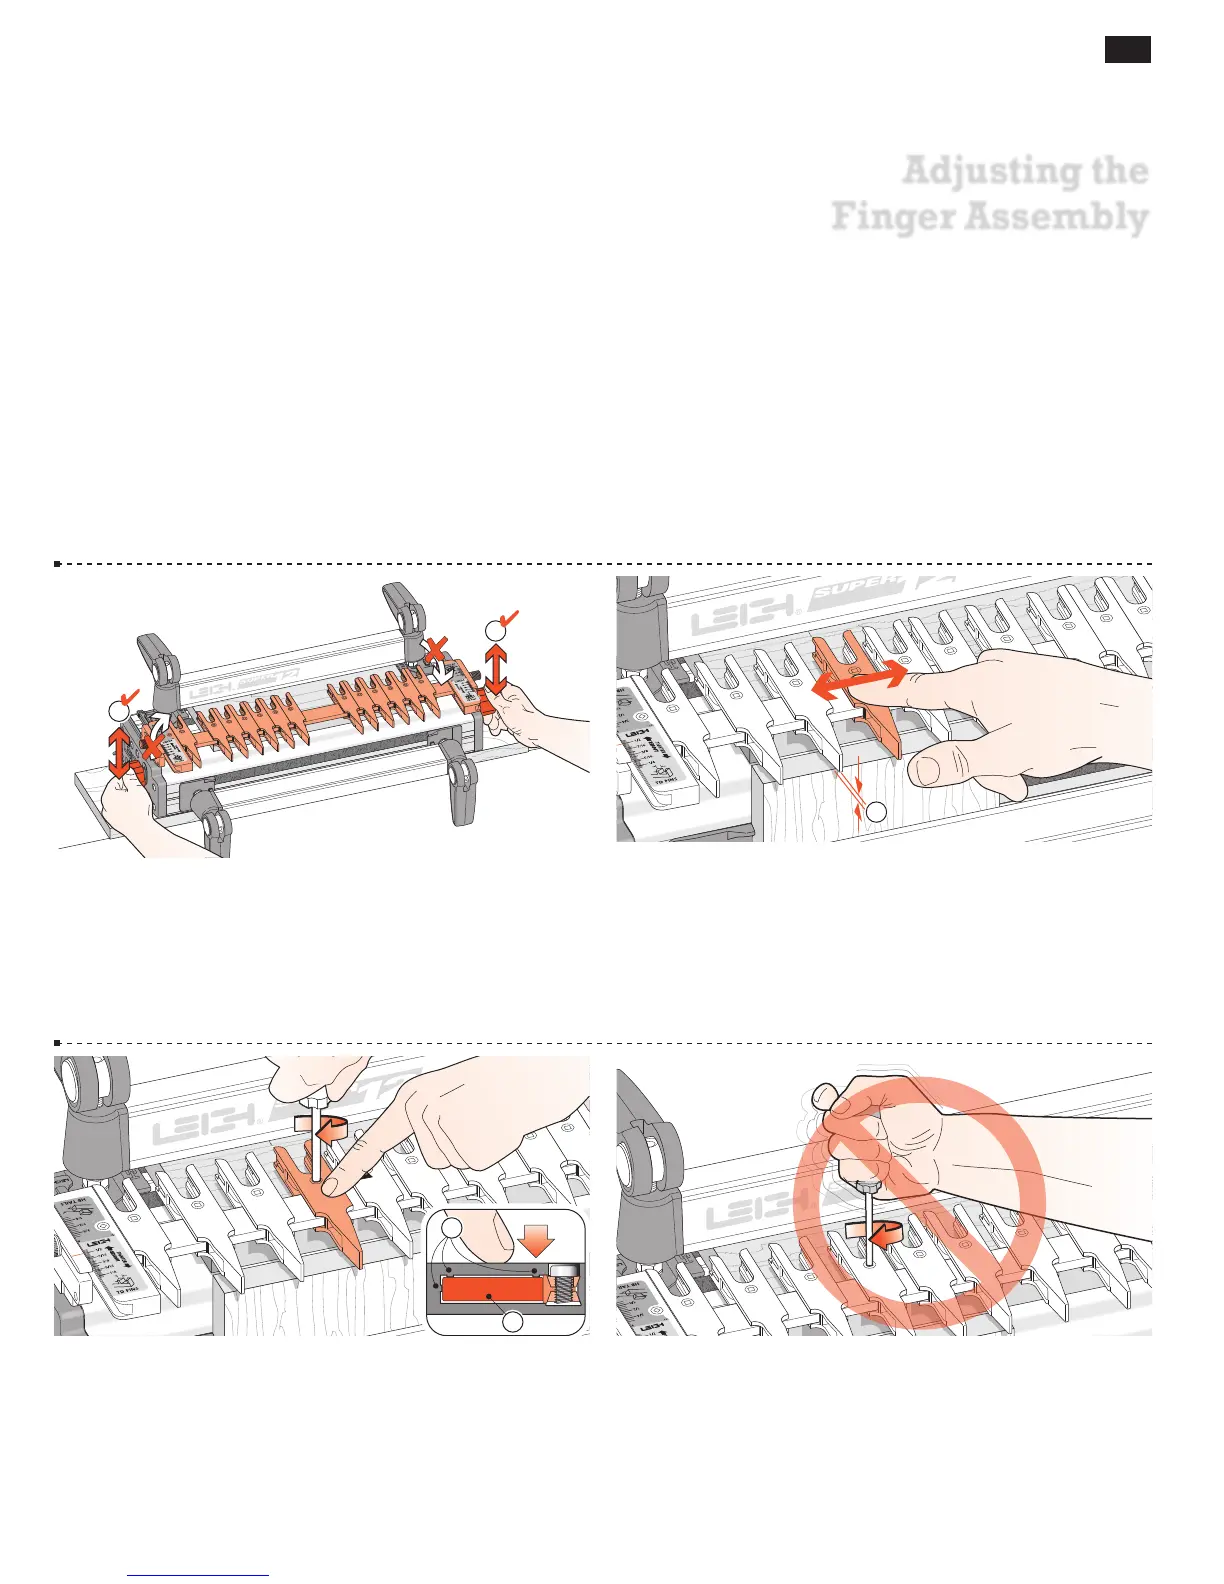
2-2 To practice adjusting the guidefingers, put a board in the front
clamp. Always raise the finger assembly slightly, approximately
1
⁄16"[2mm] above the spacer board and/or workpiece
. This is
essential to allow the guidefingers to move freely on the guidefinger
bar and ensures that the fingers will be level and flush when locked
up. Move the guidefingers by pushing on the middle to slide them
along the guidefinger bar.
1
2-3 Loosen about half the guidefingers and practice unlock-
ing, moving, positioning and re-locking them. Always press on
the center of the guidefinger when tightening the screws. This
ensures that the small pads
on the inside of the finger contact
the face of the finger bar
and keeps all the fingers level.
1
2
2-4 Do not over-tighten the guidefinger lock screws. The Leigh
screwdriver provided will give ample torque for easy lock-up with-
out strain.
Hint: Fingertip tighten a loose screw until the slightest resistance is
felt. Do not tighten the screw more than half a turn (180˚) from the
first contact.