10
1 2 3
4
65 7 8
9
Jig Assembly, Mounting,
and Using the Clamps
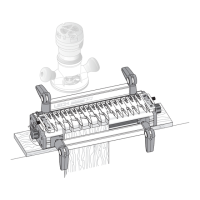
SUPERJIG - CHAPTER 1
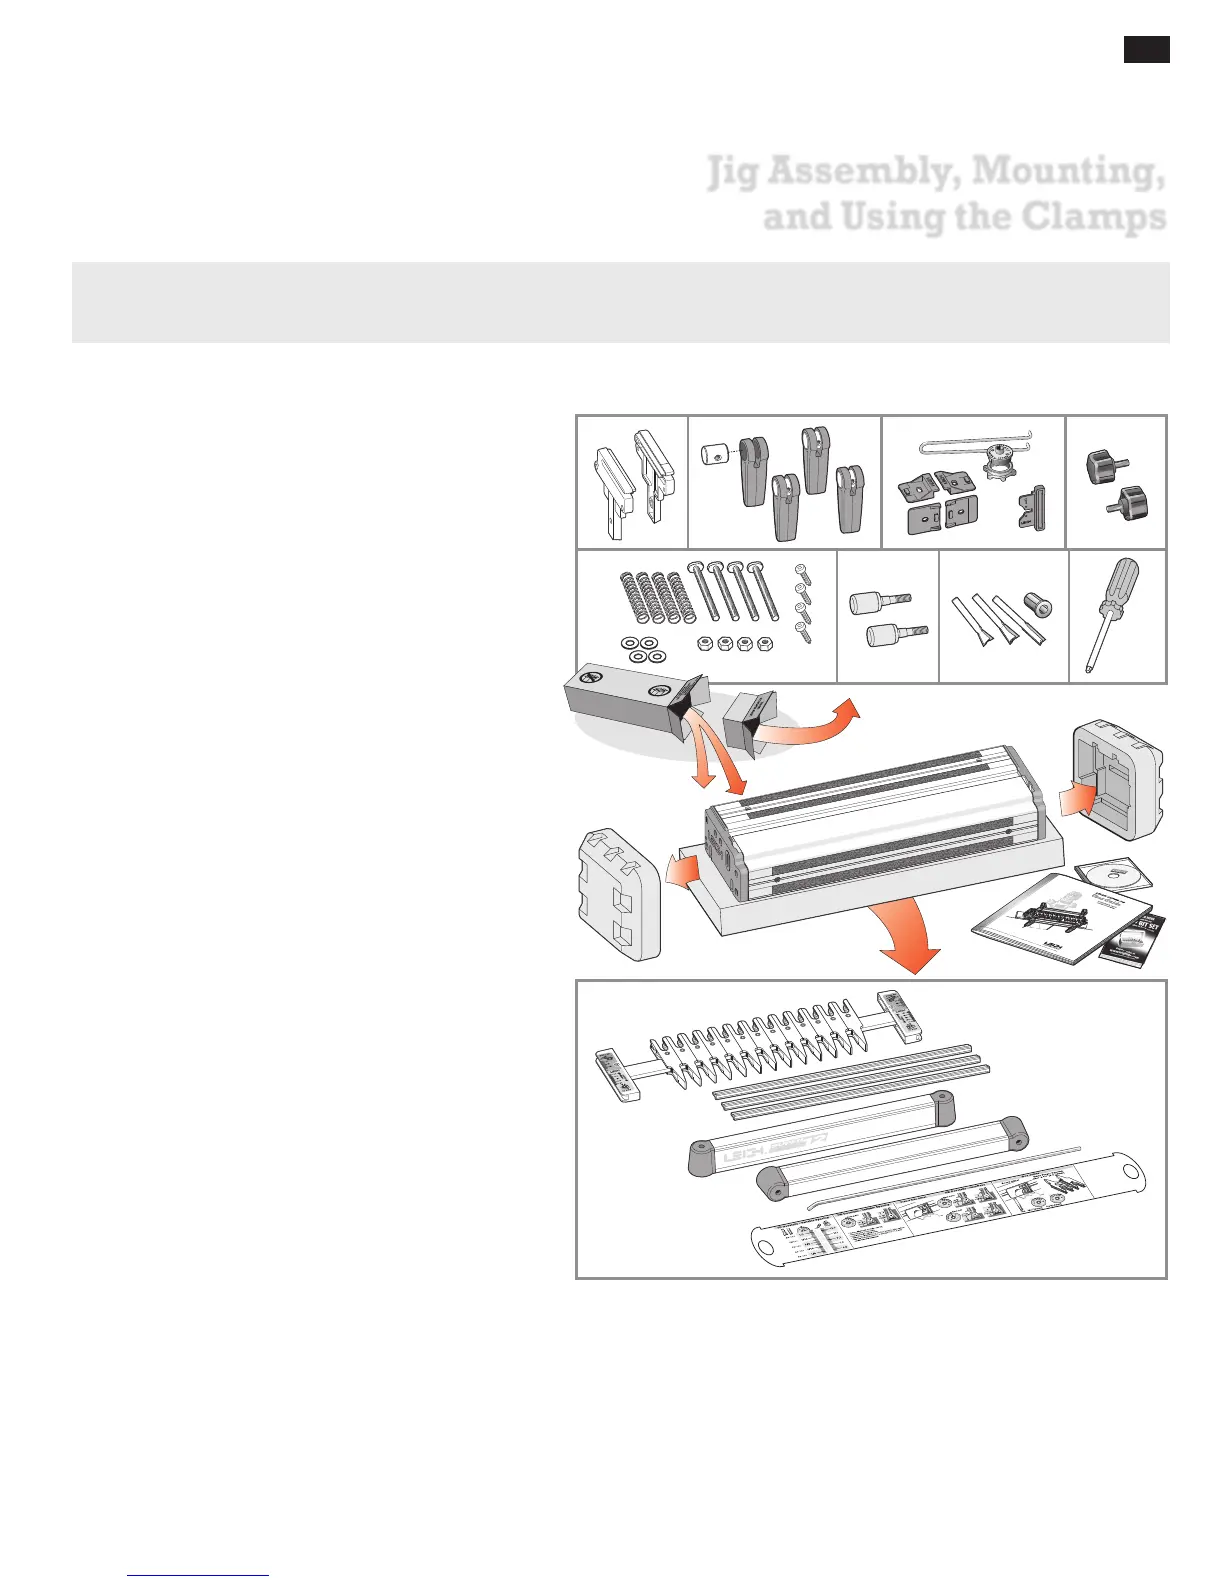
Make Sure You Have All the Parts.
Before you start to assemble your Leigh SUPERJIG, check to make sure you have received all the required parts.
The small carton you removed from the end of the main
carton contains:
1. 2 support brackets
2. 4 cam-action speed clamps
4 cam clamp pivot nuts
3. 1 e7-Bush & Nut with Pin Wrench
2 each, front and rear Side Stops
1 Spacer
4. 2 support knobs
5. 4 clamp springs
4 clamp T-bolts
4 flat washers
4 T-bolt nuts
4 Jig Hold-down Wood Screws No.10 x 1"
6. 2 scale thumbscrews c/w nylon washers
7. 2 Dovetail bits, 1 straight bit, 1 Collet Reducer
8. Square-head guidefinger screwdriver
Also included are any other small optional items you
may have ordered with your new jig. Check the packing
slip for this information.
The main carton contains:
9. 1 main jig body
1 Leigh jig User Guide
Warranty/Registration Card
DVD instructional video (English only)
The large inner box contains:
10. 1 finger assembly on a bar, complete with scales
Super12, with 13 guidefingers
Super18, with 16 guidefingers
Super24, with 19 guidefingers
2 lengths bridge material – see Chapter 9
1 crosscut fence (same as bridge) – see Chapter 13
2 clamp bars c/w end plugs
1 Nylon Stop Rod – see Chapter 10
1 Quick Reference pull-out card
If any items are missing from your jig, contact your supplier
or Leigh Industries immediately.
Important Note
Mount your jig securely, assemble it completely,
and make sure you have read and understood the
Safety section of this user guide before using the jig.
1