Figure91.Installingthescrewtosecurethebracketonthebottomoftheopticaldrivebay
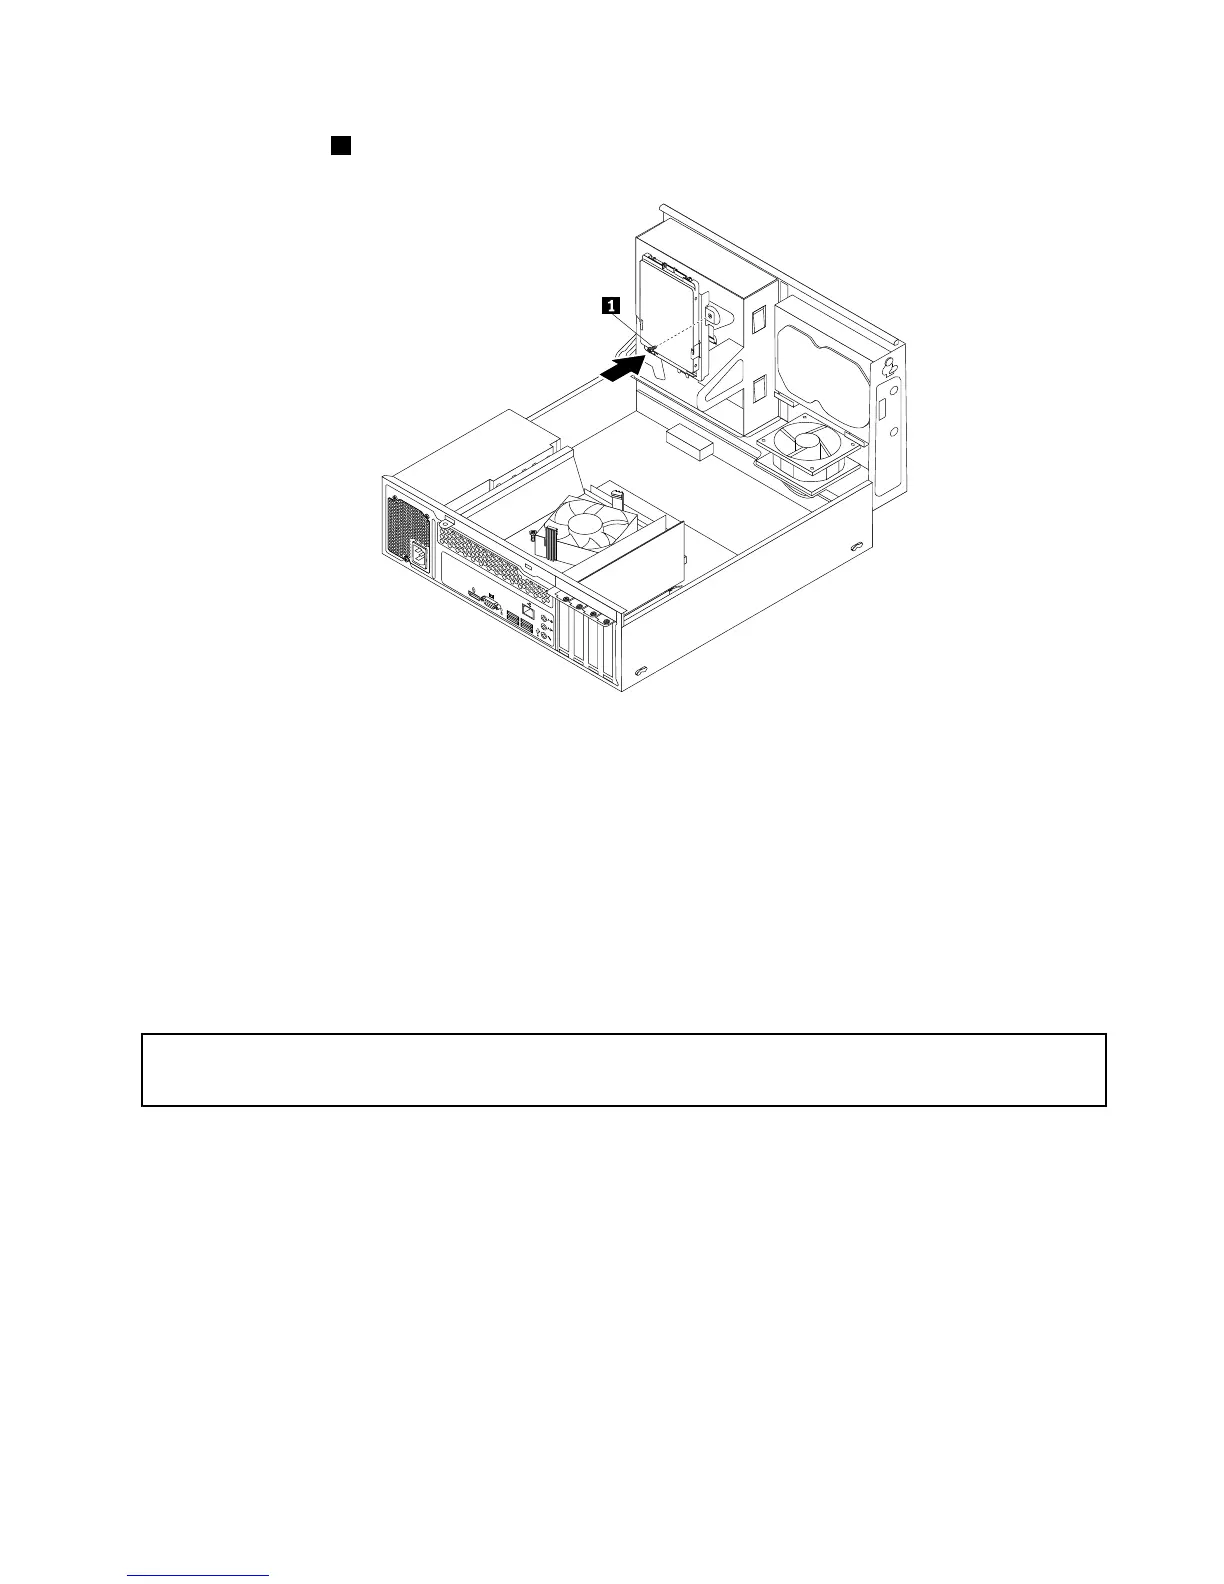
12.Connectoneendofthesignalcabletothebottomofthenewsolid-statedriveandtheotherendto
anavailableSATAconnectoronthesystemboard.See“Locatingpartsonthesystemboard”on
page79
.Then,locateanavailablefour-wirepowerconnectorandconnectittothebottomofthe
newsolid-statedrive.
Whattodonext:
•Toworkwithanotherpieceofhardware,gototheappropriatesection.
•Tocompletetheinstallationorreplacement,goto“Completingthepartsreplacement”onpage174.
Replacingthepowersupplyassembly
Attention:
Donotopenyourcomputerorattemptanyrepairbeforereadingandunderstanding“Importantsafetyinformation”
onpage1.
Thissectionprovidesinstructionsonhowtoreplacethepowersupplyassembly.
Althoughtherearenomovingpartsinyourcomputerafterthepowercordhasbeendisconnected,the
followingwarningsarerequiredforyoursafetyandproperUnderwritersLaboratories(UL)certication.
CAUTION:
Chapter10.ReplacingFRUs(machinetypes:10AU,10AW,10BF,and10BG)147