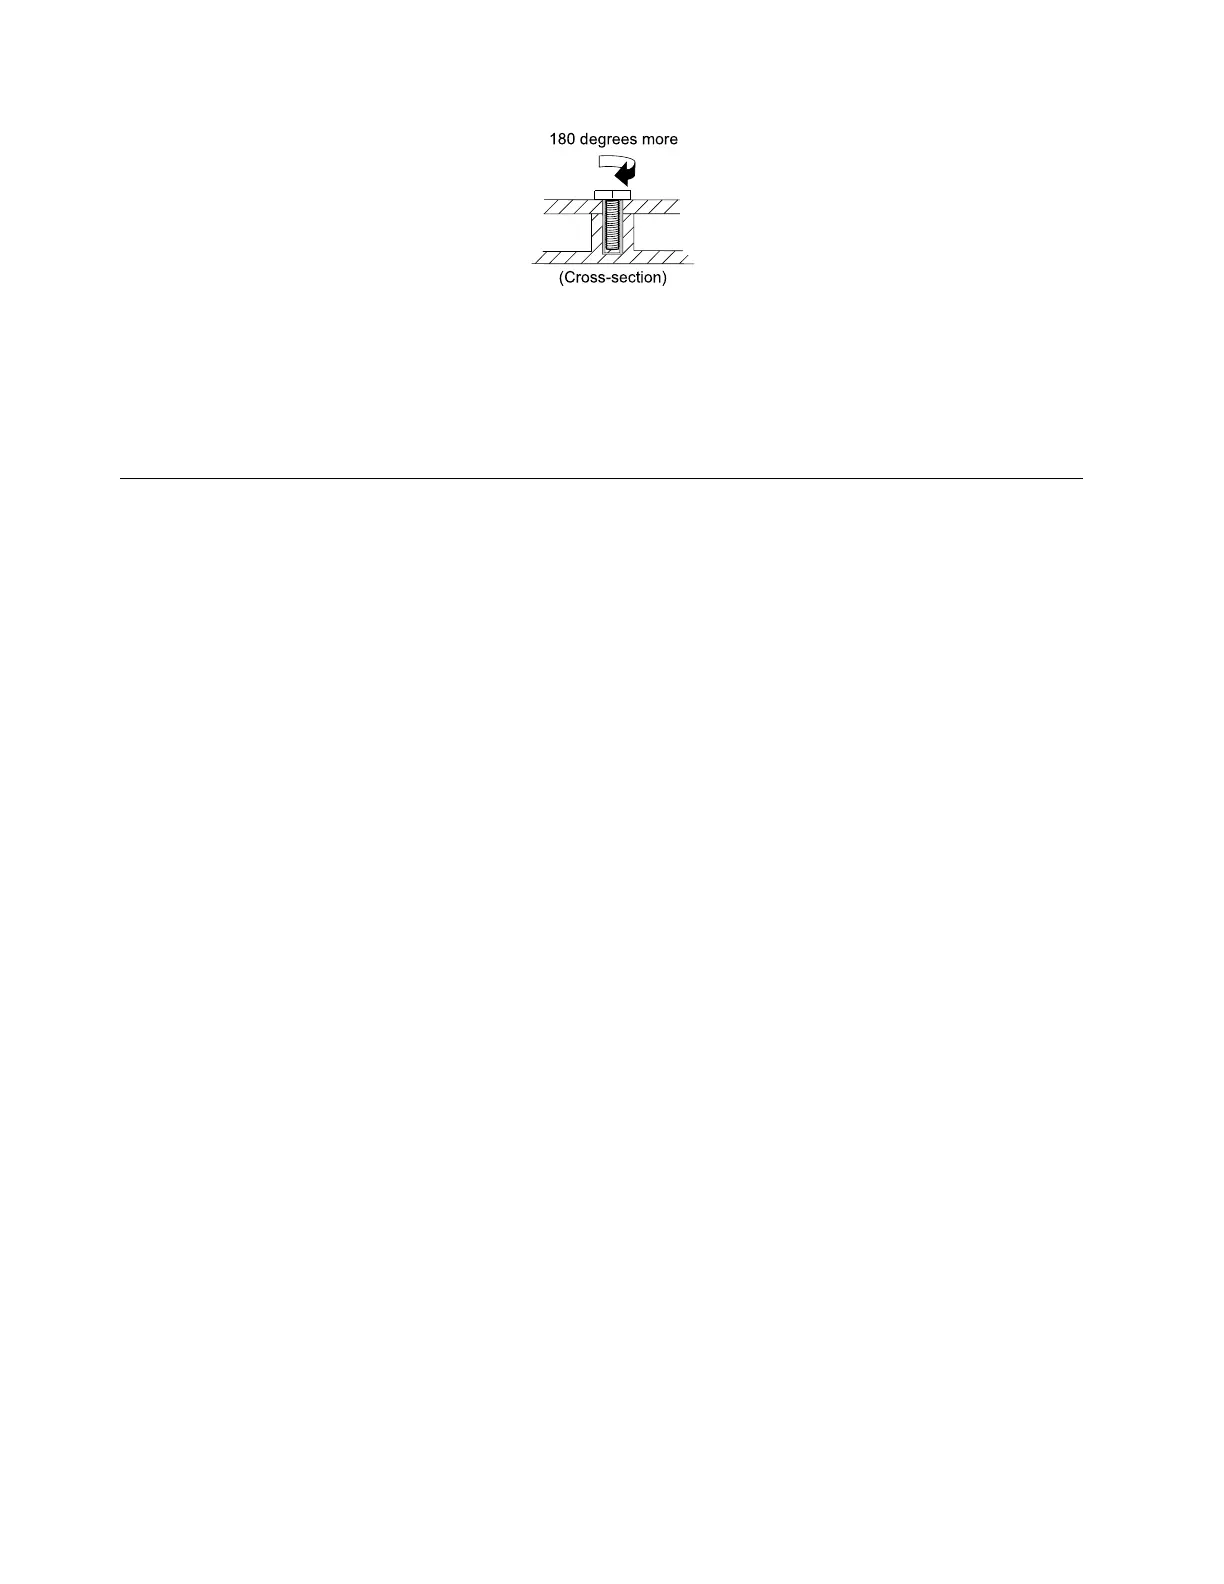
180degreesmore
(Cross-section)
Notes:
•Ensurethatyouusethecorrectscrew.Itisrecommendedtousenewscrewsforreplacements.Ifyou
haveatorquescrewdriver,tightenallscrewsfirmlytothetorquespecifiedinthescrewinformation
tableforeachstep.
•Ensurethattorquescrewdriversarecalibratedcorrectlyfollowingcountryspecifications.
Retainingserialnumbers
Thistopicprovidesinstructionsonthefollowing:
•“Restoringtheserialnumberofthesystemunit”onpage56
•“RetainingtheUUID”onpage57
Restoringtheserialnumberofthesystemunit
Whenthecomputerwasmanufactured,theEEPROMonthesystemboardwasloadedwiththeserial
numbersofthesystemandallmajorcomponents.Thesenumbersneedtoremainthesamethroughout
thelifeofthecomputer.
Ifyoureplacethesystemboard,youmustrestoretheserialnumberofthesystemunittoitsoriginalvalue.
Theserialnumberofthesystemunitiswrittenonthelabelattachedtothebottomofthecomputer.
Ifyoucannotfindtheserialnumberofthesystemunitonthebottomofthecomputer,trythefollowing
methodtogetthenumber:
Note:Beforeyouperformtheoperation,ensurethattheUEFI/LegacysettingwithintheStartupmenuin
theThinkPadSetupprogramissettoUEFIOnly.
1. Connect a USB memory key to the computer.
Note: Only an authorized Lenovo service technician can access the above Web site.
2. Restart the computer.
3. When the logo screen is displayed, press
Esc. The ThinkPad Config Information Update Utility interface
is displayed.
4. Type 1 under Enter the action desired, then press Enter. The ThinkPad Serial Number Update Utility for
Asset ID screen is displayed.
5. Type 2 under Enter the action desired, then press Enter. The serial number of each device in your
computer is displayed; the serial number of the system unit is listed as follow:
20- Serial number
6. Record the serial number of the system unit.
Afteryoureplacethesystemboard,dothefollowingtorestoretheserialnumberofthesystemunit:
1.ConnecttheMaintenanceKeytothecomputer.
56ThinkPadE460andE465HardwareMaintenanceManual