Beforeyoubegin,printalltherelatedinstructionsorensurethatyoucanviewthePDFversiononanother
computerforreference.
Notes:
•Thistopicappliesonlytoservermodelsthatsupport3.5-inchhot-swapharddiskdrives.
•Toclearlyshowthebackplane,thesystemfansareomittedfromtheillustrationsinthistopic.
Toreplacethebackplanefor3.5-inchharddiskdrives,dothefollowing:
1.Removeallmediafromthedrivesandturnoffallattacheddevicesandtheserver.Then,disconnectall
powercordsfromelectricaloutletsanddisconnectallcablesthatareconnectedtotheserver.
2.Iftheserverisinstalledinarackcabinet,removetheserverfromtherackcabinetandplaceitonaflat,
clean,andstatic-protectivesurface.SeetheRackInstallationInstructionsthatcomeswiththeserver.
3.Removetheservercover.See“Removingtheservercover”onpage77.
4.Locatethebackplane.See“Servercomponents”onpage31.
5.Removealltheinstalled3.5-inchhot-swapharddiskdrivesanddummytrays(ifany)fromthe
hard-disk-drivebays.See“Installingorreplacingahot-swapharddiskdrive”onpage146.
6.Recordthecableconnectionsonthebackplaneandthendisconnectallcablesfromthebackplane.
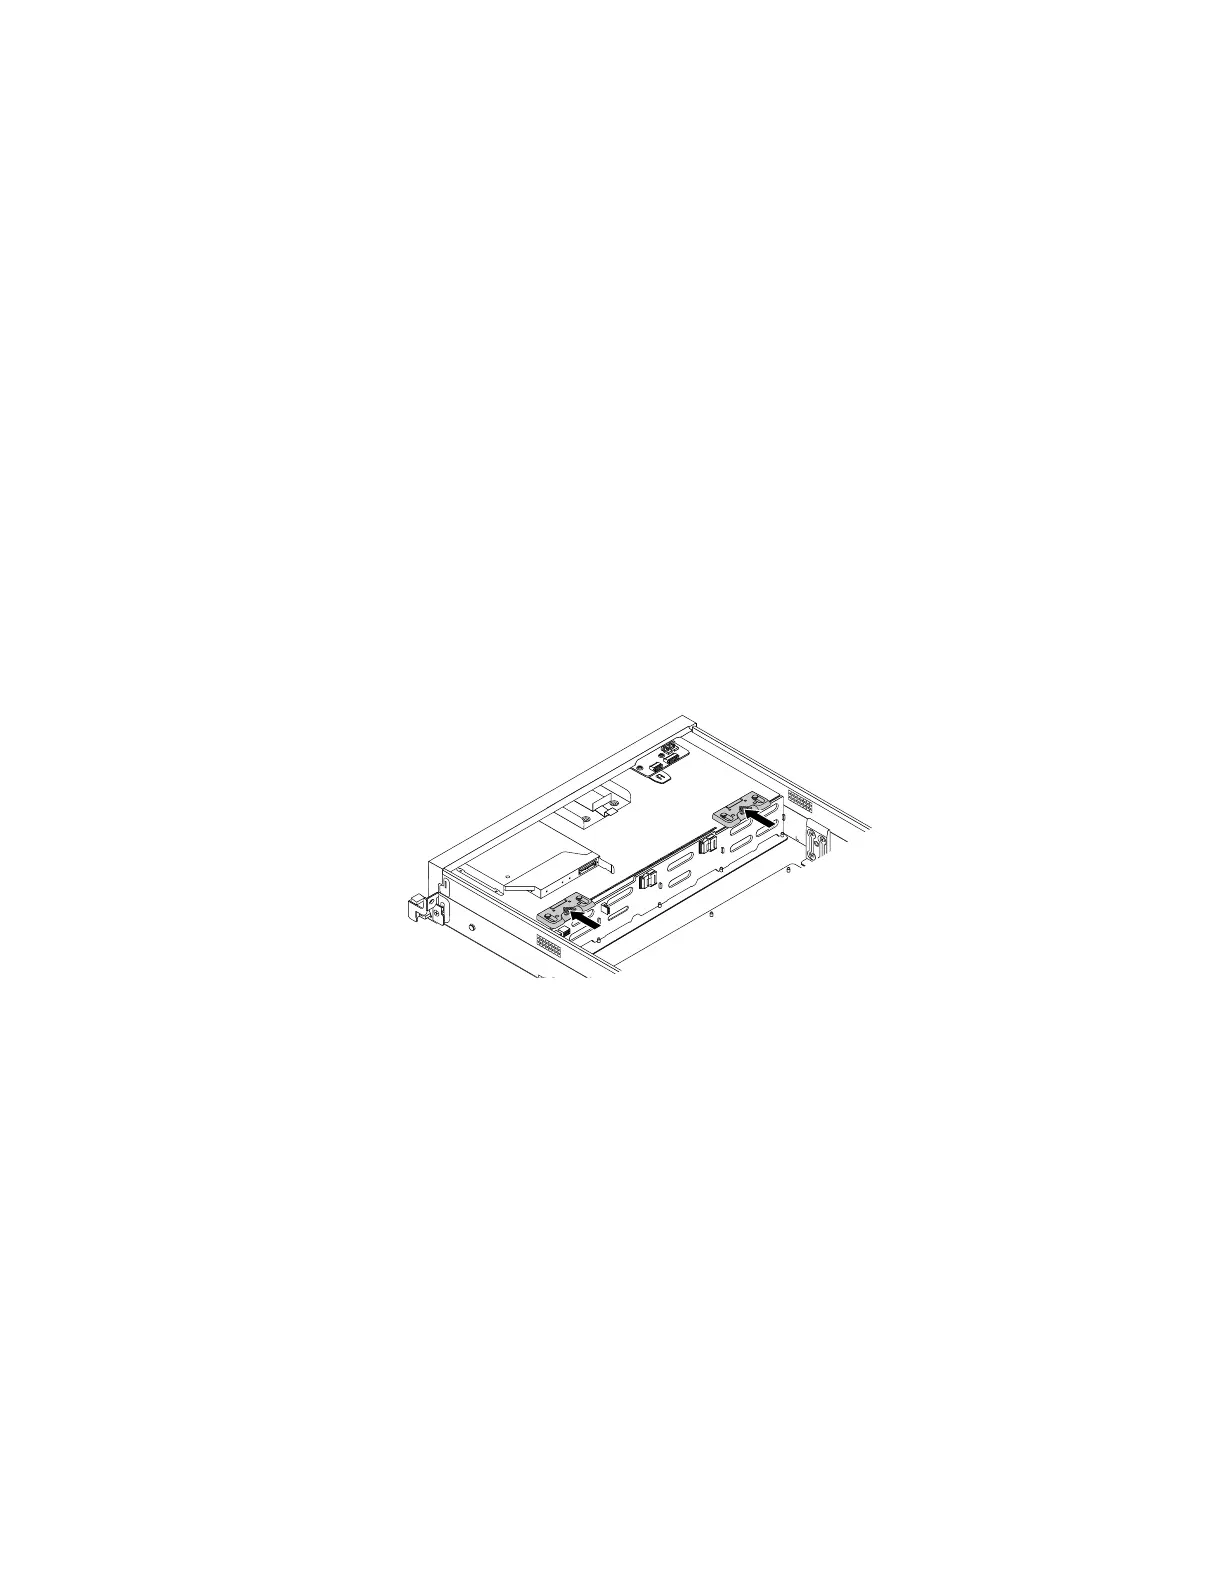
7.Presseachofthetwolatchesonthechassisinthedirectionasshownuntilthelatchsnapsintothe
openpositionandwillnotinterferewithliftingupthebackplane.
Figure120.Releasingthebackplanefor3.5-inchharddiskdrives
Chapter6.Installing,removing,orreplacinghardware151