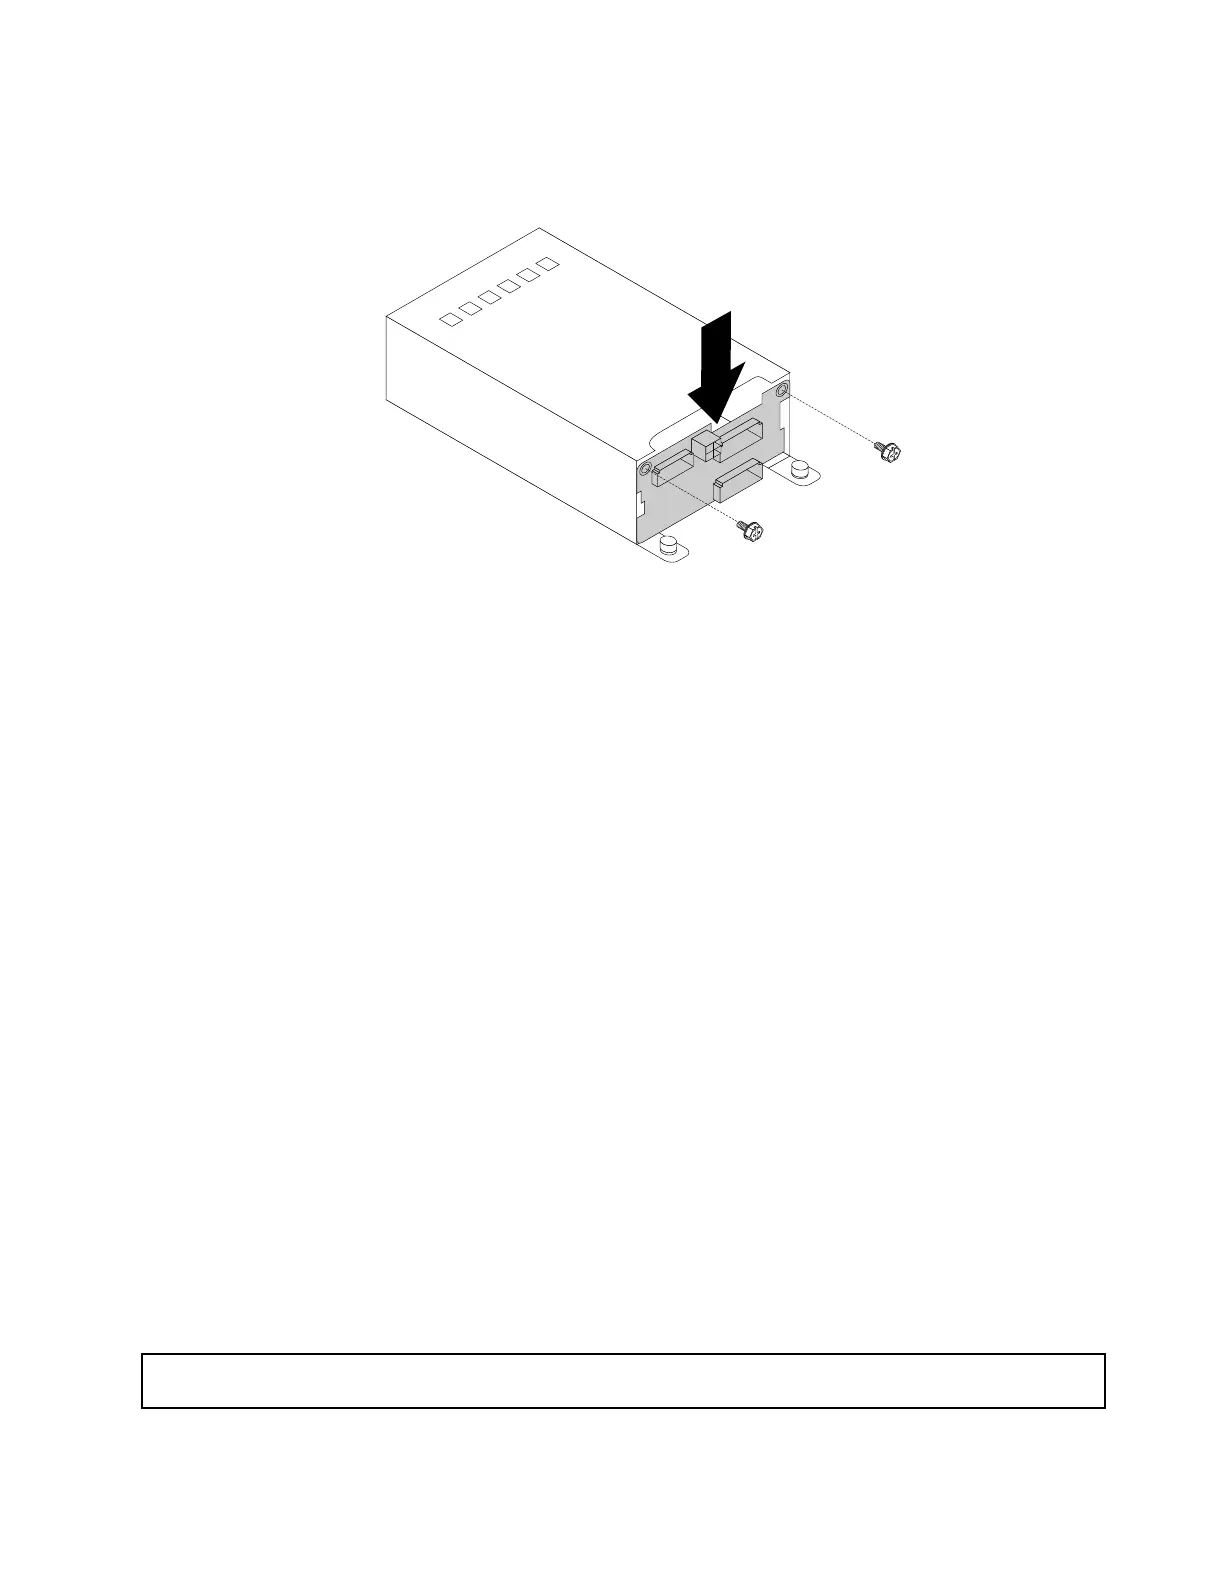
8.Notetheorientationofthenewbackplane.Alignthescrewsholesinthenewbackplanewiththe
correspondingonesinthecage.Then,installthetwoscrewstosecurethebackplane.
Figure163.Installingtherearbackplane
9.Installtherearbackplane/cageassemblytothechassis.See“Installingtherearbackplane/cage
assembly”onpage162.
10.Reinstallallthedrivesanddummytrays(ifany)inthereardriveassembly.See“Installingorreplacinga
hot-swapdrive”onpage152
.
11.Refertoyournotetoconnectthecablestothenewbackplane.
12.Ifyouareinstructedtoreturntheoldbackplane,followallpackaginginstructionsanduseanypackaging
materialsthataresuppliedtoyouforshipping.
Whattodonext:
•Toworkwithanotherpieceofhardware,gototheappropriatesection.
•Tocompletethereplacement,goto“Completingthepartsreplacement”onpage206.
Replacingthefrontpanelboard
Thistopiccontainsthefollowinginformation:
•“Replacingthefrontpanelboardforservermodelswith2.5-inch-drivebays”onpage173
•“Replacingthefrontpanelboardforservermodelswith3.5-inch-drivebays”onpage175
•“Replacingthefrontpanelboardforservermodelswith2.5-inch/3.5-inchmixeddrivebays”onpage177
Notes:
•ThefrontpanelboardisextremelysensitivetoESD.Ensurethatyoureadandunderstand“Handling
static-sensitivedevices”onpage74firstandcarefullyperformtheoperation.
•Dependingonthemodel,yourserverandthefrontpanelboardmightlookdifferentfromtheillustrations
inthistopic.
Replacingthefrontpanelboardforservermodelswith2.5-inch-drivebays
Attention:Donotopenyourserverorattemptanyrepairbeforereadingandunderstanding“Readthisfirst:safety
information”onpagevand“Guidelines”onpage73.
Chapter6.Replacinghardware173

 Loading...


