5.Ifnecessary,removetheharddiskdrives.See“Replacinga2.5-inchharddiskdrive”onpage84and
“Replacinga3.5-inchharddiskdrive”onpage87
.
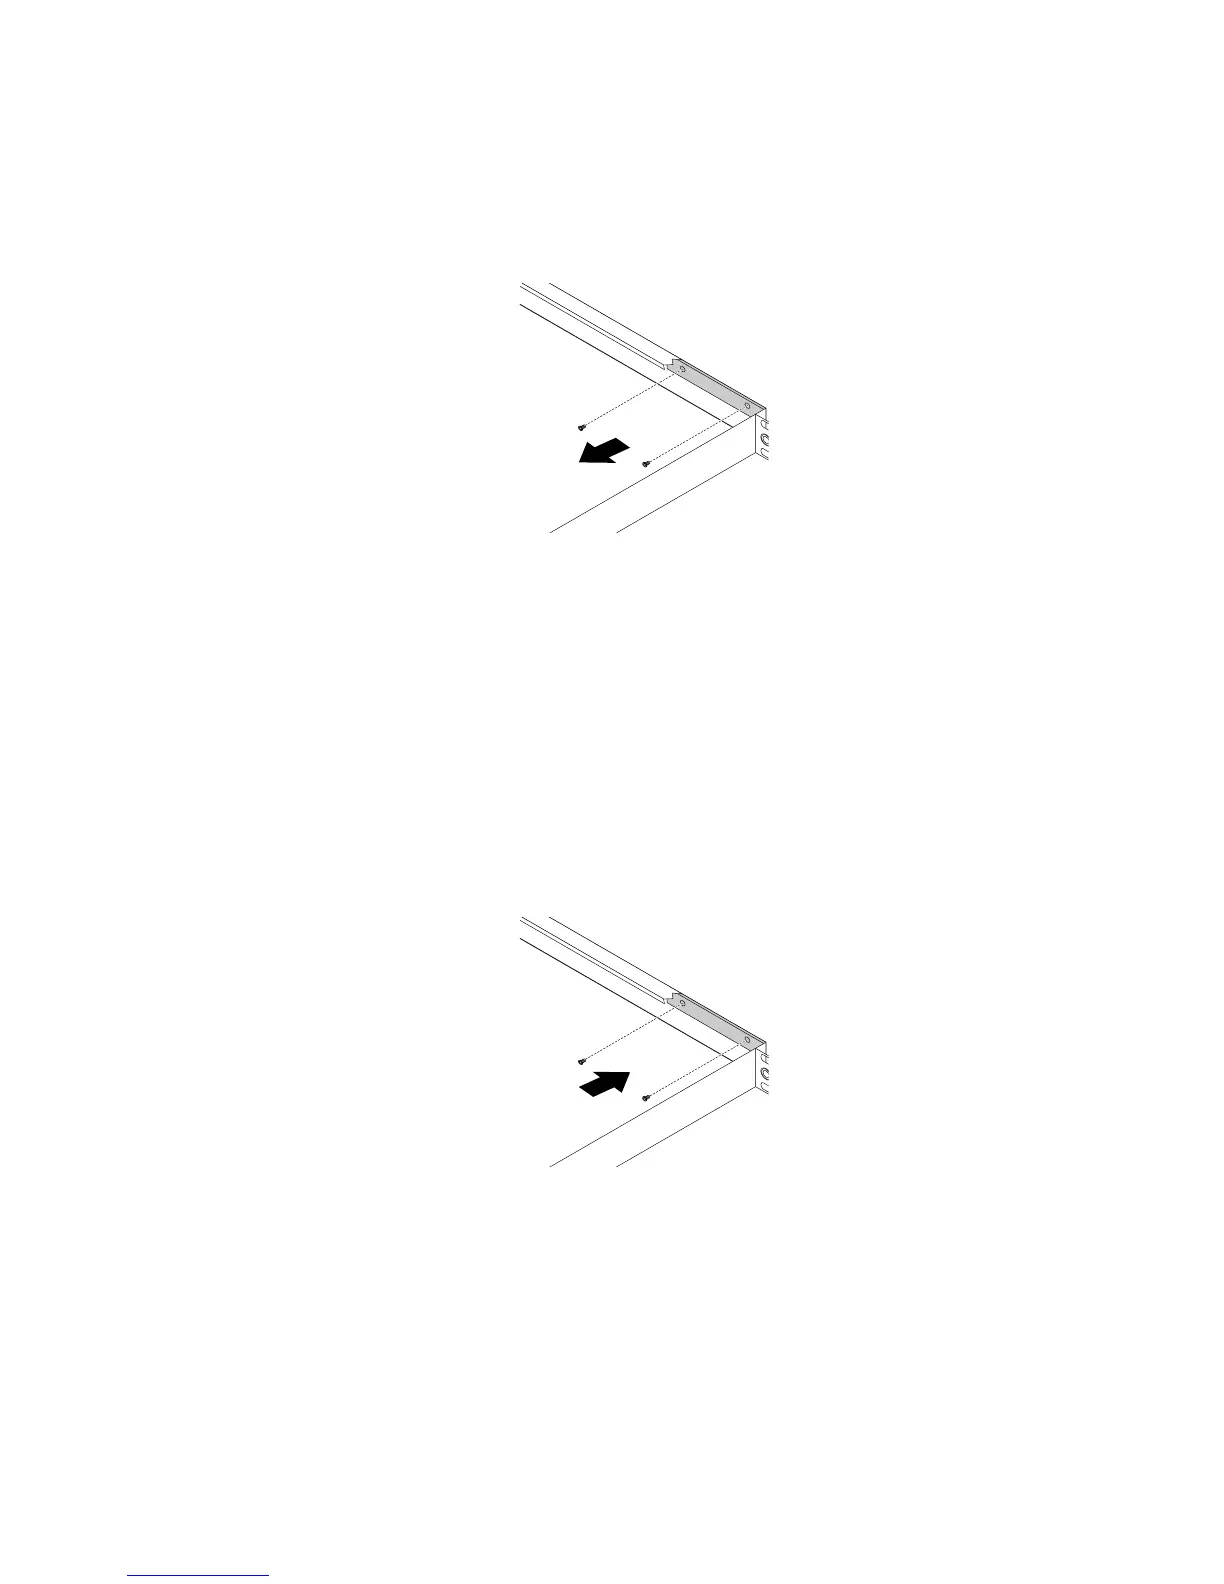
6.Removethetwoscrewsthatsecurethefrontpanelboardandthencarefullyremovethefrontpanel
boardfromthechassis.
Figure65.Removingthefrontpanelboard
7.Recordthecableroutingandcableconnections.Then,disconnectallthecablesfromthefrontpanel
board.
8.Touchthestatic-protectivepackagethatcontainsthenewfrontpanelboardtoanyunpaintedsurface
ontheoutsideoftheserver.Then,takethenewfrontpanelboardoutofthepackage.
Note:Carefullyhandlethefrontpanelboardbyitsedges.
9.Connectallthecablestothenewfrontpanelboard.
10.Carefullypositionthenewfrontpanelboardsothatthetwoscrewholesinthefrontpanelboardare
alignedwiththecorrespondingholesinthechassis.Then,installthescrewstosecurethefrontpanel
boardinplace.
Figure66.Installingthefrontpanelboard
11.Reinstalltheharddiskdrivesintheserverifyouhaveremovedthem.See“Replacinga2.5-inchhard
diskdrive”onpage84and“Replacinga3.5-inchharddiskdrive”onpage87.
12.Ifyouareinstructedtoreturntheoldfrontpanelboard,followallpackaginginstructionsanduseany
packagingmaterialsthataresuppliedtoyouforshipping.
Whattodonext:
•Toworkwithanotherpieceofhardware,gototheappropriatesection.
Chapter6.Installing,removing,orreplacinghardware91

 Loading...


