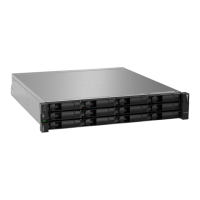
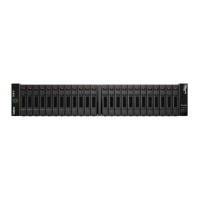
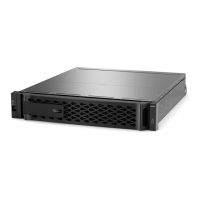
7.
From the Home page of ThinkSystem System Manager, select View Operations in Progress.
Wait for all operations to complete before continuing with the next step.
8.
Power down the controller shelf.
a.
Turn off both power switches on the controller shelf.
b.
Wait for all LEDs on the controller shelf to turn off.
6.2.4. Step 2: Remove controller canister
Remove the controller canister so you can add the new host interface card.
Steps
1.
Label each cable that is attached to the controller canister.
2.
Disconnect all the cables from the controller canister.
To prevent degraded performance, do not twist, fold, pinch, or step on the
cables.
3.
Confirm that the Cache Active LED on the back of the controller is off.
The green Cache Active LED on the back of the controller is on when cached data needs to be
written to the drives. You must wait for this LED to turn off before removing the controller
canister.
(1) Cache Active LED
4.
Squeeze the latch on the cam handle until it releases, and then open the cam handle to the
right to release the controller canister from the shelf.
The following figure is an example of a DE2000H/DE4000H (2U12) controller shelf,
DE2000H/DE4000H (2U24) controller shelf, or DE4000F flash array:
92

 Loading...


