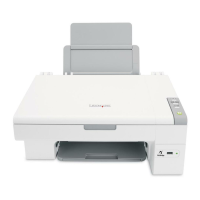
Using a PictBridge-enabled digital camera to control printing photos
Connect a PictBridge-enabled digital camera to the printer, and use the buttons on the camera to select and print
photos.
1 Insert one end of the USB cable into the camera.
Note: Use only the USB cable that came with the digital camera.
2 Insert the other end of the cable into the PictBridge port on the front of the printer.
Note: Make sure the PictBridge-enabled digital camera is set to the correct USB mode. For more information,
see the camera documentation.
3 Follow the instructions in the camera documentation to select and print photos.
Note: If the printer is turned off while the camera is connected, you must disconnect and reconnect the camera.
Customizing photos
Note: For advanced photo-editing options, see “Using the Photo Editor” on page 18.
Creating and printing a scrapbook or album page
1 Load paper.
2 From the desktop, double-click the Imaging Studio icon.
3 Click Browse & Print Photos.
4 Click Show Folders.
5 Select the folder where the photos are stored.
6 Click Hide Folders.
7 From the Creative Tasks area, click Print an album page with various photo sizes.
8 Select a paper size.
9 Select a page layout.
For more options:
a Click Change the category of layouts listed above.
b Select a layout category.
31

 Loading...