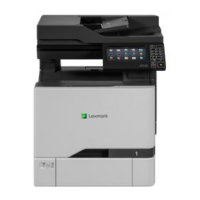
4 Remove the toner cartridges.
5 Unpack the new imaging kit, and then remove the packing material.
Note: The imaging kit includes the imaging kit and the cyan, magenta, and yellow developer units.
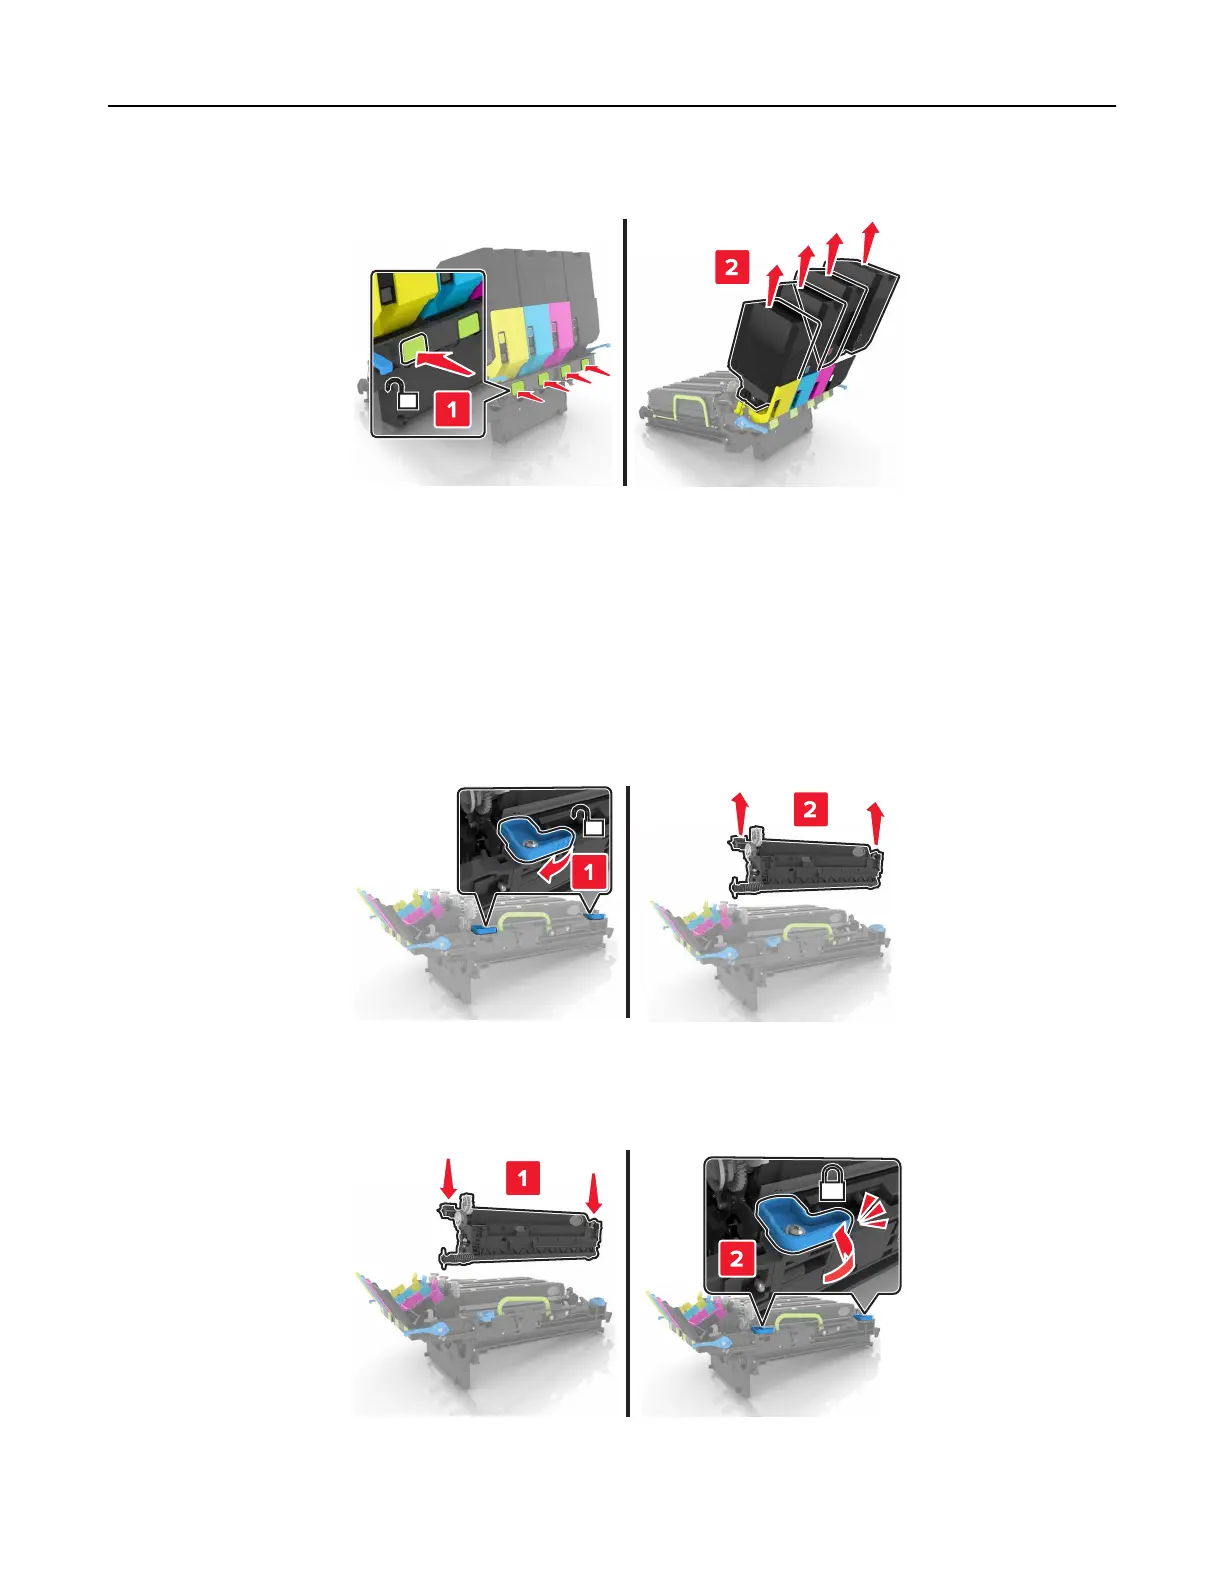
6 Remove the black imaging unit.
Warning—Potential Damage: Do not expose the photoconductor unit to direct light for more than 10
minutes. Extended exposure to light may cause print quality problems.
Warning—Potential Damage: Do not touch the shiny photoconductor drum under the imaging unit.
Doing so may
aect
the quality of future print jobs.
Note: The black imaging unit includes the black developer unit and photoconductor unit.
7 Insert the black imaging unit into the new imaging kit.
Maintaining the printer 67