23
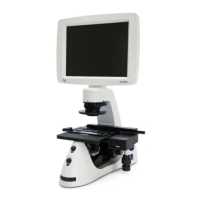
Appendix C: Installing the Attachable Mechanical Stage
The mechanical stage is an optional accessory. You may purchase it separately for
use with the EVOS
®
XL Core Imaging System.
Refer to the product page www.lifetechnologies.com/evosxlcore or Technical
Support for more information (see page 36).
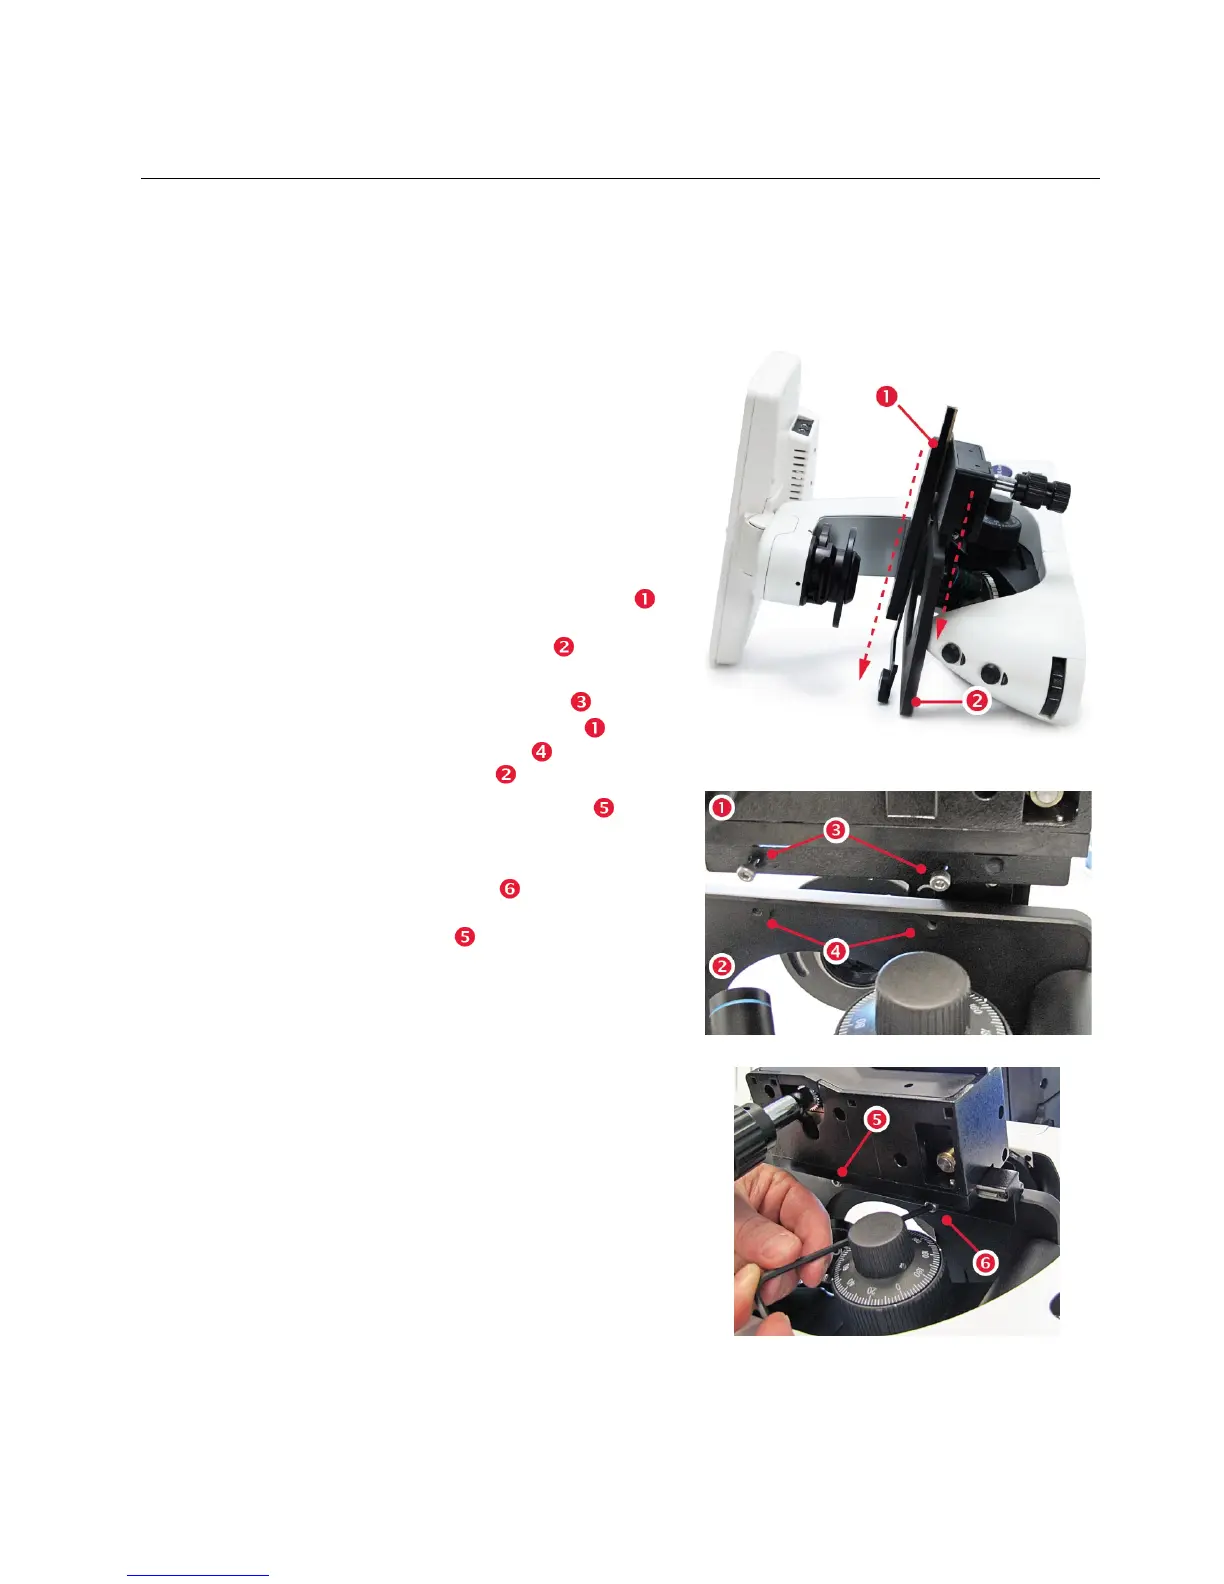
Installation/
Removal
Follow this procedure to attach the
mechanical stage to the fixed stage.
To remove the stage, do the steps in
reverse order.
5. Remove the glass stage plate
(not shown) and set aside.
6. Tilt the LCD all the way back
and gently lay the instrument on
its left side.
7. Slide the mechanical stage
into position over the right side
of the fixed stage .
8. Align the mechanical stage so
that the two screws under
the mechanical stage align
with two holes under the
fixed stage .
9. Tighten the left screw by
hand first.
10. Use the hex key to tighten the
right screw (behind the focus
knob). Then fully tighten the left
screw with the hex key.
11. Stand the instrument upright.
12. Replace the glass stage plate.
See “Glass Plate” (page 8) for
details.
 Loading...