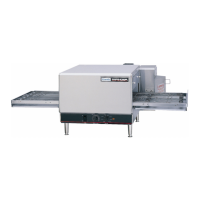
CounterTop – 1300 Series Service Manual
46
THERMOSTAT, OVEN CAVITY HI-LIMIT
1. Remove control box cover.
2. Remove oven back assembly. (See OVEN BACK)
3. Remove two (2) wires from thermostat.
4. Remove retaining nut from the front of thermostat and remove thermostat.
5. Remove capillary tube from wire form in back of oven and remove assembly out through control box side.
6. Reassemble in reverse order. Check for proper routing through insulation. Be sure capillary tube is held
securely in the wire form and the reset button has been pushed in and set.
NOTE: All excess capillary tubing should be brought back into control box area. Be certain to replace
insulation seal when oven back is re-installed.
7. Check operation.
AIR PRESSURE SWITCH – REPLACEMENT (S/N 3043630 and below)
1. Remove control box cover.
2. Remove two (2) wires.
3. Remove air tube (note location).
4. Remove four (4) screws and replace air switch.
5. Reassemble in reverse order and check operation.
NOTE: Make sure to use rubber grommets when installing air switch.
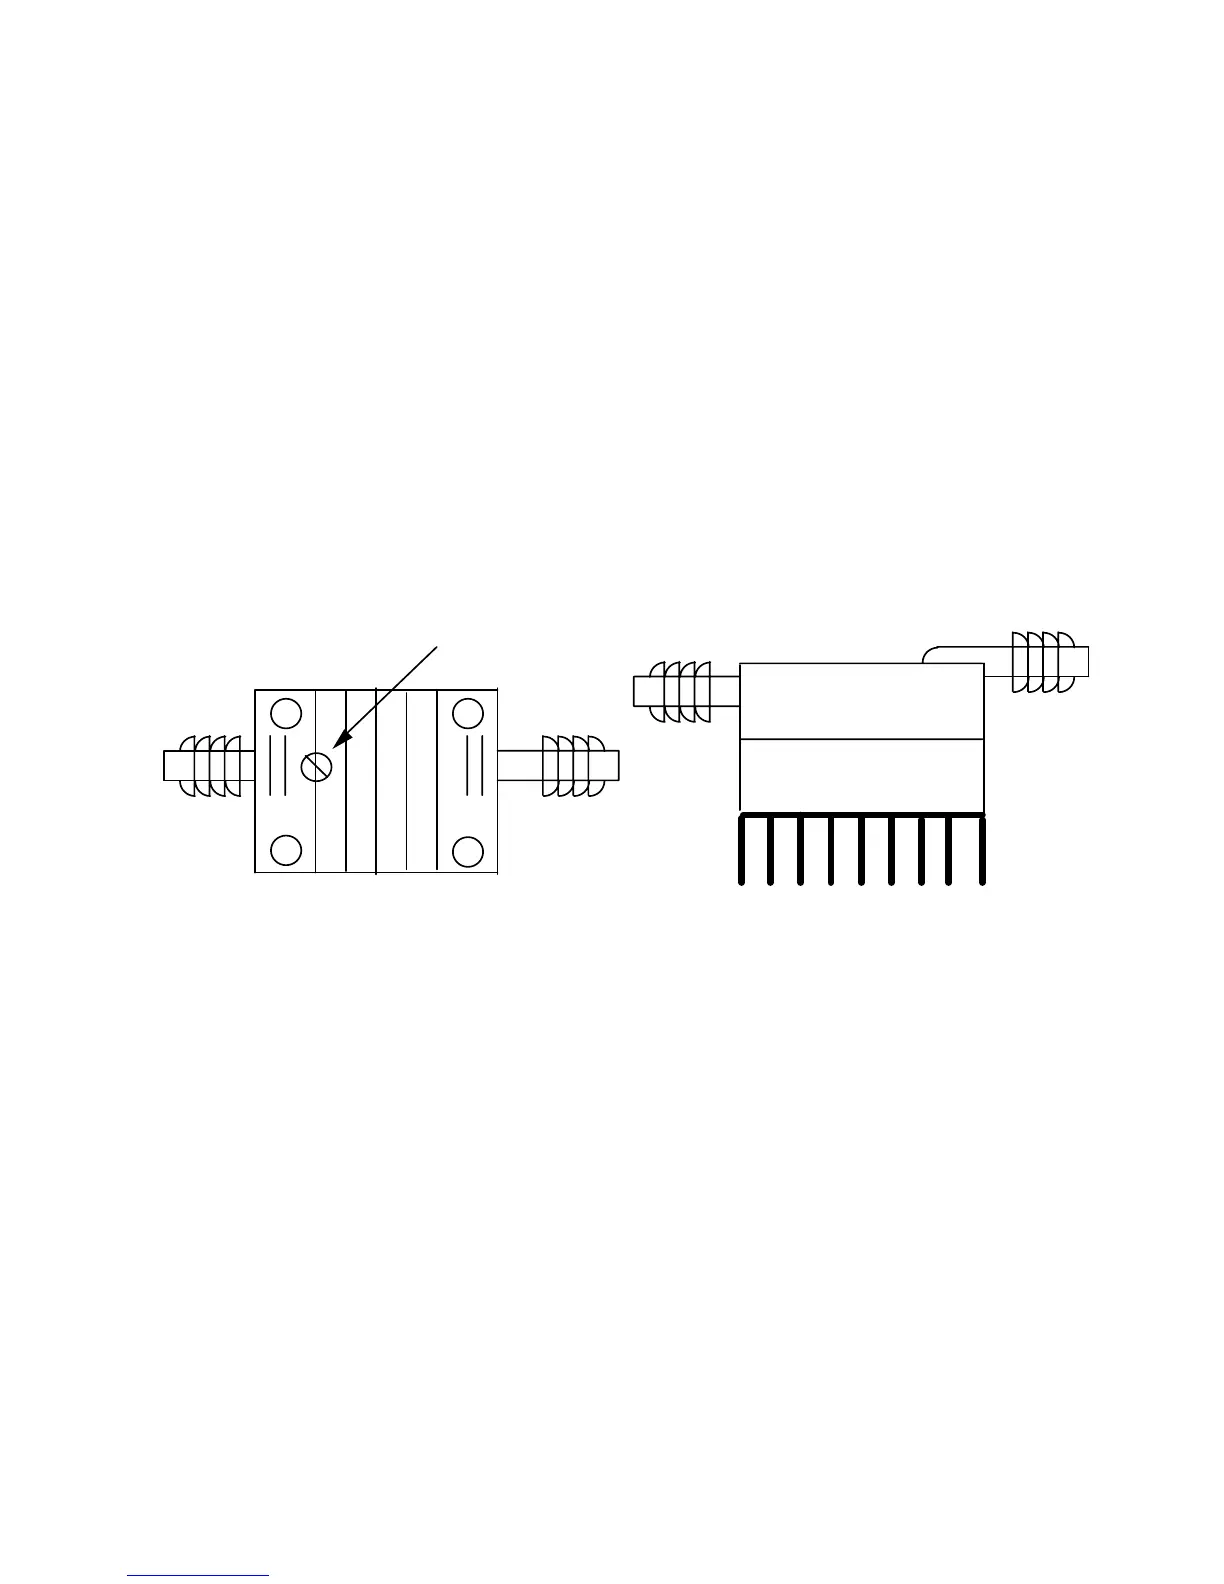
ADJUSTMENT SCREW
AIR PRESSURE SWITCH – ADJUSTMENT (S/N 3043630 and below)
1. Apply power to oven, turn temperature control potentiometer to max. and allow 30-minutes preheat for
temperatures to stabilize.
2. Remove air tube and with a volt meter verify that contactor for heater elements opens.
3. WITH POWER ON: Re-connect tube and check voltage across the air switch making sure that there is
no voltage drop and it remains steady. Adjust as needed. (See Picture, verify adjustment screw has not
vibrated out).
NOTE: Allow 30 minutes preheat.
THERMOSTAT, CONTROL BOX HI-LIMIT
1. Remove control box cover.
2. Remove two (2) wires.
3. Remove two (2) screws and replace
4. Reassemble in reverse order and check operation.
NOTE: Make sure reset button has been pushed and set.