17
WWW.LIONPROTECTS.COM
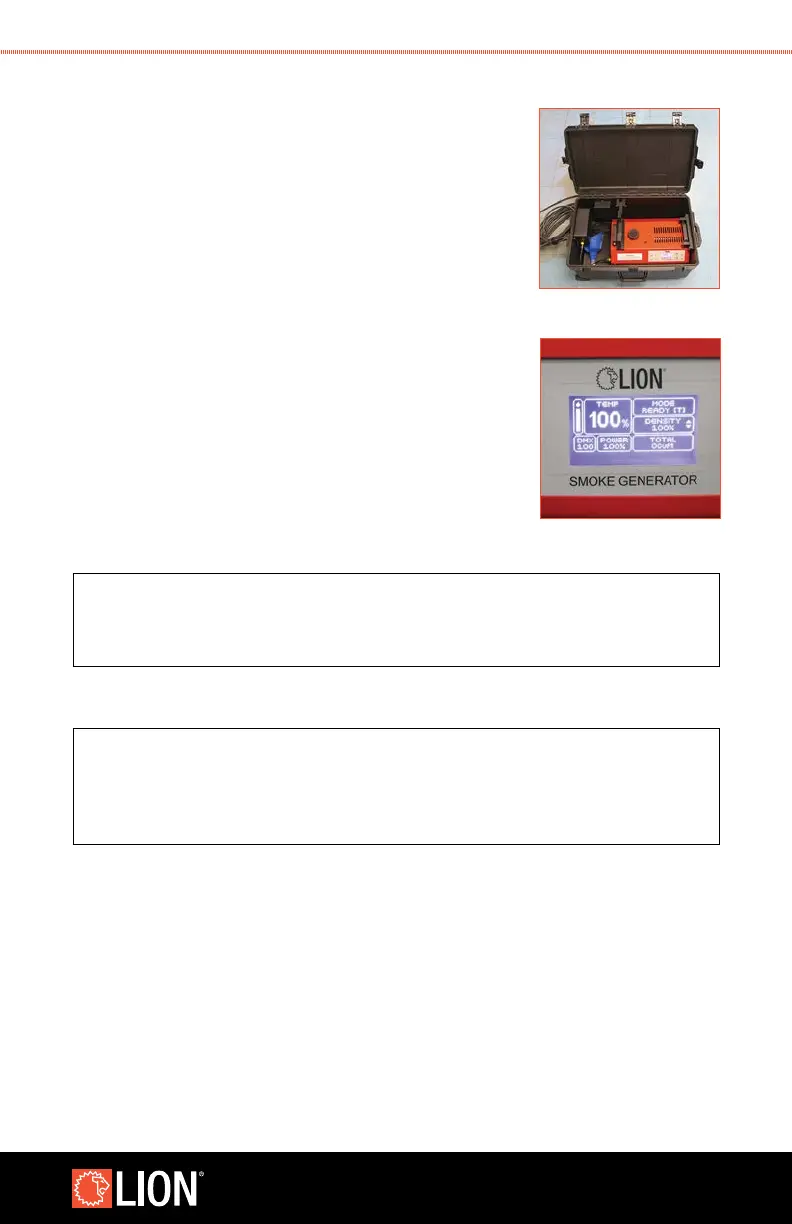
6. Make sure the Smoke Generator is properly installed
in the case with the Smoke Generator sitting on the
bottom of the case with the nozzle inserted through the
side of the case. Strap the smoke generator down using
the red strap and black cam buckle.
7. Unscrew the cap on the uid tank of the reservoir one
quarter turn to allow the tank to breathe during operation.
It is critical that the cap be retightened before moving the
smoke generator in order to avoid spills.
8. Connect the power cable and signal cable between
the case and the Smoke Generator.
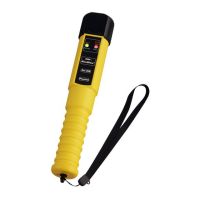
9. Turn on the Smoke Generator. More information on
the operation of the Smoke Generator can be found
in the Smoke Generator 4000
™
(ETNA) User’s Manual.
10. Set the Smoke Generator 4000 (ETNA) to DMX mode at
channel 100. Press the Menu button and use the UP
and DOWN buttons to select DMX in the bottom right
corner. Press ENTER and use the UP and DOWN buttons
to change the DMX channel to 100.
NOTE
The Smoke Generator 4000 (ETNA) must be set to DMX mode
channel 100 for ATTACK
™
to control the Smoke Generator.
11. Once the Smoke Generator is set up, securely latch the cover using all of
the latches.
NOTE
Ensure that all latches on the cover are secure.
Failure to properly secure all latches may result in water
getting into the case and damaging the electrical components.
12. To use the Smoke Generator 4000 (ETNA) without the waterproof case, refer to the
guidelines outlined in the Smoke Generator 4000 (ETNA) manual. Please note, the
Smoke Generator 4000 (ETNA) is in DMX mode when used with the ATTACK. To use
the Smoke Generator 4000 (ETNA) without the ATTACK, you may need to change the
STEP 6
STEP 9