EasyManuals Logo

Lockly Vision User Manual

Lockly Vision
31 pages
To Next Page IconTo Next Page
To Previous Page IconTo Previous Page
Page #15 background imageLoading...
Page #15 background image
14
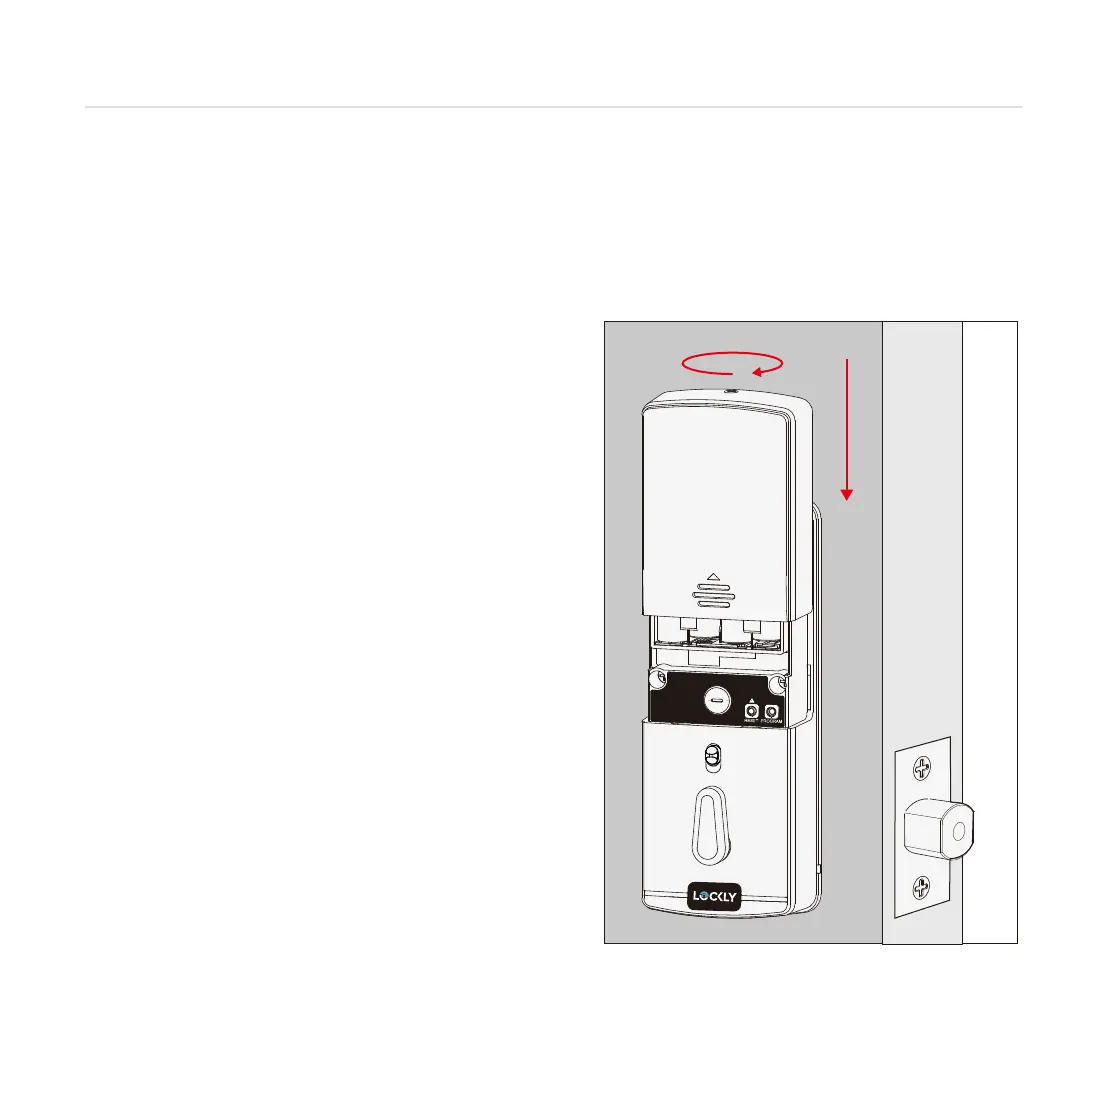
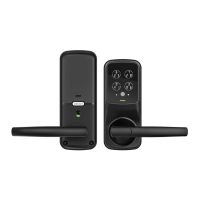
INSTALLING BATTERIES
Step 6
3: Once self-check completes ensure the lock operates smoothly by manually locking and
unlocking the door using the thumb turn on the interior assembly. The deadbolt should operate
smoothly without any interference or binding. If necessary, repeat step 2 and ensure that (a) the
deadbolt was extended and (b) the torque blade was inserted vertically while the deadbolt
was extended.
4: Swipe your hand across the touch screen keypad,
the lock should close (lock). If deadbolt bounces
back or unlocks automatically it means something is
not installed correctly. Go back and repeat step 2,
same as above.
5. Once self-check is complete, install remaining 4
batteries and battery cover (I), secure with screw on
top (do not over tighten).

Questions and Answers:

Question and Answer IconNeed help?

Do you have a question about the Lockly Vision and is the answer not in the manual?

Lockly Vision Specifications

General IconGeneral
TypeSmart Lock
ConnectivityWi-Fi, Bluetooth
Fingerprint SensorYes
Voice Assistant CompatibilityAmazon Alexa, Google Assistant
MaterialZinc Alloy
User CodesUp to 99
KeypadYes
Night VisionYes
Two-Way AudioYes
Lock TypeDeadbolt
Power Source4 AA Batteries
Door Thickness1 3/8" to 2"
Security FeaturesPIN Genie
Camera Resolution1080p

Related product manuals