EasyManuals Logo

Lockly Vision User Manual

Lockly Vision
31 pages
To Next Page IconTo Next Page
To Previous Page IconTo Previous Page
Page #14 background imageLoading...
Page #14 background image
13
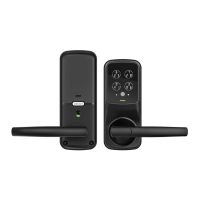
INSTALLING BATTERIES
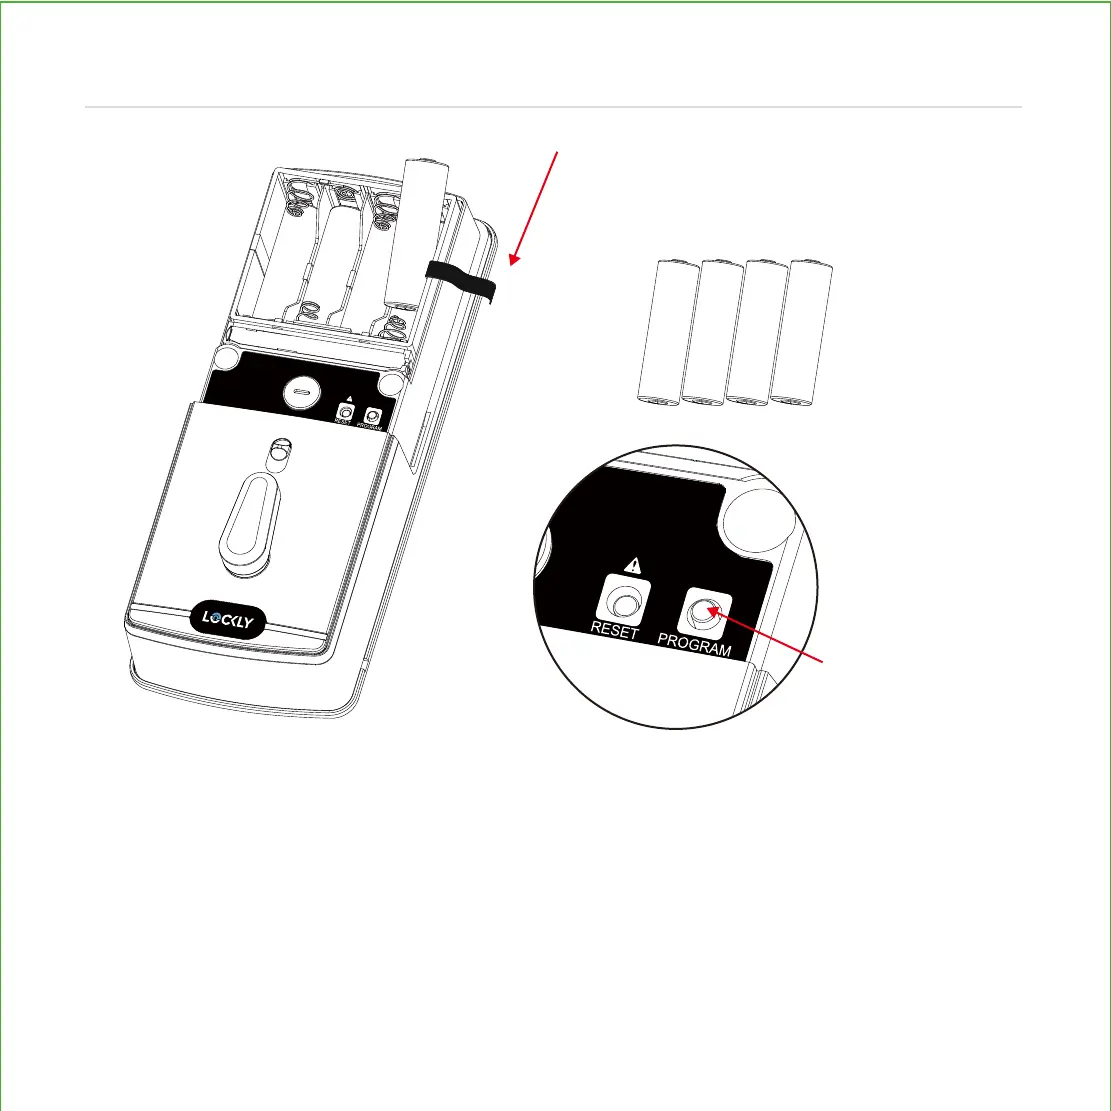
Step 6
1:
With door open and deadbolt fully extended, place ribbon inside compartment and insert 3
batteries only (hold on inserting the 4th) in bottom row (note correct -/+ polarity).
2: Press and HOLD the program button, continue to hold and install the 4th battery. The lock will
automatically start self-check (release program button once check starts). The self-check process
determines right or left swinging door and is very important to ensure correct installation.
IMPORTANT: if lock is not properly installed it will open and close repeatedly (refer to next page #3).
PRESS
& HOLD
5 6 7 8
1
2
3
4
IMPORTANT
Install batteries 5-8 only after
self-check is complete

Questions and Answers:

Question and Answer IconNeed help?

Do you have a question about the Lockly Vision and is the answer not in the manual?

Lockly Vision Specifications

General IconGeneral
TypeSmart Lock
ConnectivityWi-Fi, Bluetooth
Fingerprint SensorYes
Voice Assistant CompatibilityAmazon Alexa, Google Assistant
MaterialZinc Alloy
User CodesUp to 99
KeypadYes
Night VisionYes
Two-Way AudioYes
Lock TypeDeadbolt
Power Source4 AA Batteries
Door Thickness1 3/8" to 2"
Security FeaturesPIN Genie
Camera Resolution1080p

Related product manuals