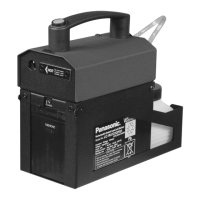
4. Fluid
The Tiny CX is built to be used with original Look Tiny-Fluid. Use of other liquids will
clog the vaporizer and void the warranty
Note: If the Tiny CX will not be in use for a long period, please empty the fluid tank
and pour the fluid back into the original fluid bottle.
4.1 General
The location for the Tiny CX must
• bedry
• guaranteesufcientairsupply
• havesufcientdistance(atleast3ft)frominammablematerials
• haveverylittlevibration
• haveanambientoperatingtemperaturebetween40°Fand115°F
• havearelativeairhumidityoflessthan80%.
5.1 Selecting the Location
5.2 Mounting the Tiny CX
If the Tiny CX is to be built into props or similar, make sure that a fog-free air supply
is guaranteed. Too high a fog concentration can condense inside the machine and can
result in damages caused by moisture.
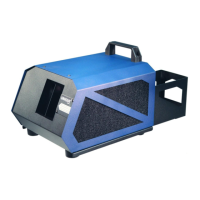
When installing the Tiny CX make sure that
• nofogispassedbackintothefoggenerator,
• nocondenseduidrunsintotheapparatus,
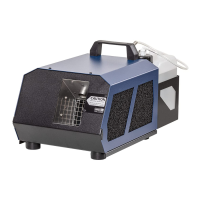
• theairvents[1]arenotcoveredorconcealed,
• noobjectsprotrudeintothefognozzle[2].Thismaydestroythevaporizer.
5. Operating the Tiny CX
5.3 Starting up
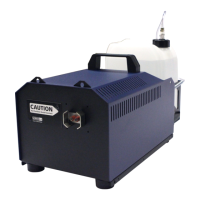
a) Pour the Tiny-Fluid into the fluid tank and firmly close the lid. Check the cleanliness
of the fluid tank, so that no dirt (fluff etc.) can be sucked in by the pump. Even the
smallest impurity immediately leads to clogging of the machine.
b) Insert the battery into the machine until it clicks into place.